Samsara Room | Part 2
Intro
Welcome to our walkthrough for the Samsara Room from Rusty Lake. In this very interesting game, you need to solve the puzzles while visiting your various past lives in the Samsara circle of life.
Walkthrough
In the bird life, find the window and take the egg.
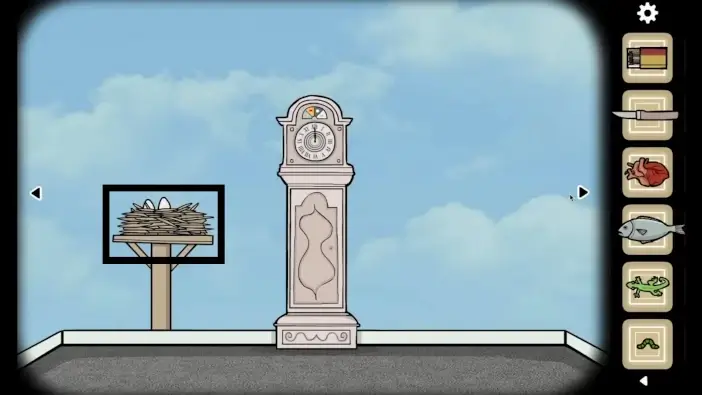
In the clock area, approach the nest.
Place the 3rd egg into the nest.
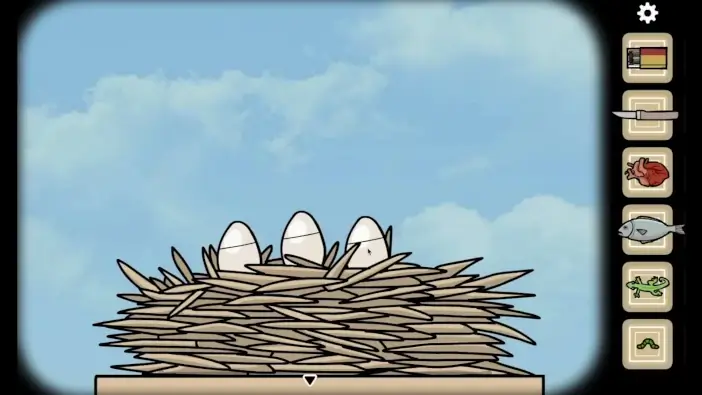
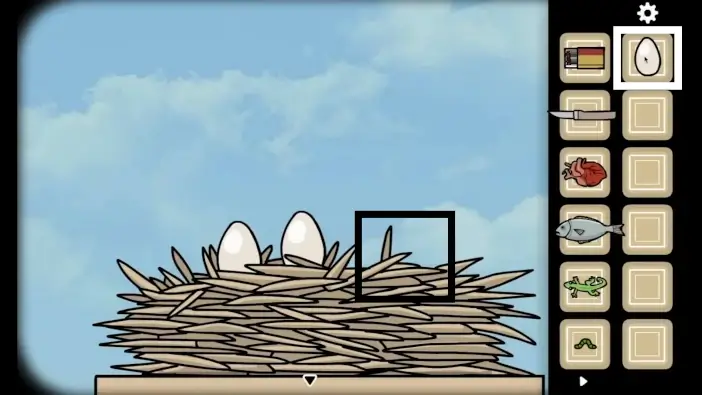
Crack all three eggs.
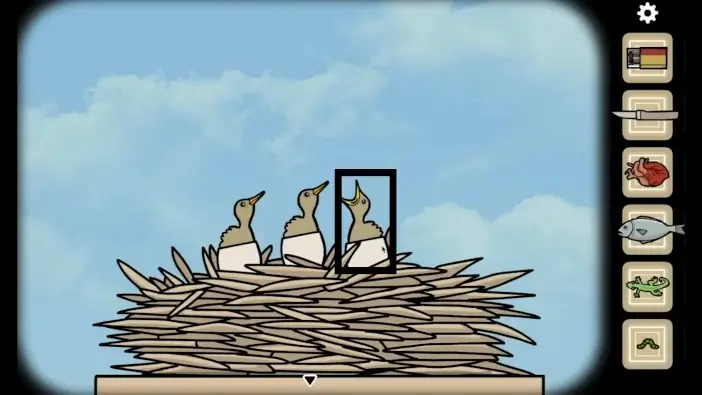
Three birdlings will appear from the eggs. Click on the one that has a beak opened. Bear in mind that the positions of the birdlings may be different in your gameplay, they are random. But you need to click the birdling that opened its beak.
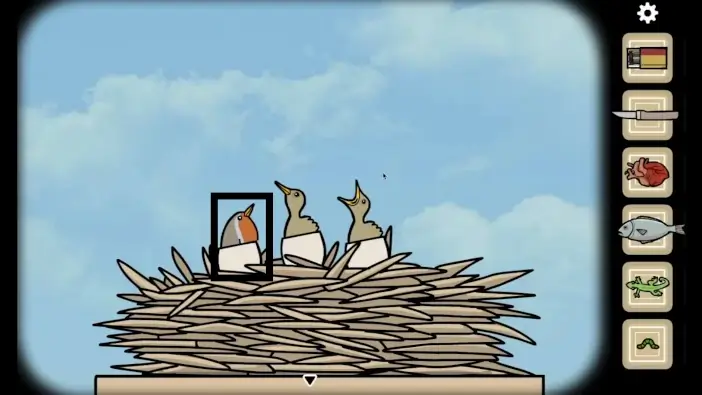
New birdlings will appear. Click on the different colored one. The positions of the birdlings may vary in your gameplay.
Next, click on the colorful birdling that has its beak opened.
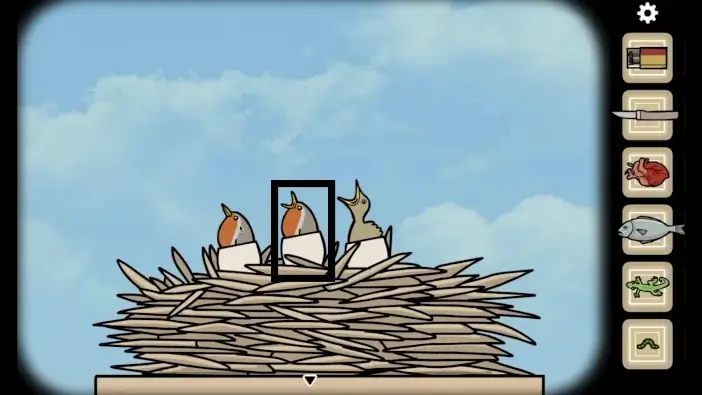
Click on the birdling that has different colors from the rest of the two.
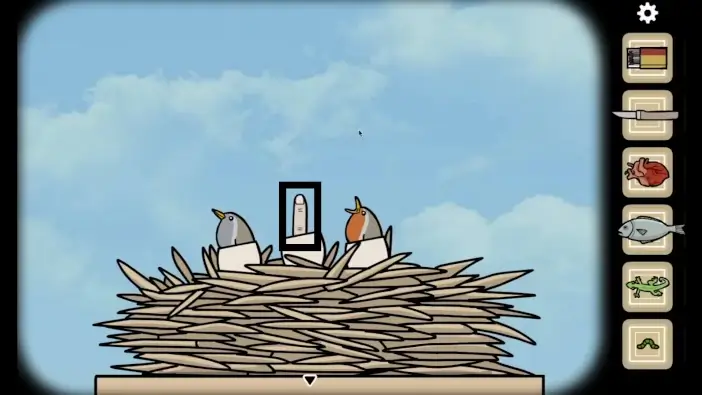
Click on the finger.
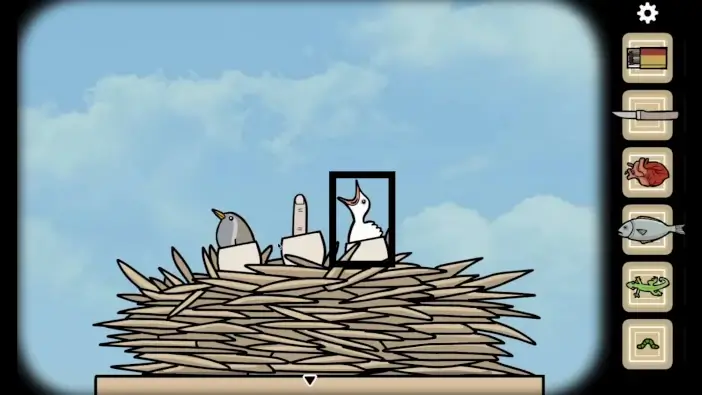
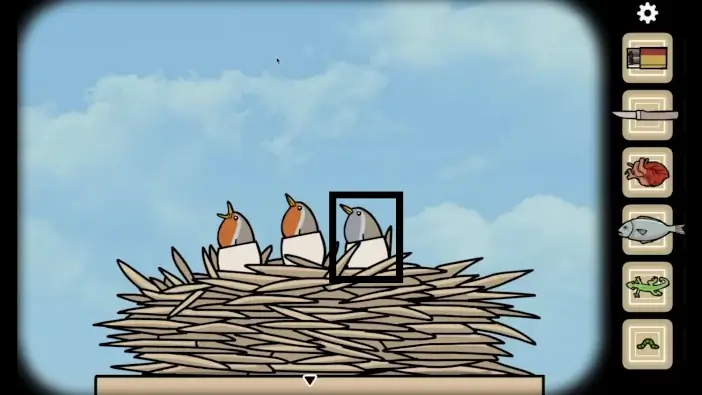
Click on the white birdling that has its beak opened.
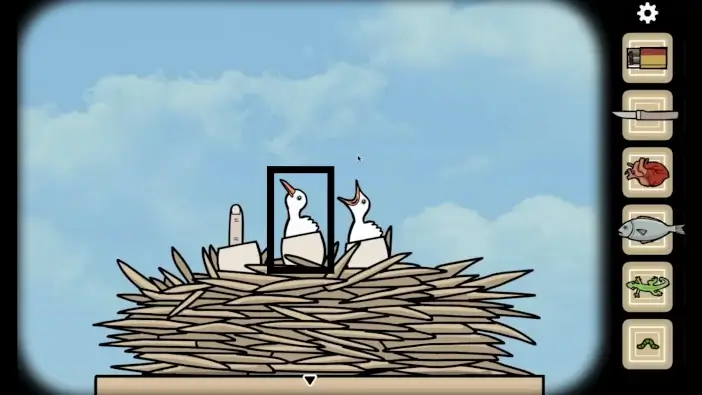
Click on the white birdling that has its beak closed.
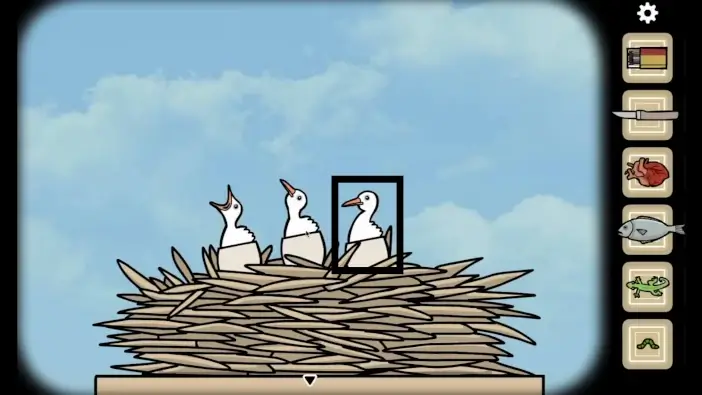
Click on the white birdling that has its beak closed and its head is lowered.
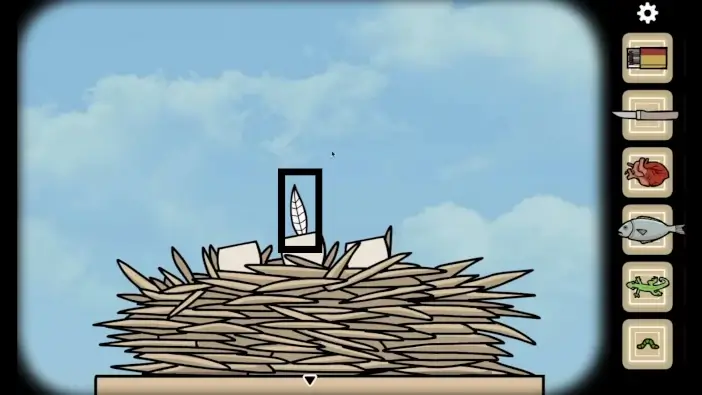
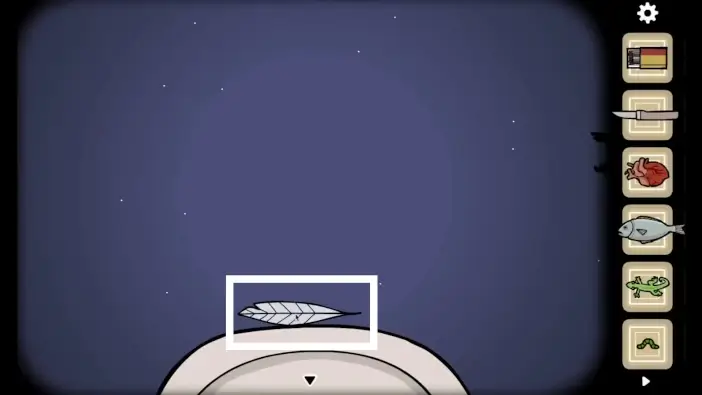
Finally, take the feather.
In the mirror area, take a closer look at the clouds.
When you move the clouds, they will change their shapes. Move them in a way to form shapes like in the picture above.

The previous clouds will go and you will have a new cloud. Put it in the position like in the picture above and you will get a clue for the clock.
Go to the clock and set the clock hands like in the cloud clue. You will change the time of day.

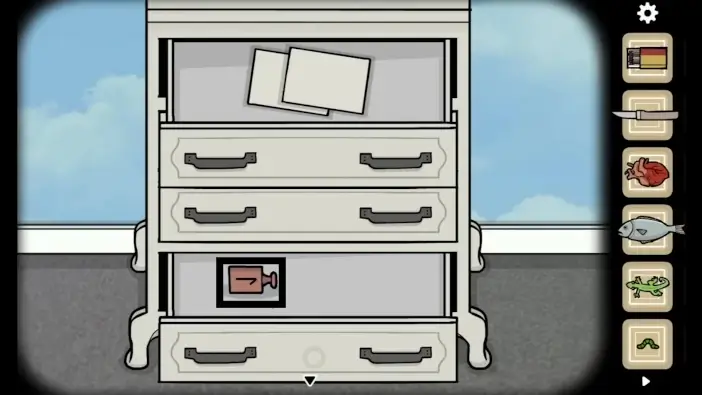
Go to the drawer area. A paper plane will appear. Click on it and it will fall to the ground. Approach it.
Unfold the paper. Remember the clue and take the 2nd feather.
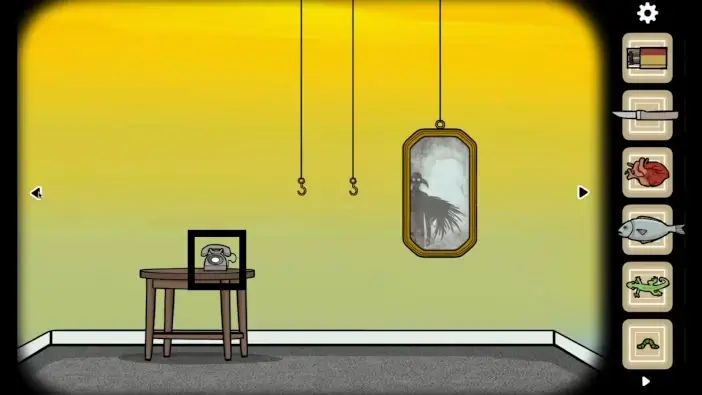
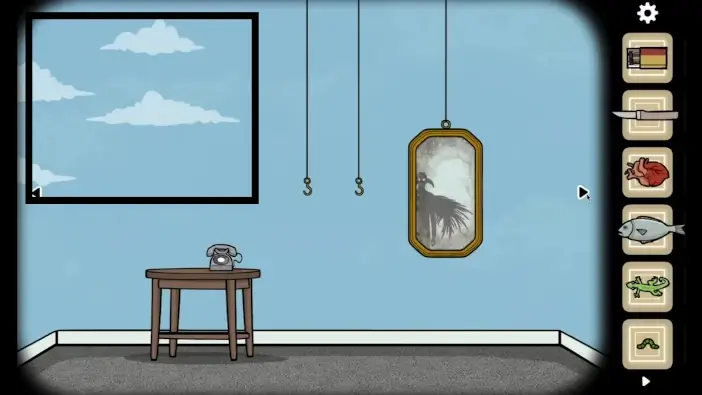
Go to the mirror area and approach the phone.
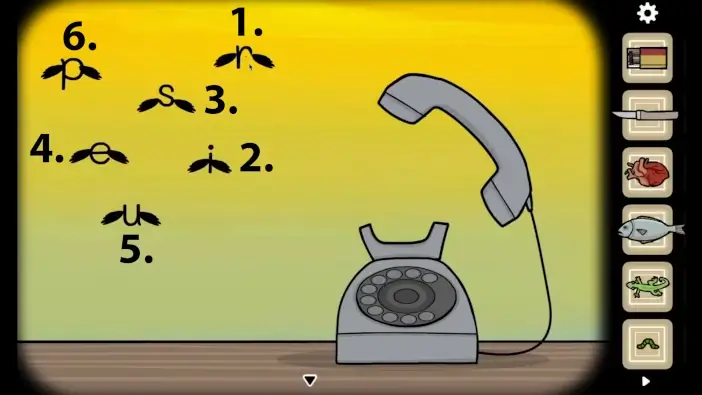
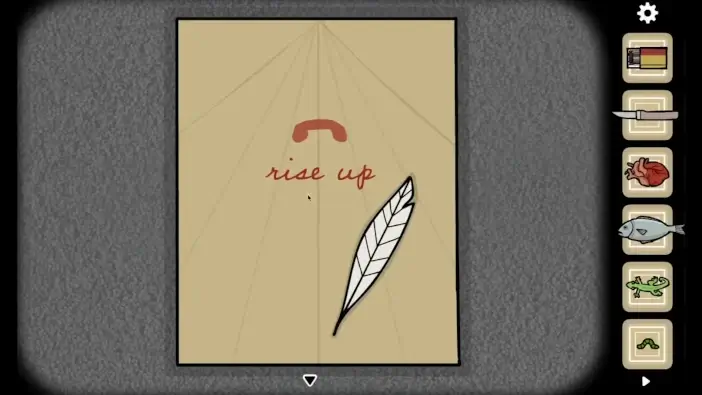
Pick up the phone. Click on the letters following the order of the sentence: “Rise up”.
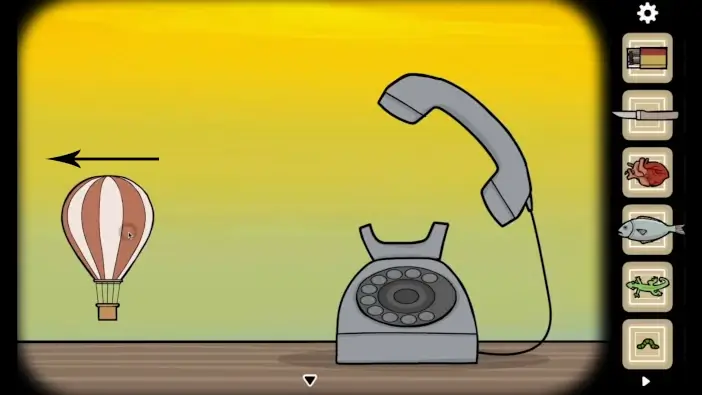
The air balloon will appear. Drag it to the left.
Go to the clock area. Click on the air balloon. The balloon will rise.
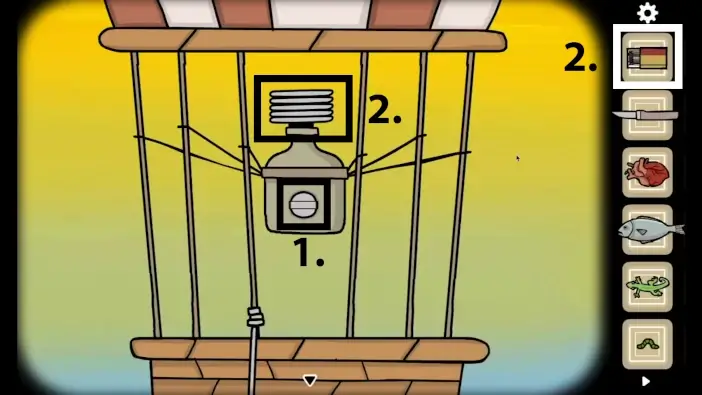
- Turn on the burner.
- Light the burner with matches.
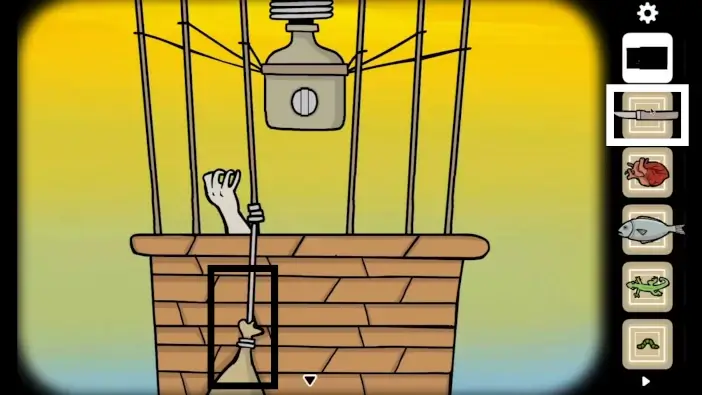
When the air balloon goes up, cut the rope that holds the sack.
- Leave the balloon and approach the sack. Click on the sack several times to extract the items from it.
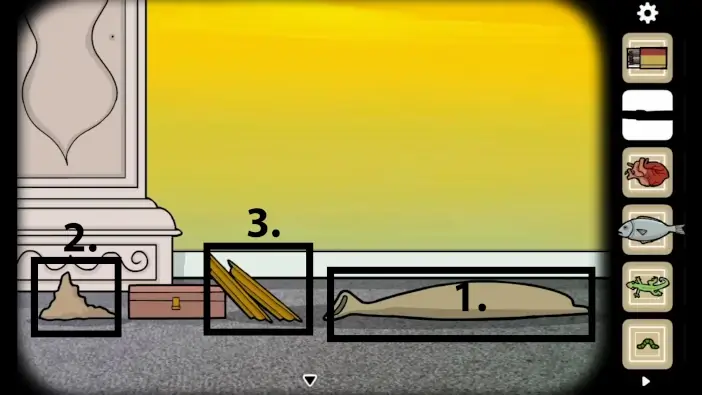
- Pick the sand.
- Pick the scales.
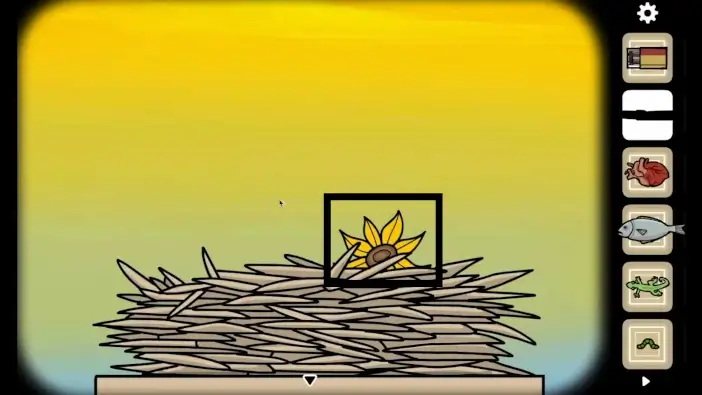
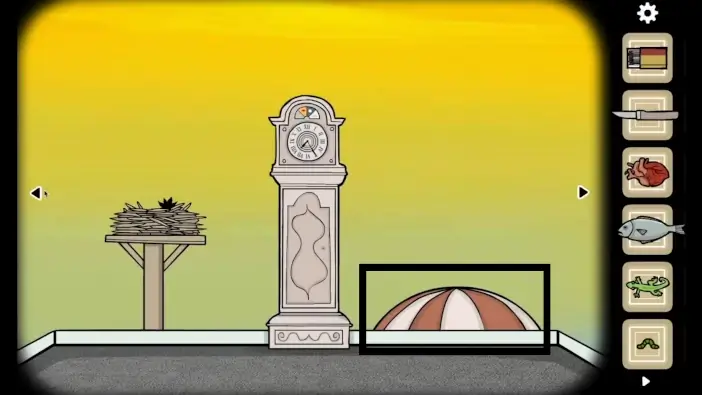
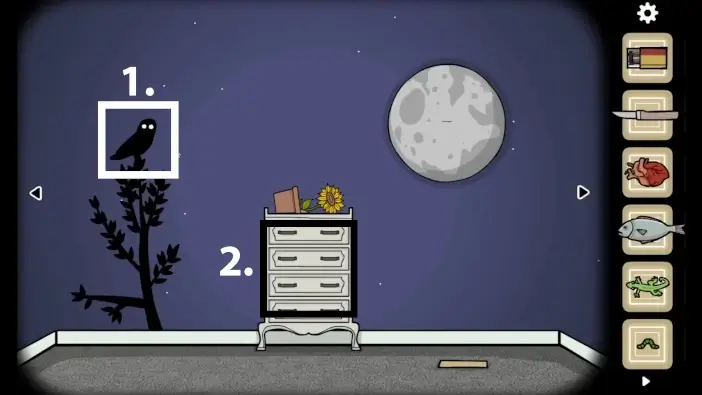
While still in the clock area, approach the nest. Pick the sunflower.
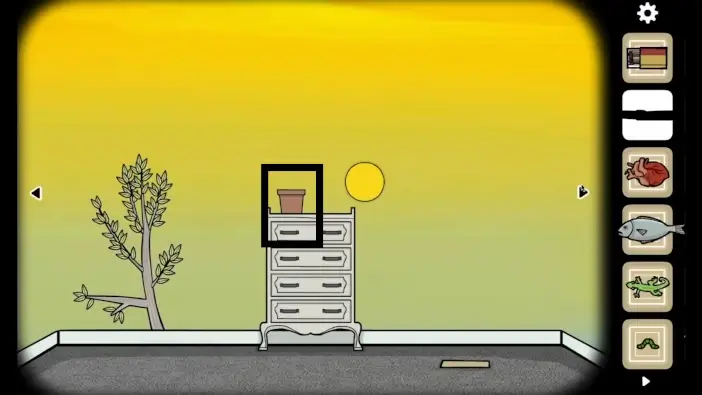
Go to the drawer area. Approach the flowerpot.
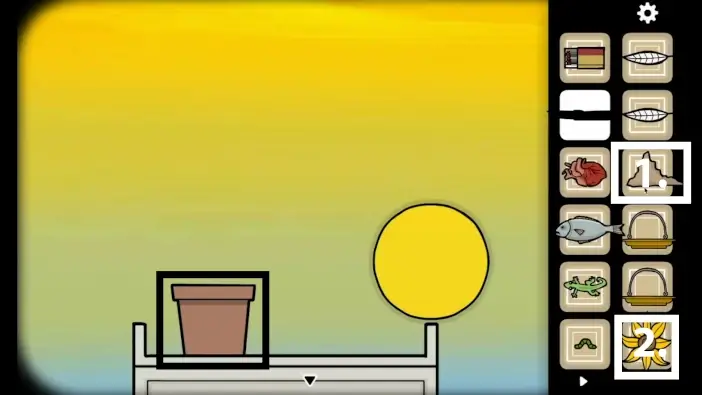
- Place the sand into the flowerpot.
- Place the sunflower into the flowerpot.
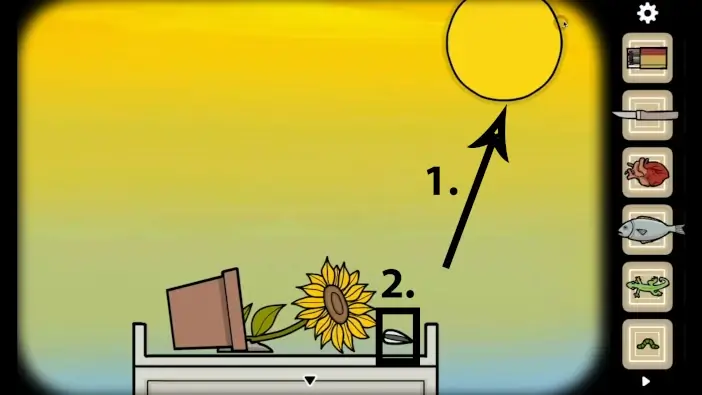
- Drag the sun upward and then to the right toward the top right corner of the screen. The sunflower will follow the sun and it will fall.
- When the sunflower falls, pick the sunflower seed.
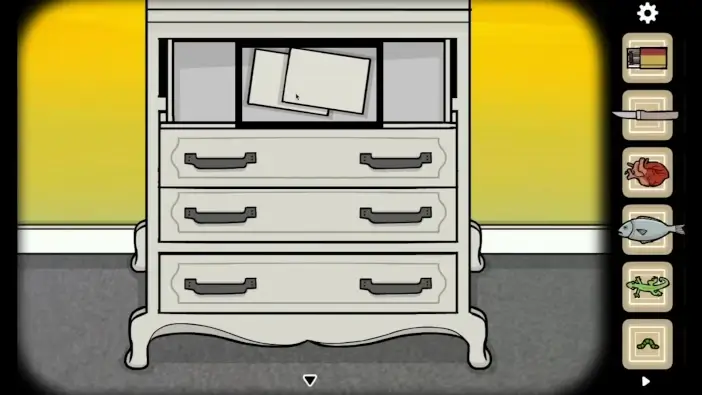
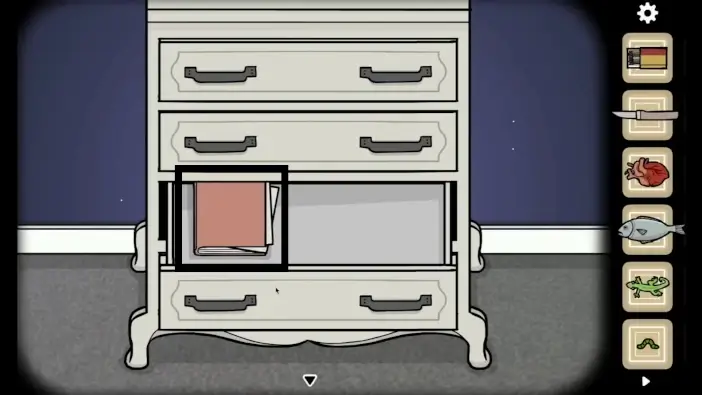
Open the drawer and take a look at the notes.
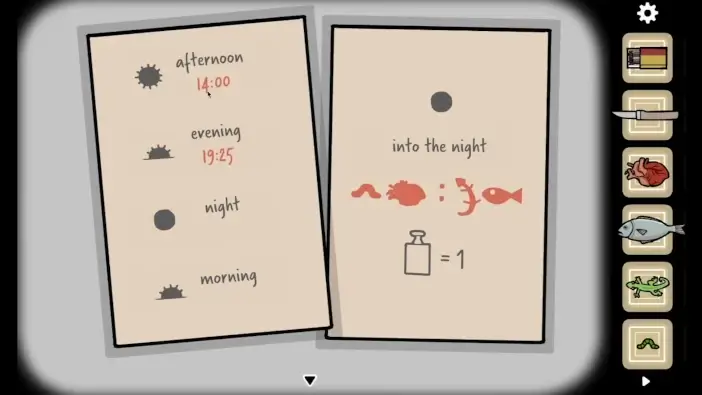
You will need to find a way to place the clock hands to transition the time of day to night.
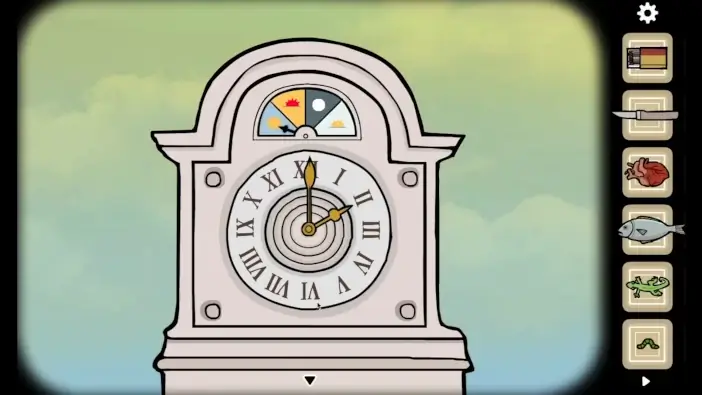
Approach the clock and set the clock hands like in the picture above, to change the day to afternoon.
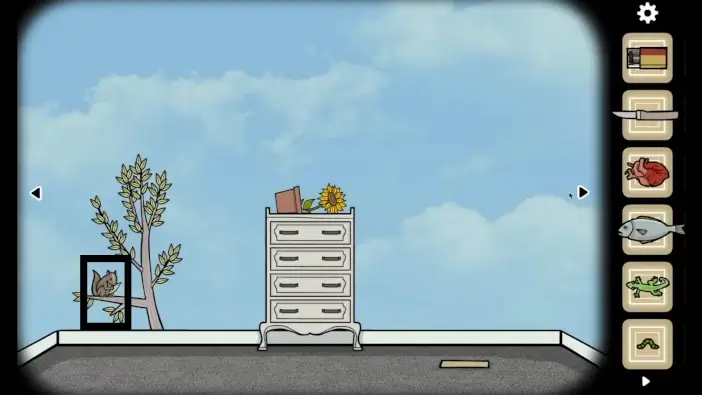
Go to the drawer area and approach the squirrel.
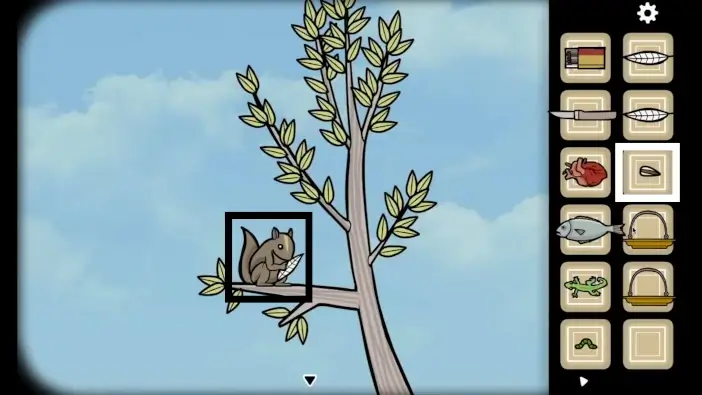
Give the sunflower seed to the squirrel and pick the 3rd feather.
Open the bottom drawer and pick the weight.
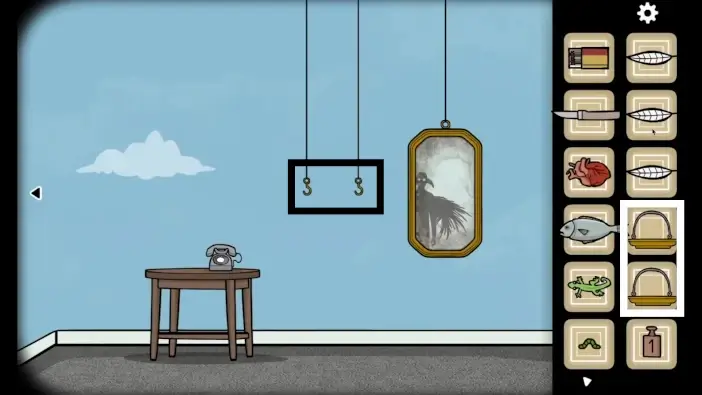
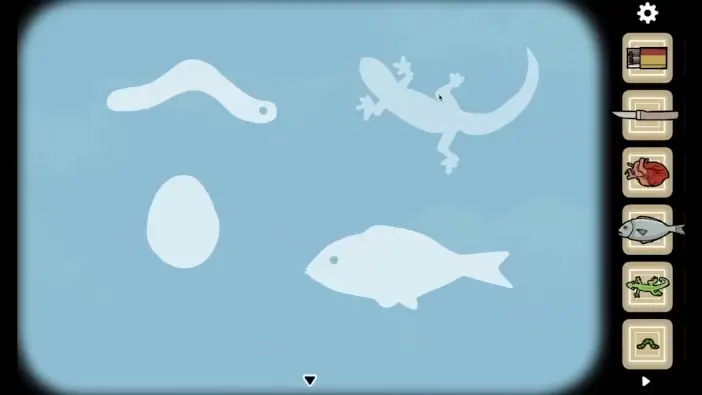
Go to the mirror area and place the scales on the hooks. Using the scales and the weight that has 1 kg, you need to figure out the weights of the fish, the gecko lizard, the worm, and the heart. The solution is: worm = 0 kg, heart = 4 kg, gecko lizard = 1 kg, fish = 5 kg.
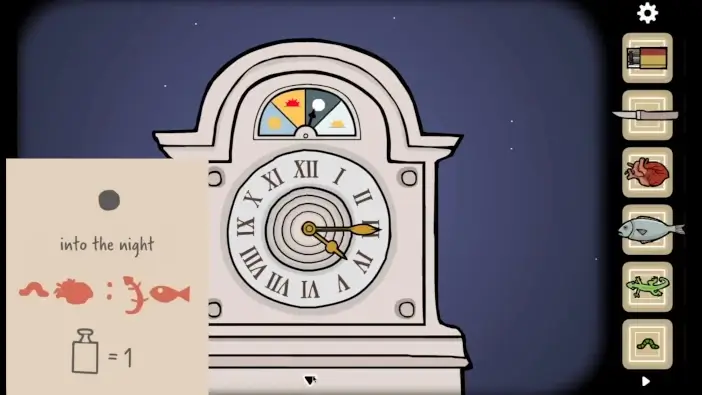
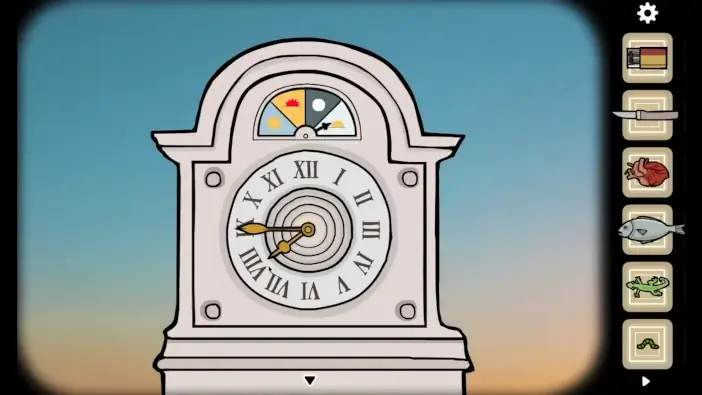
Go to the clock. Remember the clue from the notes in the drawer. Translate the items into the single digits, based on how much they weigh. If the item positions in the clue are: worm heart:lizard fish, then translated into their weight digits would be: 04:15. Place the clock hands to show 04:15 and you will change the day cycle to night.
- During the night, click on the owl to scare it away. She will land on the clock later.
- Approach the drawers.
Open one of the drawers and look at the notes.
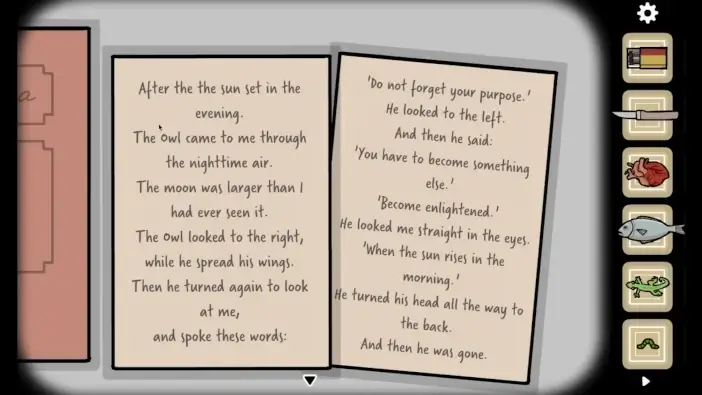
The text contains clues on how to move the owl’s head.
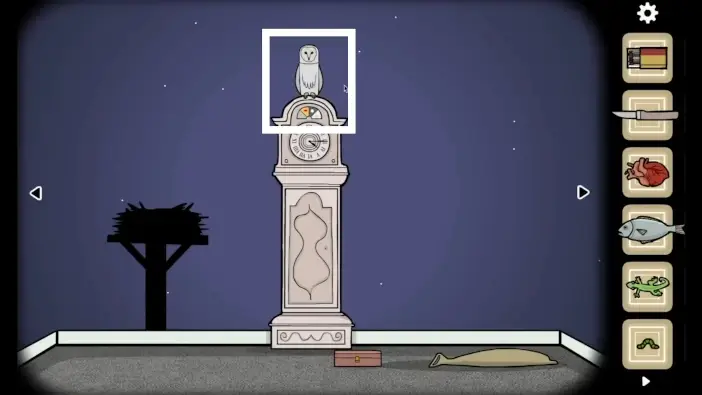
Go to the clock area and approach the owl.
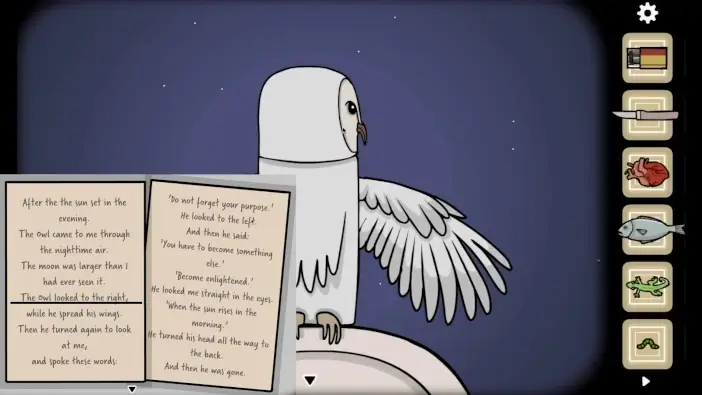
Turn the owl’s head to the right. Hold a mouse button and drag the head, then release it when it’s in the right position.
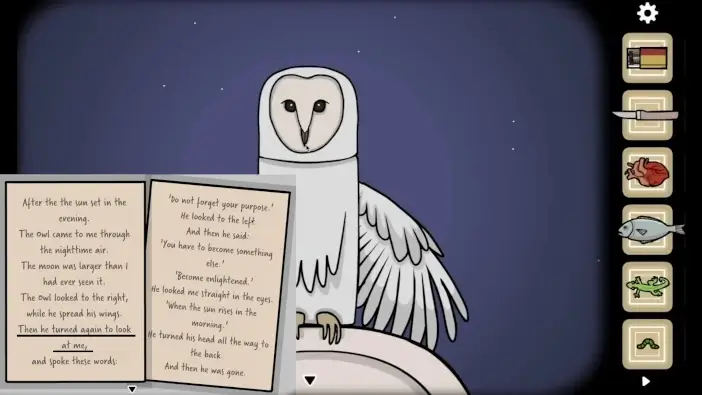
Turn the head to face you.
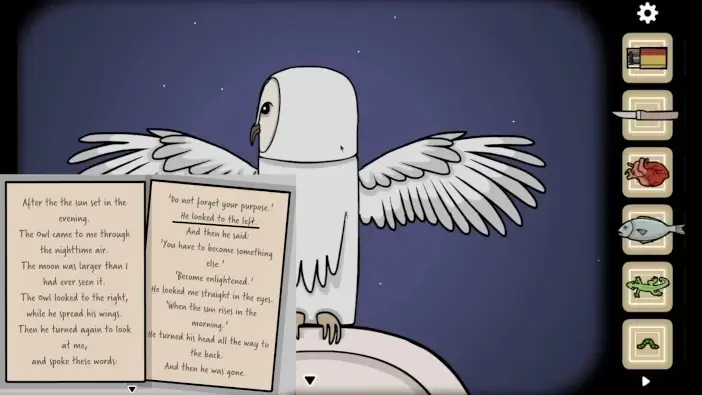
Turn the head to the left. You’ll need to move it to the right instead and make a half-circle, all the way until the head looks to the left. Hold a mouse button and drag the head, then release it when it’s in the right position.
Turn the head to face you.
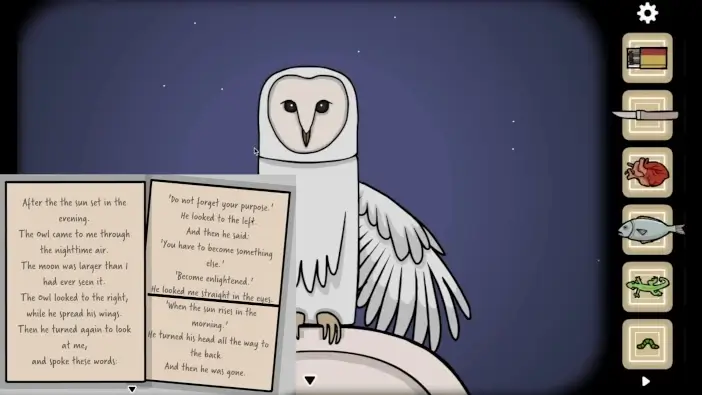
Turn the head 180 degrees, to look away from you.
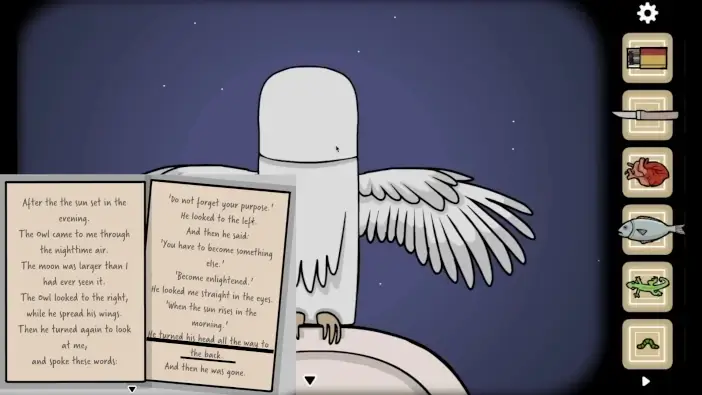
The owl will fly away. Pick the 4th feather.
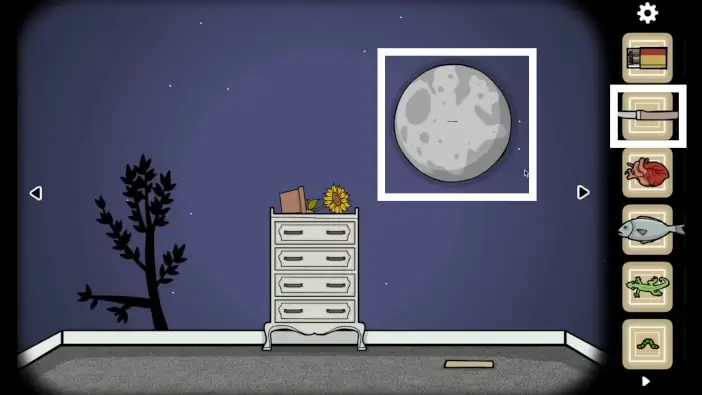
Approach the moon. Use a knife to cut the moon and reveal its eye.
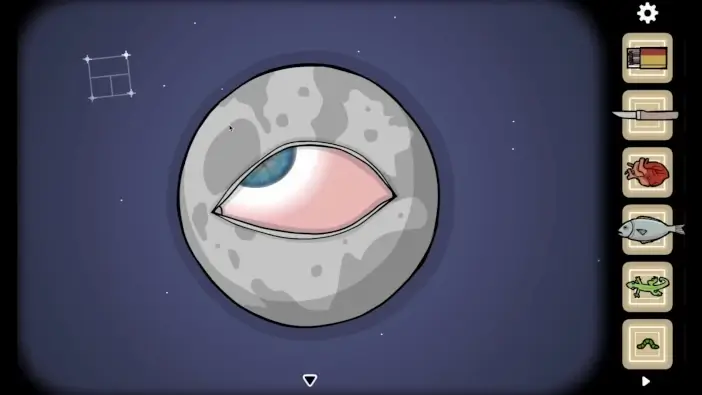
Move the mouse to the upper left corner to reveal a constellation. Remember all constellations you see and remember the direction where the eye is watching.
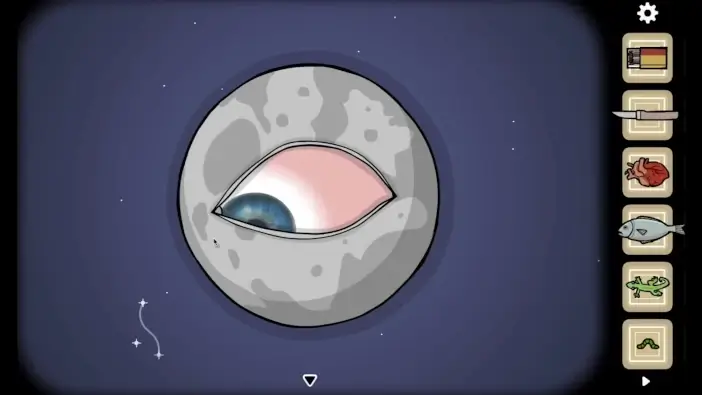
Move the mouse to the bottom left corner.
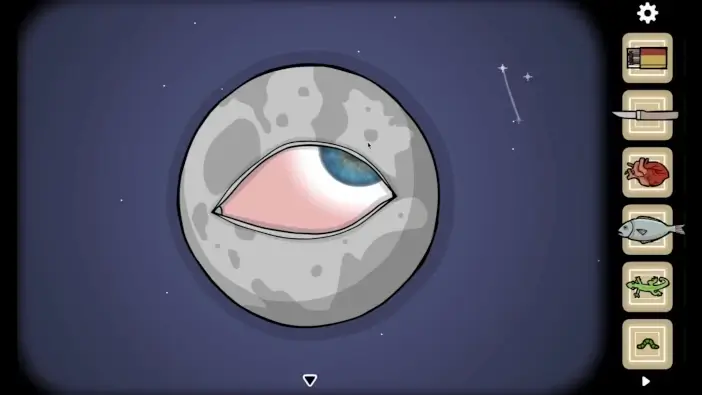
Move the mouse to the upper right corner.
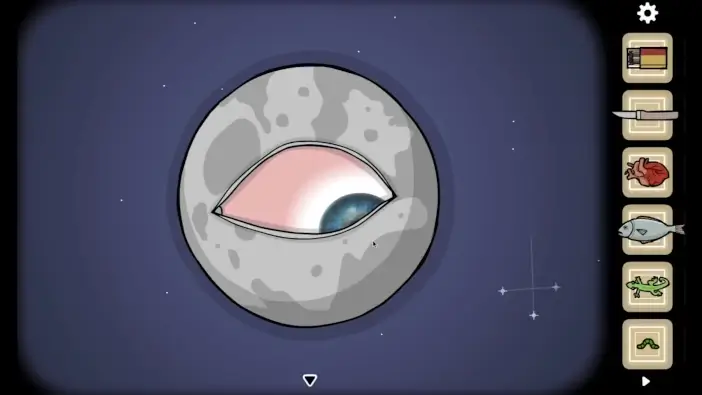
Move the mouse to the bottom right corner.
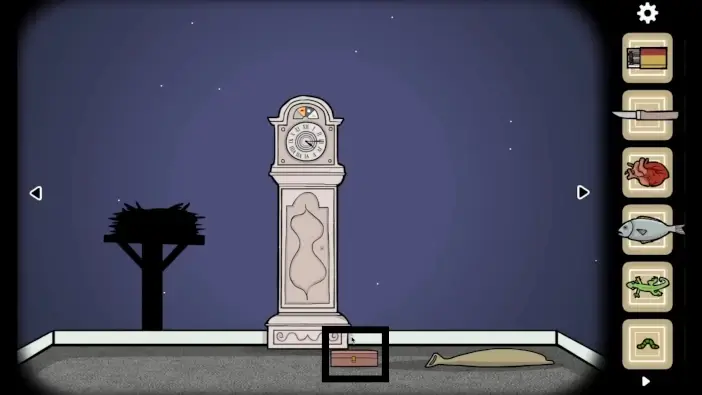
Go to the clock area and approach the strongbox.

Place the shapes of constellations you see in their correct spot. Their correct spots are the direction of where the moon-eye watched when they appeared. Open the strongbox.
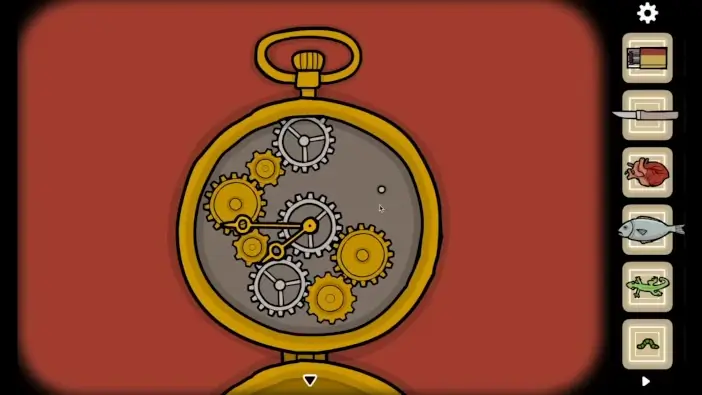
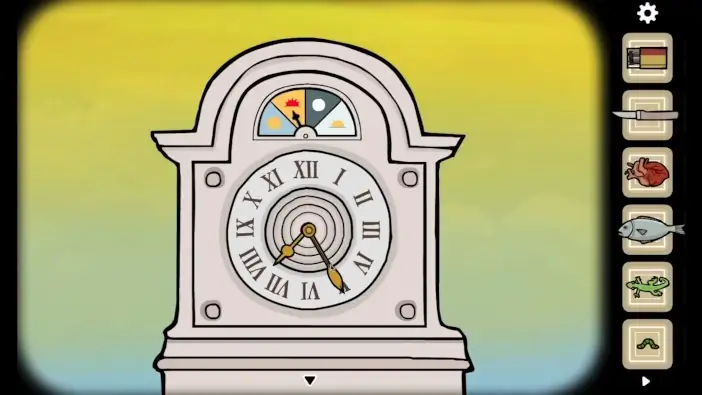
Open the pocket watch that has a mysterious symbol on it. Place the gears like in the picture above. All gears will work and the clock hands will start moving. After a few seconds, they will be stuck to a certain position. Remember the clock hands in that position.
Approach the clock and set the clock hands like they were in the pocket watch. The morning will come.
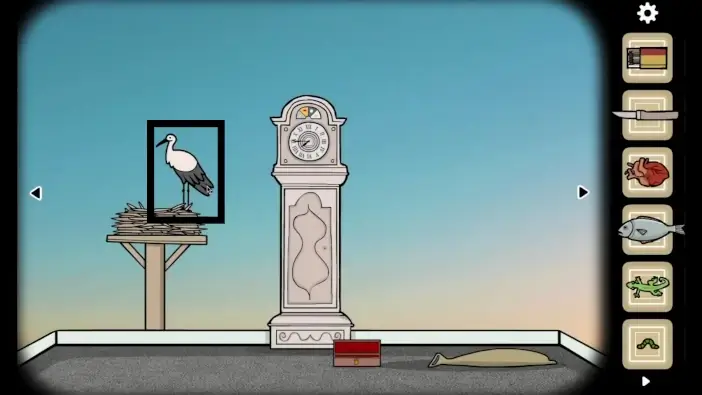
Approach the stork.
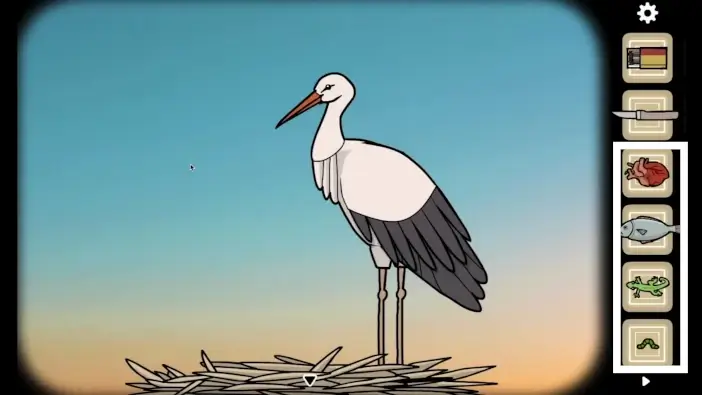
Feed the stork with human heart, fish, gecko lizard, and the worm.
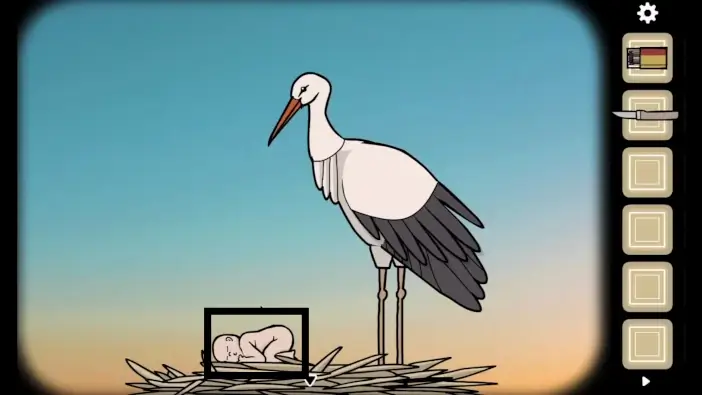
Click on the stork several times and it will bring a new human baby (which is your new body).
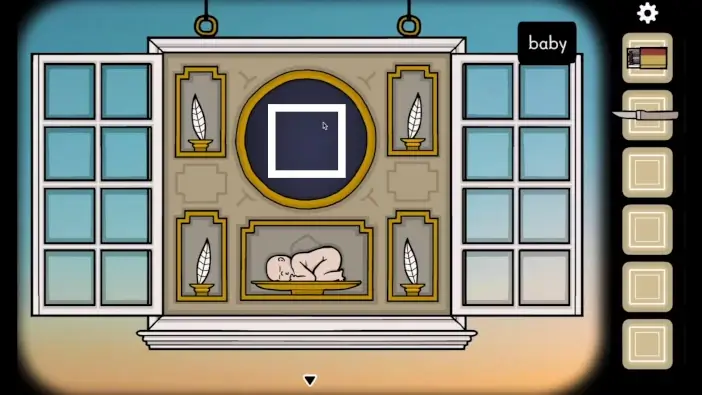
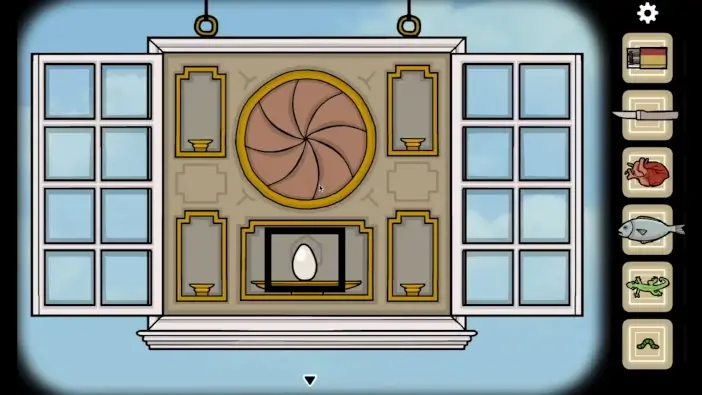
Go to the window, place all 4 feathers and place the baby on the plate. Go to the portal to be born again as human.
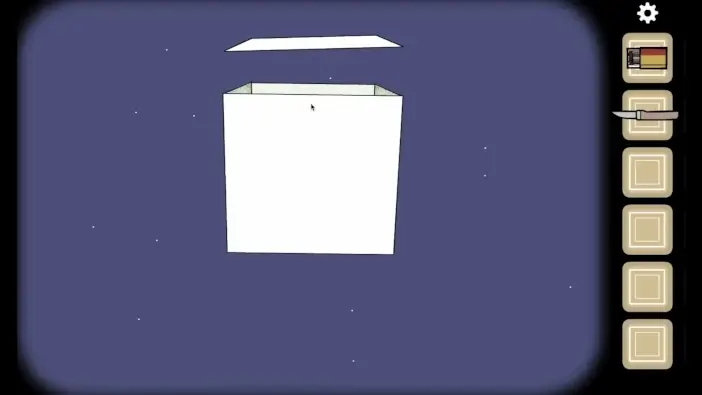
Remove all the sides of the white box, including the floor.
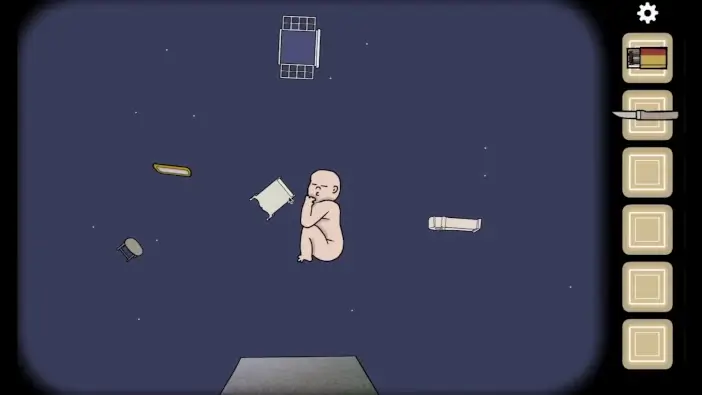
Click on all the items you see. In the end, click on the baby.
This will mark the end of our guide for the Samsara Room. If you made it this far, congratulations! You completed the game! Feel free to come back and check our other guides.
Thank you for reading!