Lost Lands 10 – Main Chapter | Part 4
Intro
Welcome to our walkthrough for Part 4 of the Main Chapter of “Lost Lands 10” from “FIVE-BN GAMES”. Folnur is not in his house while Susan and Maaron have learned that he went to a certain temple to visit a mysterious friend. They continued on the road where Folnur went.
Walkthrough
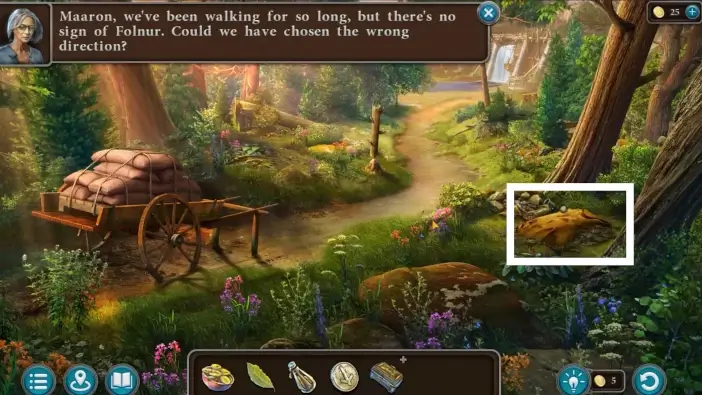
While on the road, approach the bonfire.
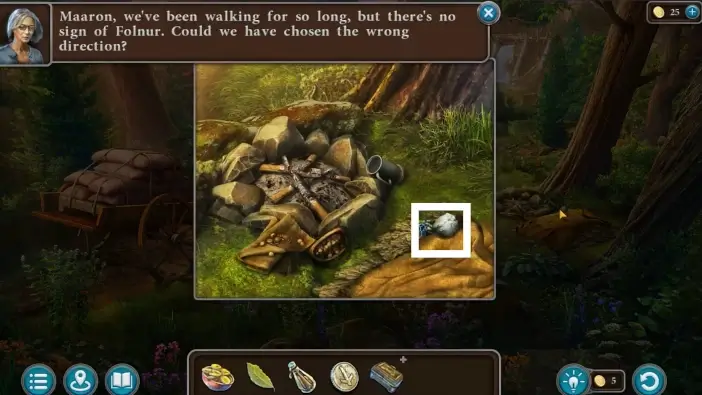
Pick the crumpled paper.
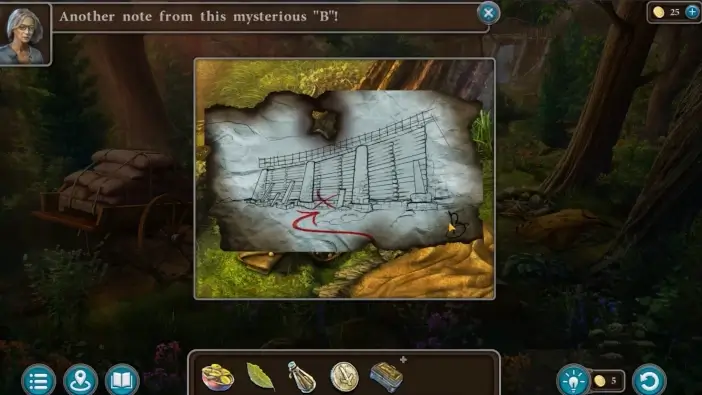
On it is the same initial as in the letter to Folnur. The paper shows a location below the dam.
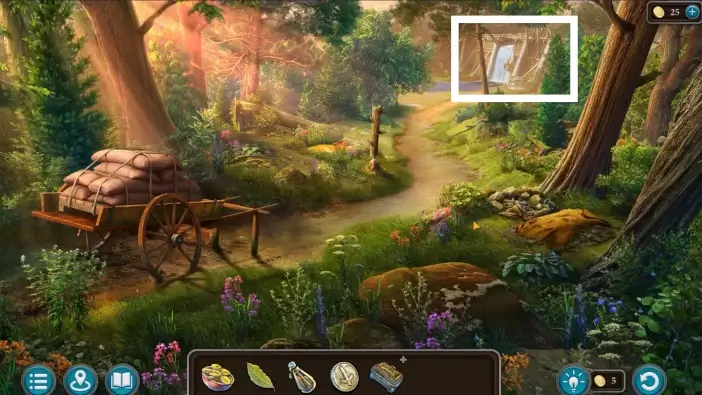
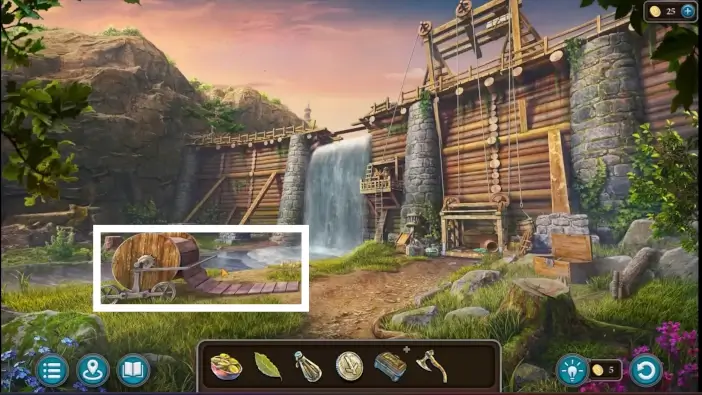
Continue to the dam.

The dam is broken by a recent explosion and one of the workers will say that he can’t lift you with an elevator. He’ll first need to load materials and tools into the elevator but the sandbags got stuck in the forest. First, you need to bring those bags to the dam. The dam worker will give you the key to the toolbox.
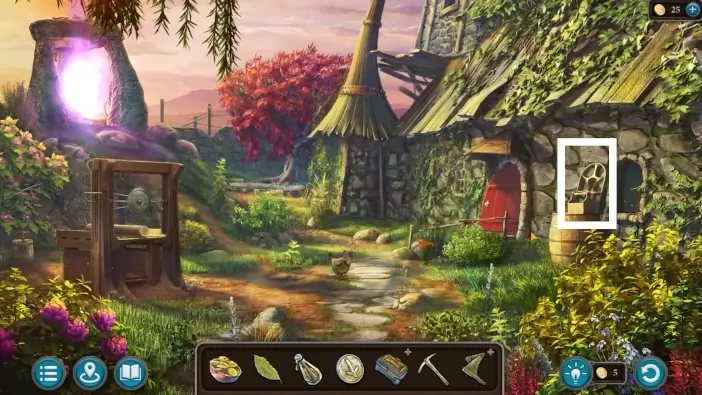
Approach the toolbox on the right side and unlock it with the key you just got from the worker.
Take the hatchet. You will use it multiple times.
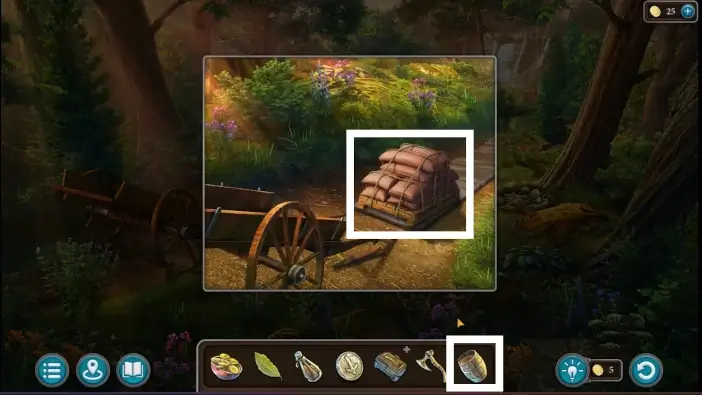
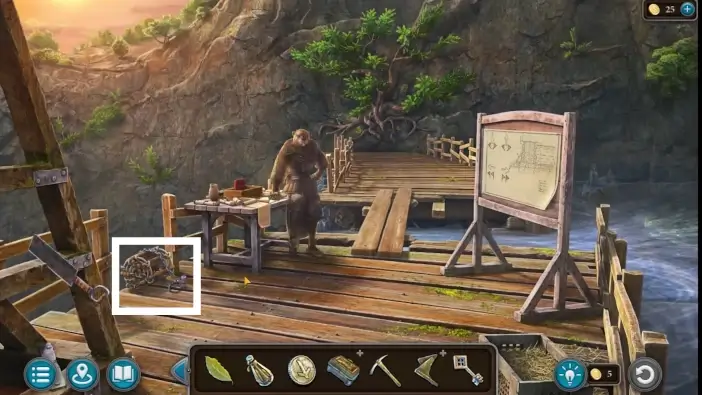
Take the reel with a ramp. It will help you move the cart with sandbags from the forest to the dam.
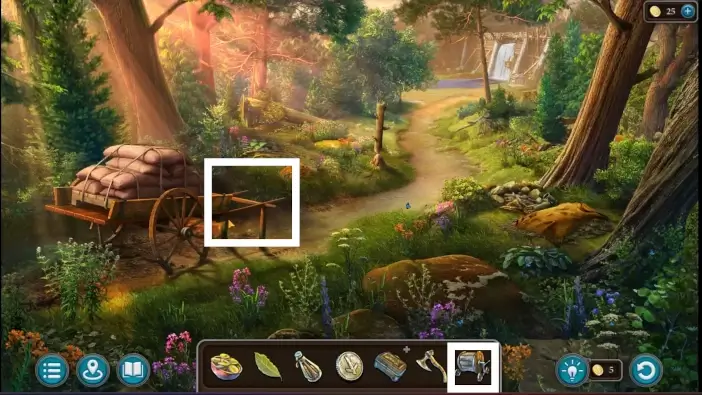
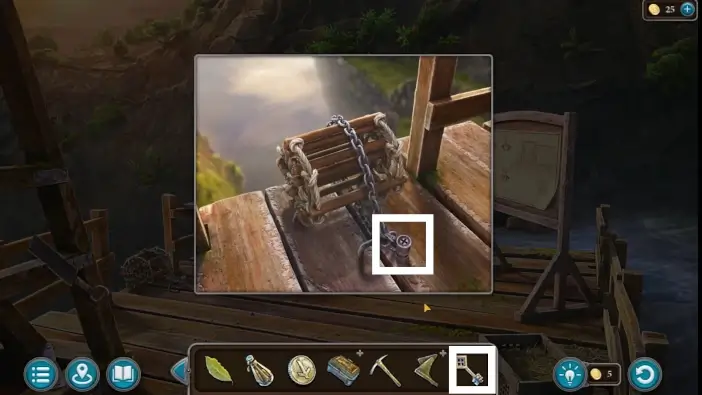
Go to the forest and place the reel in front of the car. The ramp will be placed automatically.
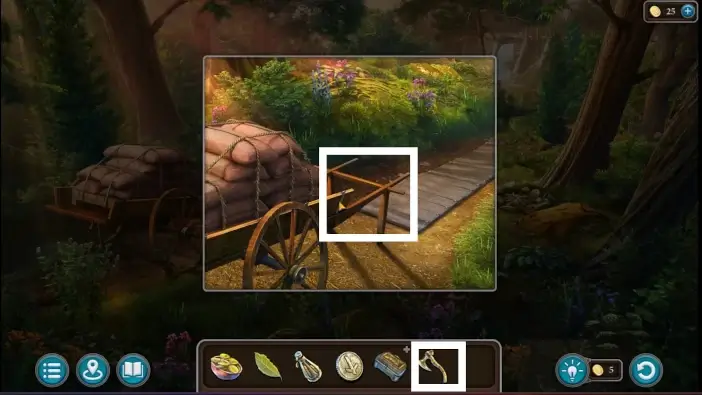
Cut the bars with your hatchet. The pallet will be placed on the ramp. Now you need something to ensure that the pallet will move fast on the ramp.
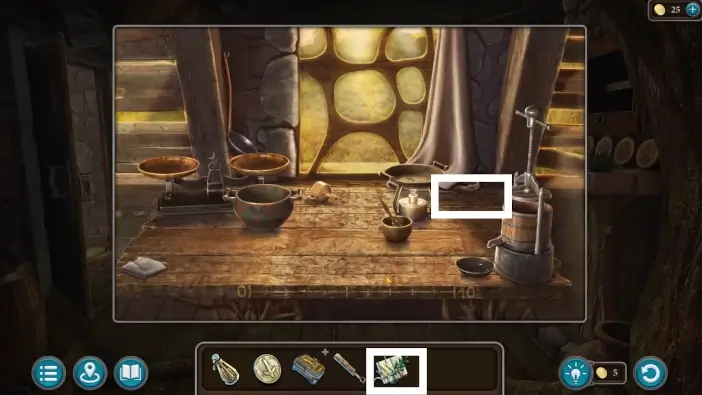
Go to the Maaron’s house, go to the room on the left and take the cup grease.
Return to the forest and place the cup of grease near the ramp.
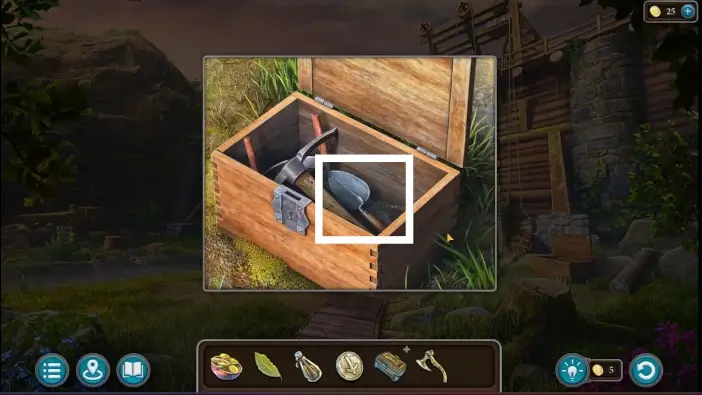
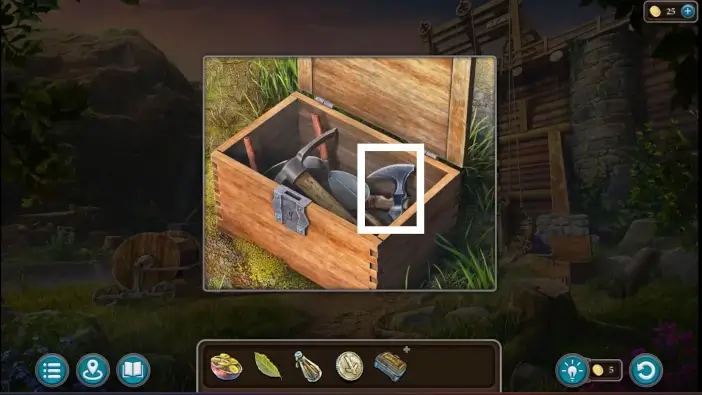
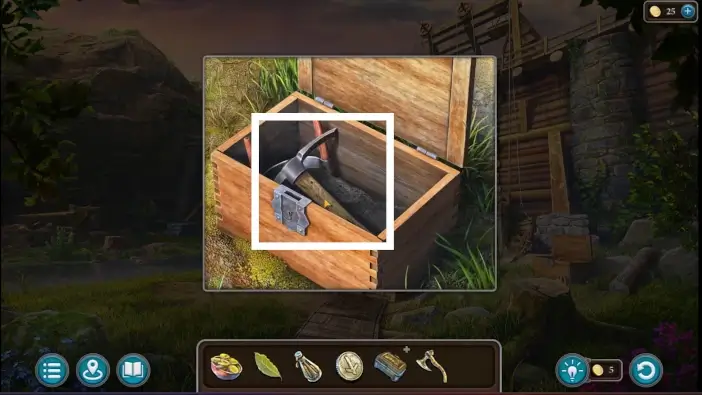
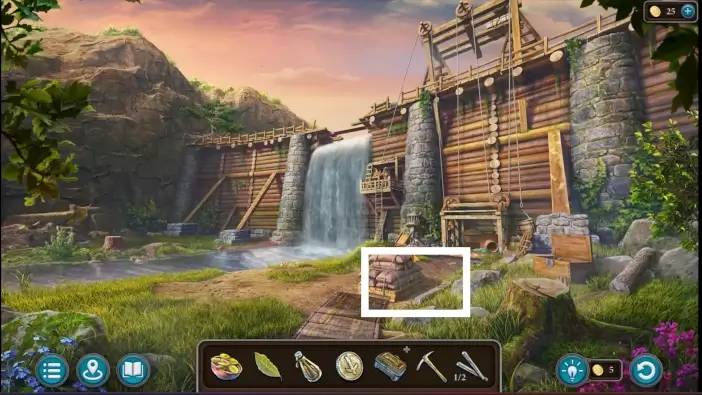
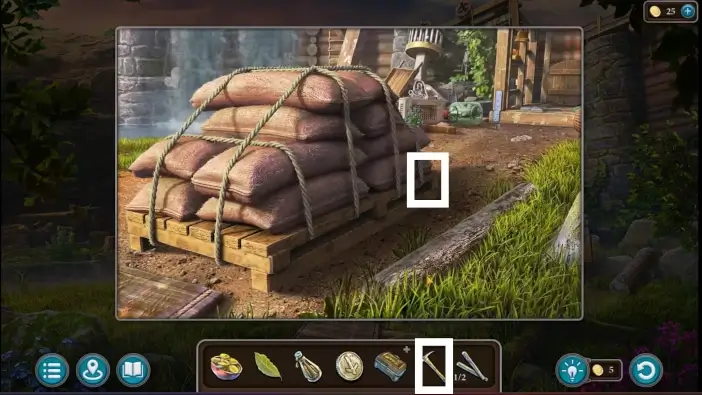
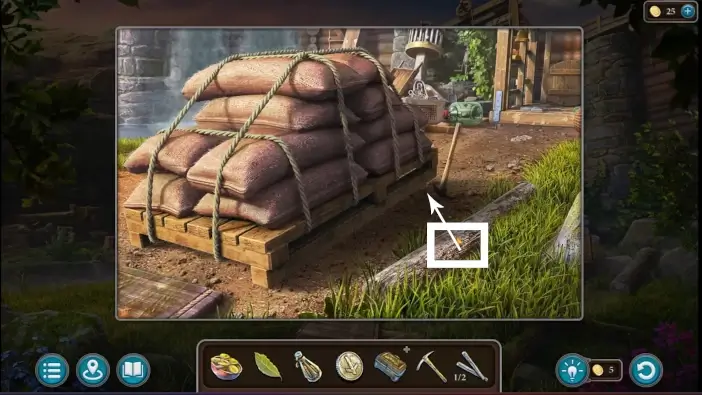
Return to the dam area and pick up the trowel from the chest.
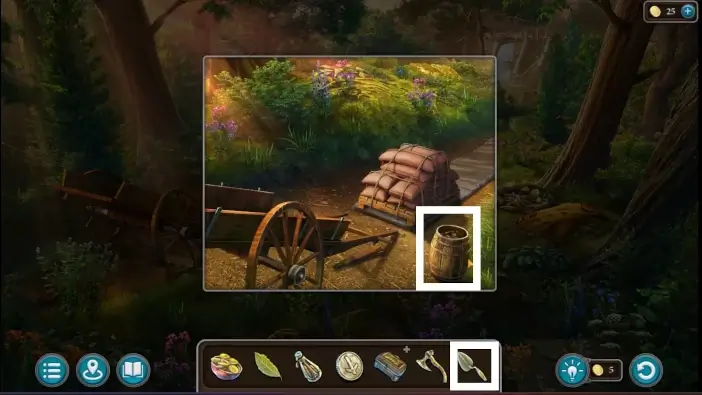
Go to the forest and use the trowel and grease to lubricate the ramp. A new challenge will begin.
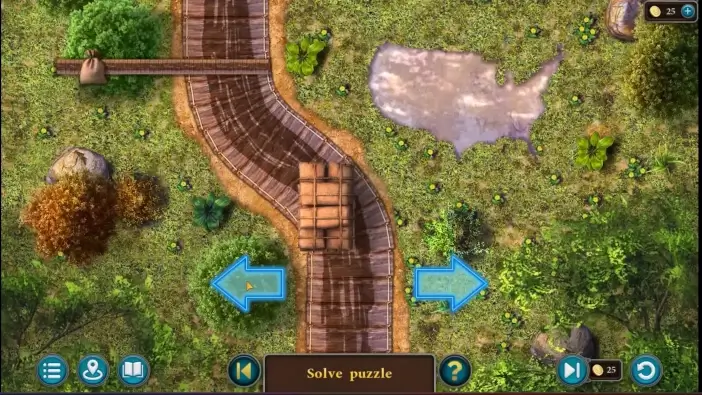
This challenge will be very easy. You need to use arrows to move the pallet left or right in time depending on where the ramp is. When you complete this challenge, the pallet will end up in front of the dam.
Go to the chest on the right and pick up the pickaxe. You will need it to lift the pallet.
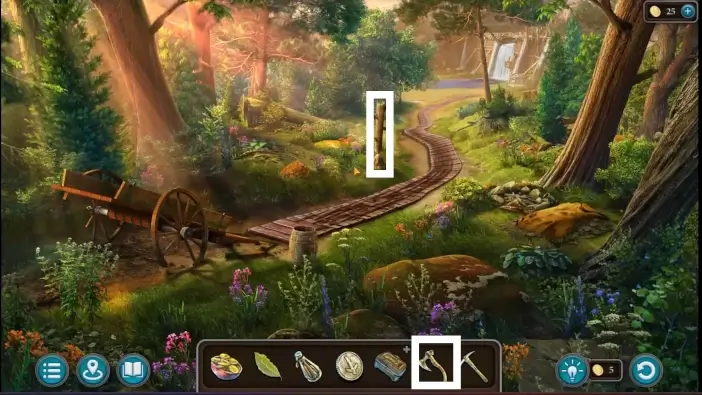
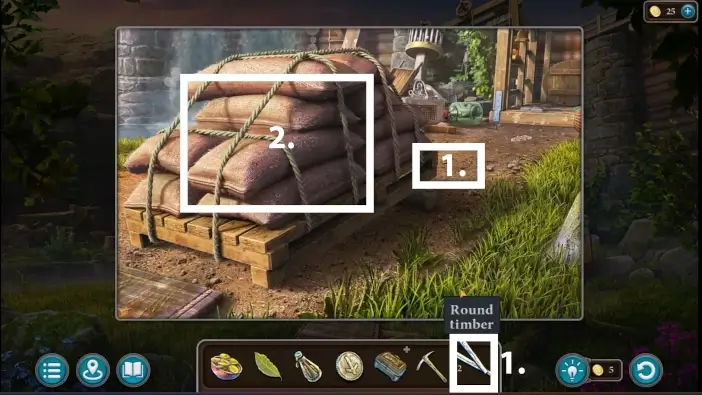
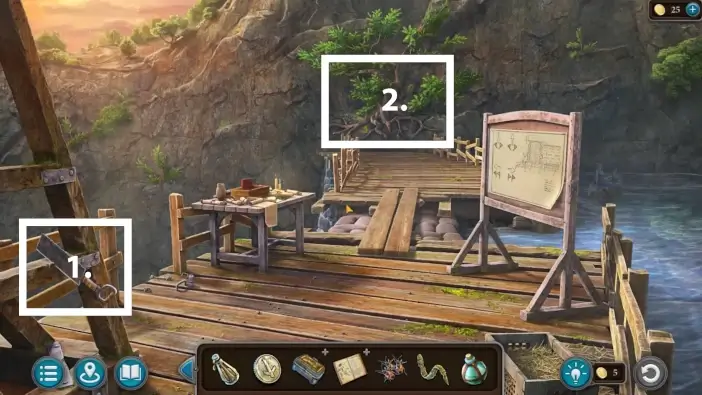
Go to the forest. Use a hatchet to cut down the tree. Take the rough timber.
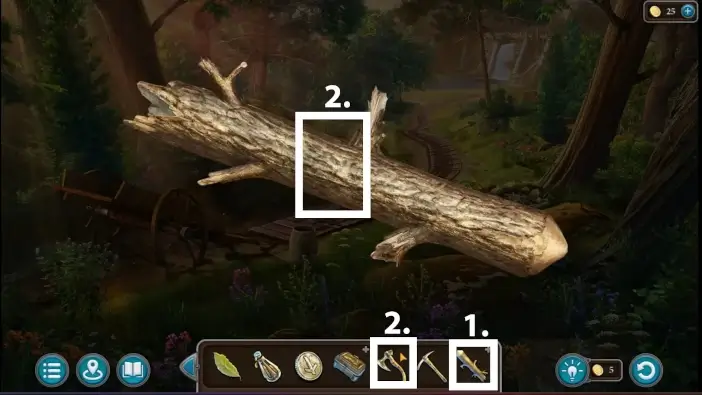
- Click on the rough timber in your inventory to examine it closer.
- Use a hatchet to cut the branches.
Go to the box in front of the dam and take the carpenter’s drawknife.
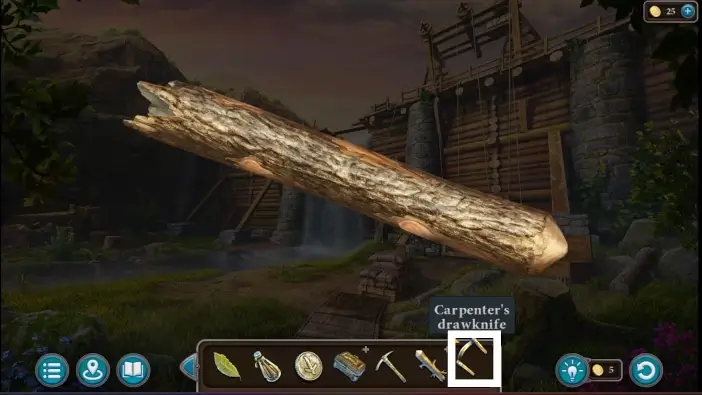
Use the carpenter’s drawknife on the rough timber and you will get a round timber in your inventory. You’ll need one more round timber to collect.
Approach the pallet.
Use a pickaxe to lift the pallet.
There will be a log lying on the ground next to the pallet. Place that log underneath the pallet.
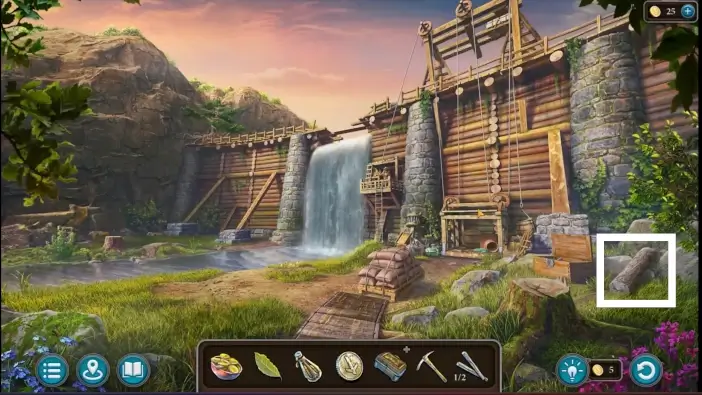
Pick the second round timber, it will be on the far right side of the screen.
- Place the two round logs from your inventory in front of the pallet.
- Click on the pallet to move it to the elevator.
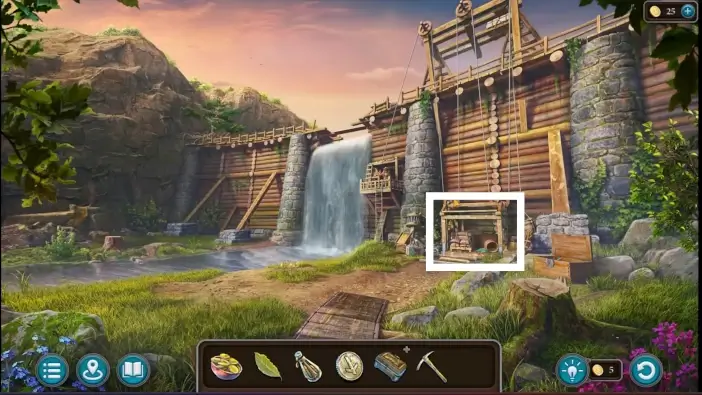
Go to the elevator.
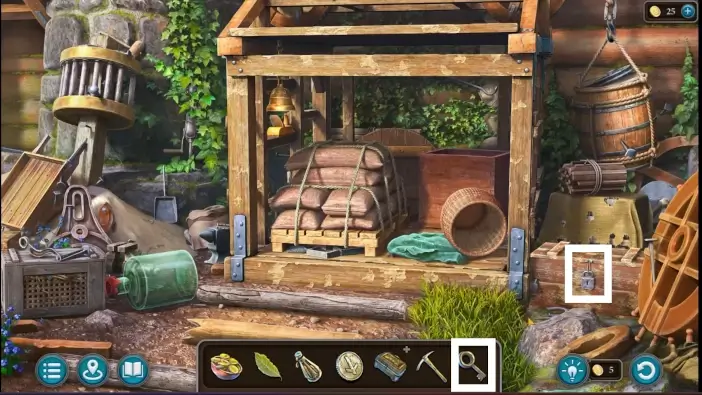
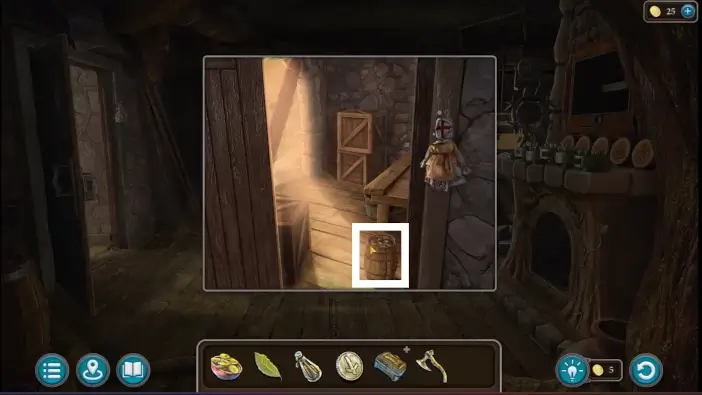
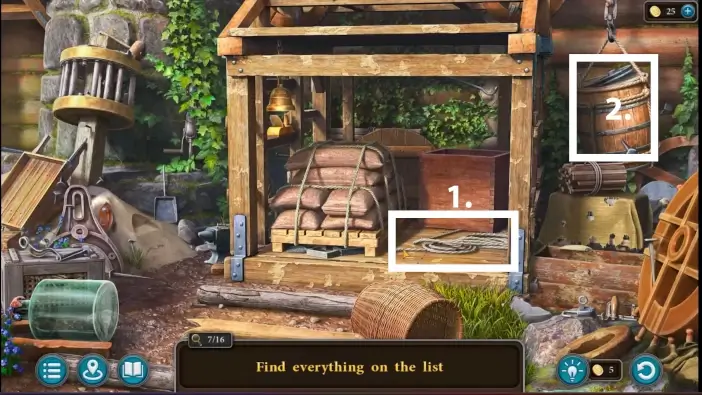
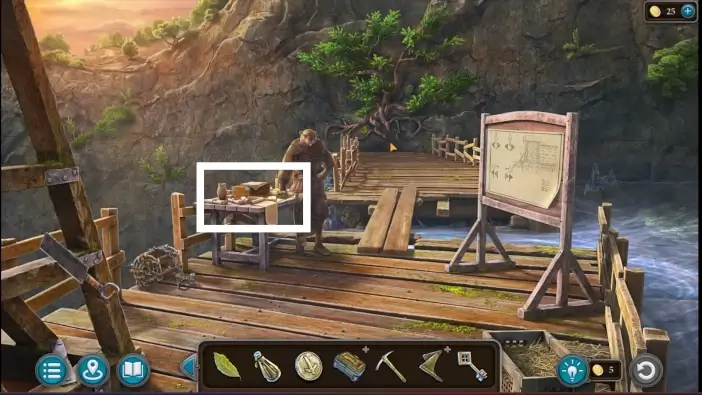
The dam worker will give you another key to open a box where you will find a list of items you need to grab and place into the elevator. Use the key to open the box on the right.
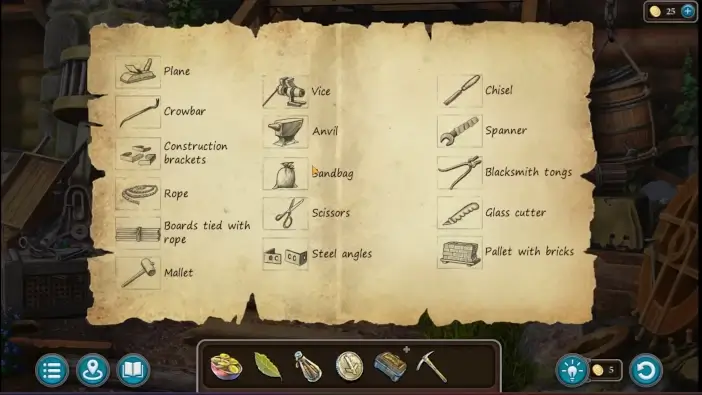
Take the list.
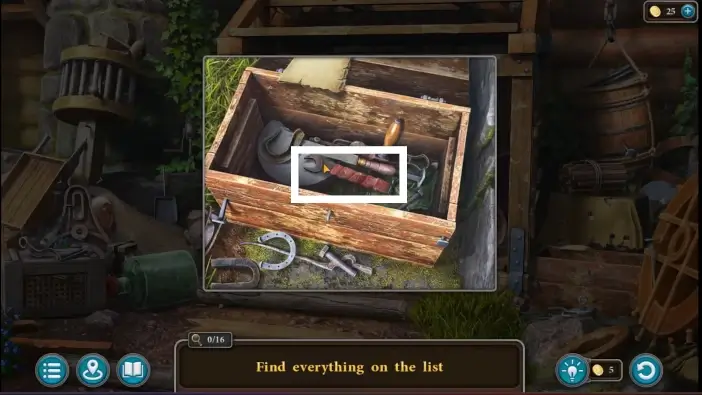
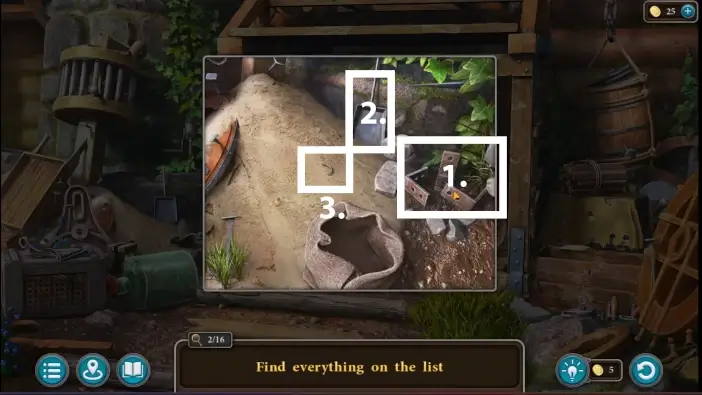
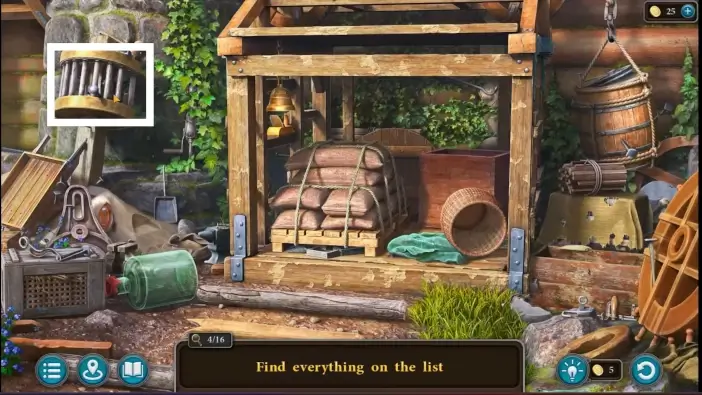
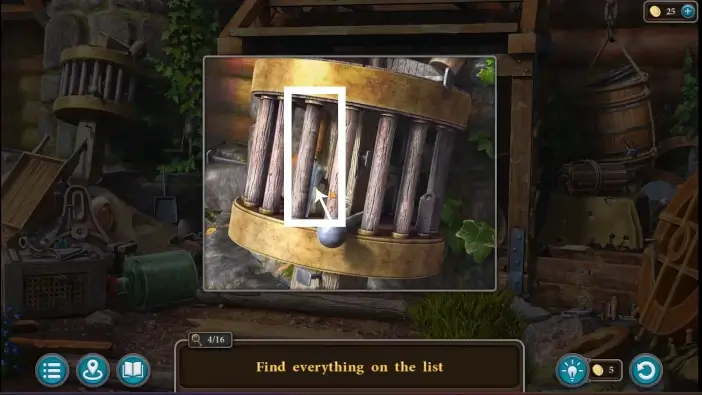
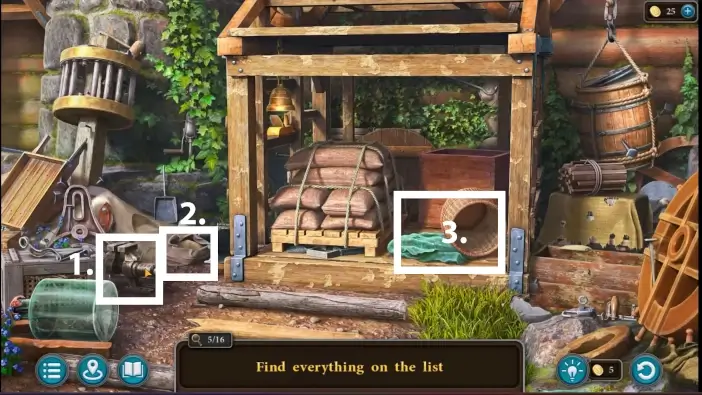
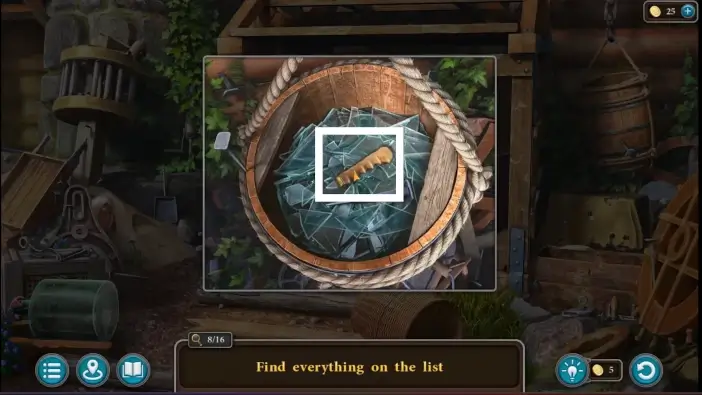
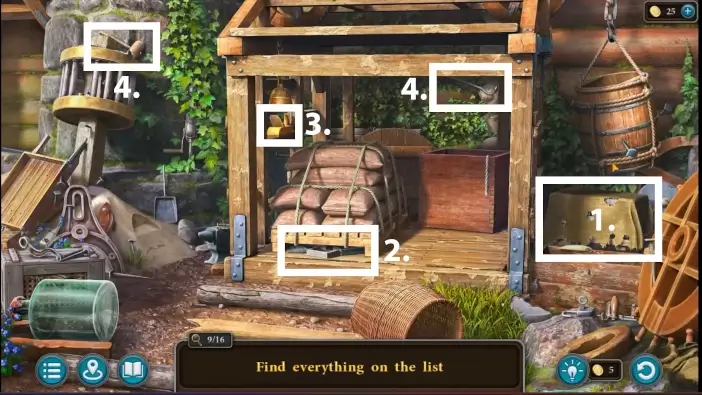
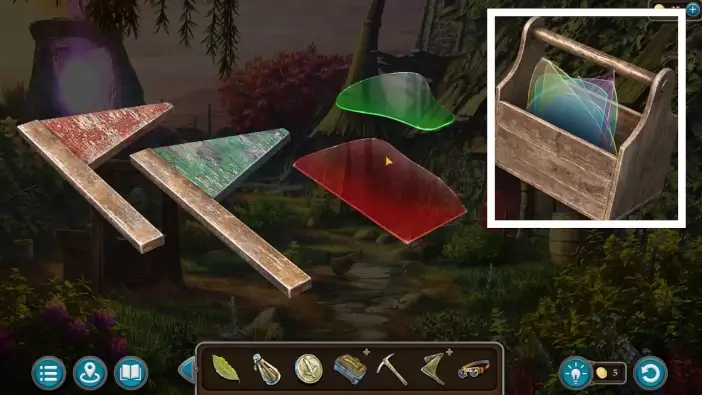
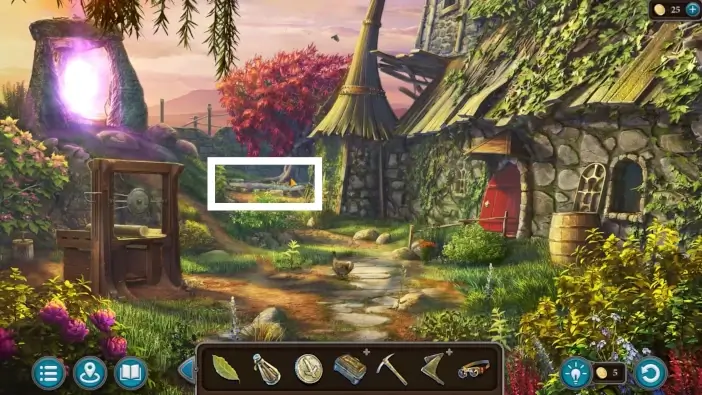
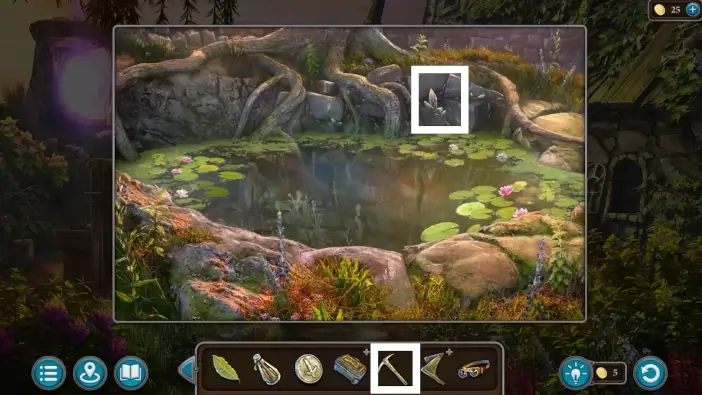
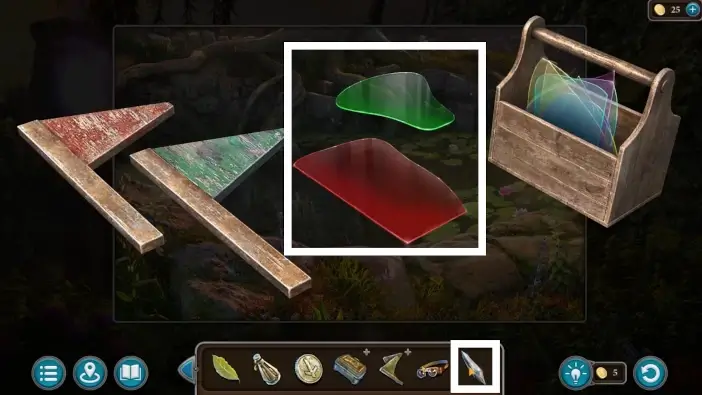
A new challenge will start where you need to find all sixteen objects. Follow the pictures from this guide to see where they are.
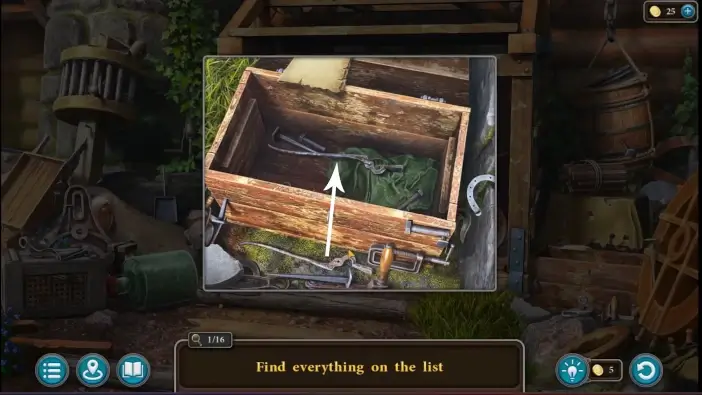
When you see an arrow in the picture, that means that you need to use one item to interact with another.


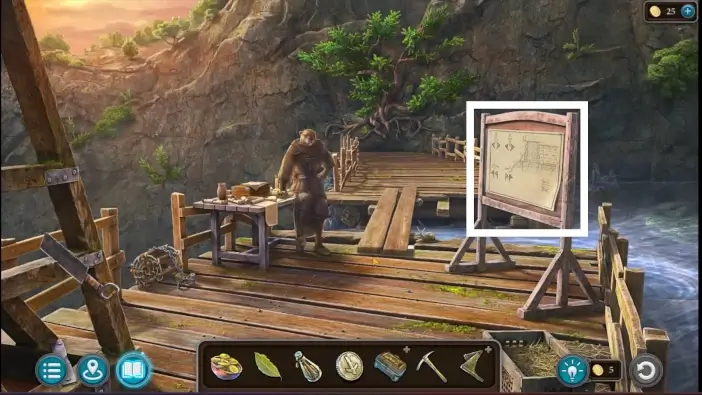
When you finish finding items, you will be transported to the dam together with the materials via elevator. Susan and Maaron will meet their old friend Korko and the cutscene will start. Korko will inform them that the explosion happened last night and caused the upper part of the dam to collapse. Susan can help him plug the gap by signaling from below the dam with special signal flags but they are old and the paint on them has faded.
Once the conversation is over you will get the old flags in your inventory. Approach the noticeboard on the right.

- Read the instructions on how to use the flags.
- Take the key hidden below the paper. It is a key for the ladder.
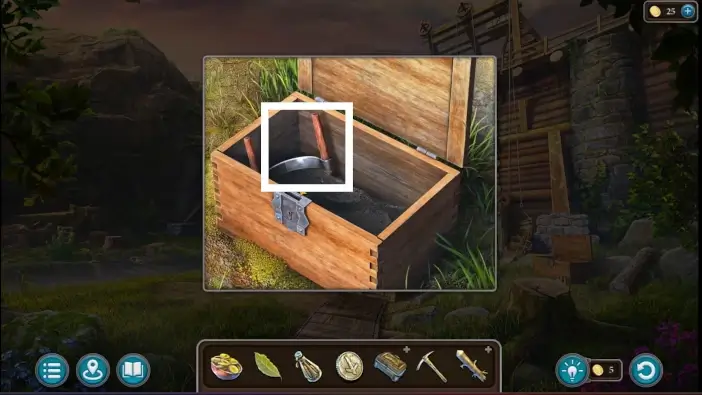
Approach the desk.
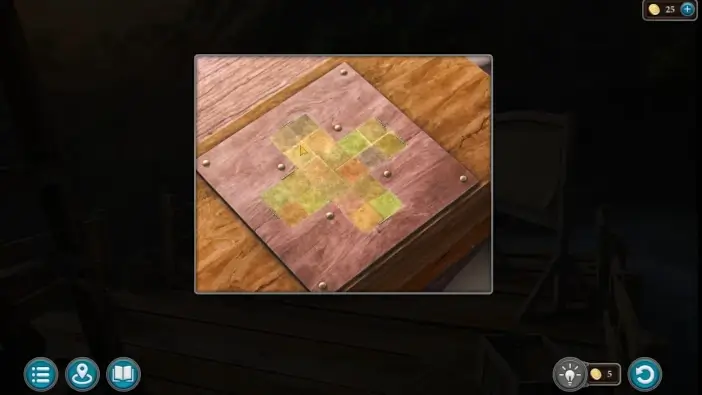
Unlock the chest by closing all the notches. Open the chest inside the box. This chest contains a set of syringes. You will use them much later when you need to collect blood samples of animals for a ritual.
Approach the ladder.
Use a key you got from the noticeboard to lower the ladder.
Go to the Maaron’s courtyard and approach the window.
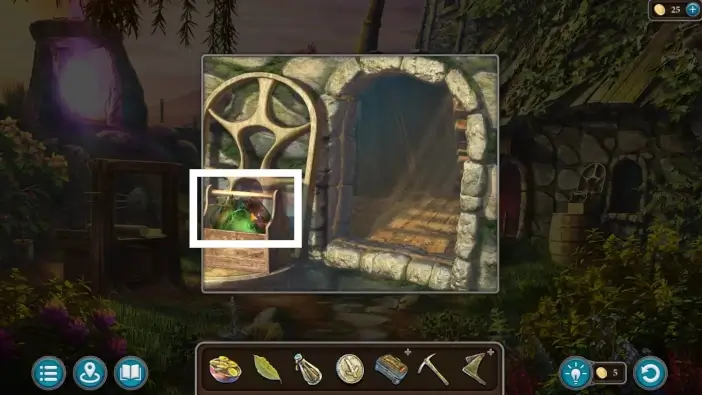
Take the colored glass.

Go into the forest. Approach the bonfire.
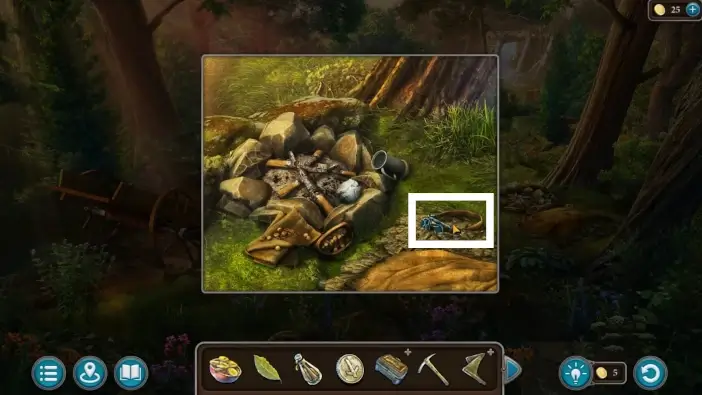
Take the Folnur’s glasses. You will need it to melt the sugar lollipops.
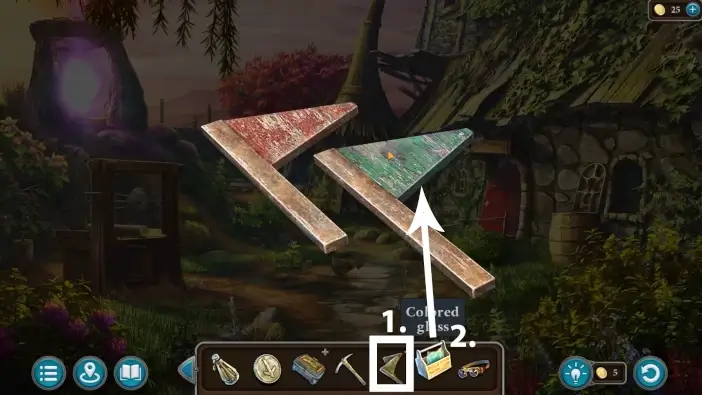
- Click on the old flags in your inventory to examine them.
- Use the colored glasses on them.
Click on the box to take out the red and green glasses from the box.
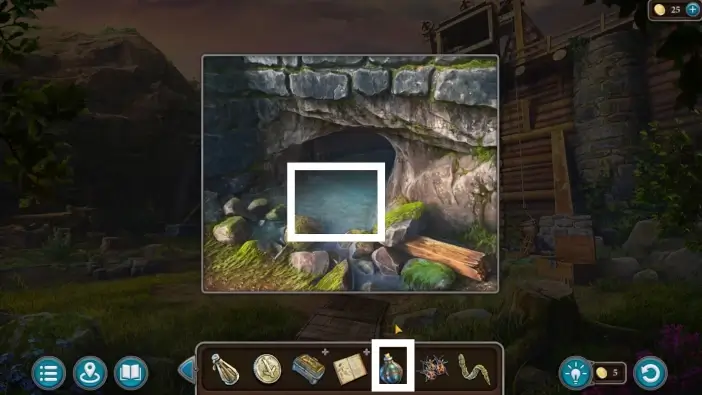
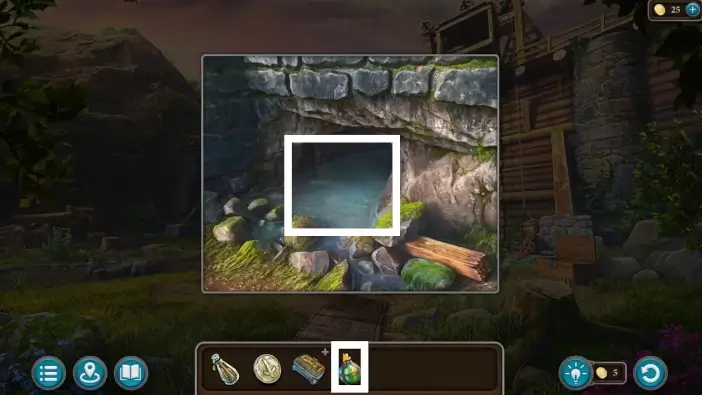
Go to the lake.
Use a pickaxe to get the diamond crystal.
Click on the old flags in your inventory to continue the process. Use the diamond crystal to shape the colored glass.
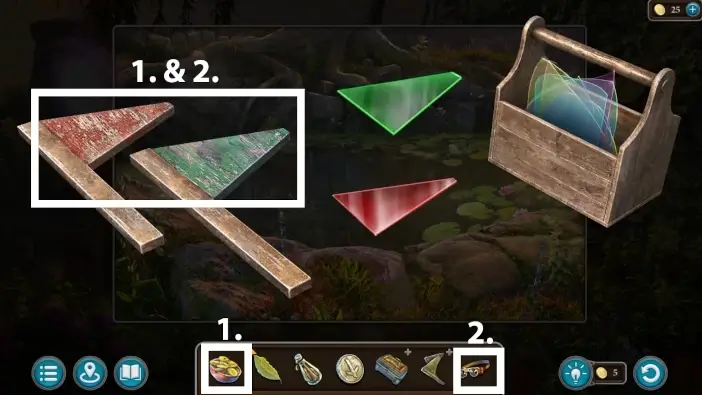
- Place the sugar lollipops on the old flags.
- Use Folnur’s glasses to melt the sugar lollipops.
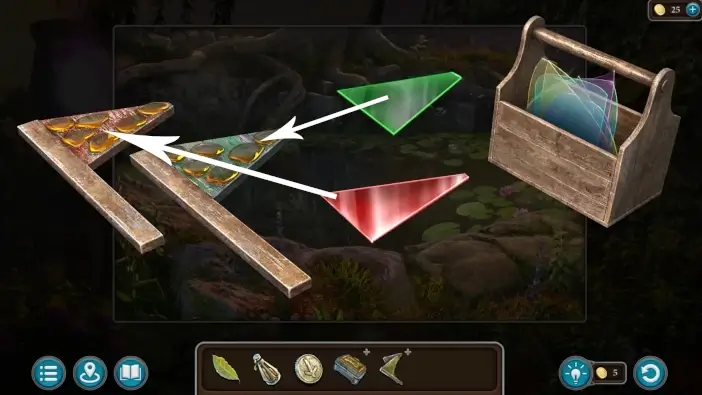
Place the glasses on the flags. You will get the signal flags in your inventory.
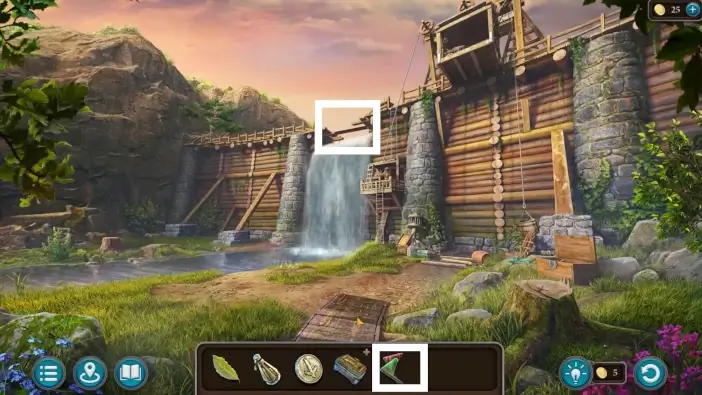
Return to the dam. Click on the signal flags and then to the dam. A new puzzle challenge will begin.
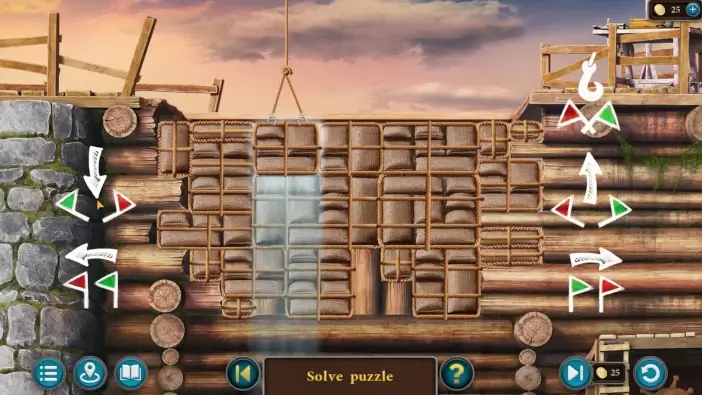
Place the sandbags using the arrows. You need to fit all the sandbags into the hole in the dam.
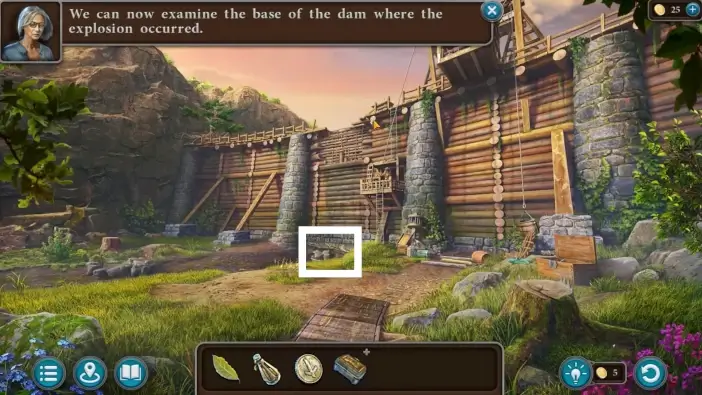
When the dam is fixed, you can examine the base of the dam where the explosion occurred. Go there.
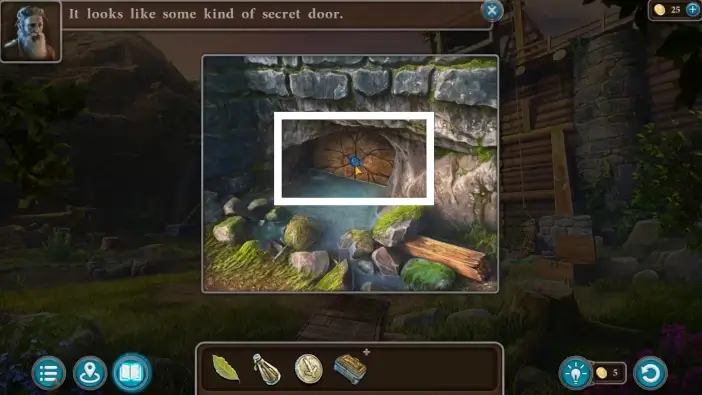
Remove the rubble of stones and approach the gate.

Susan will put the letter from the strongbox at the gate. You can check the runes easily.
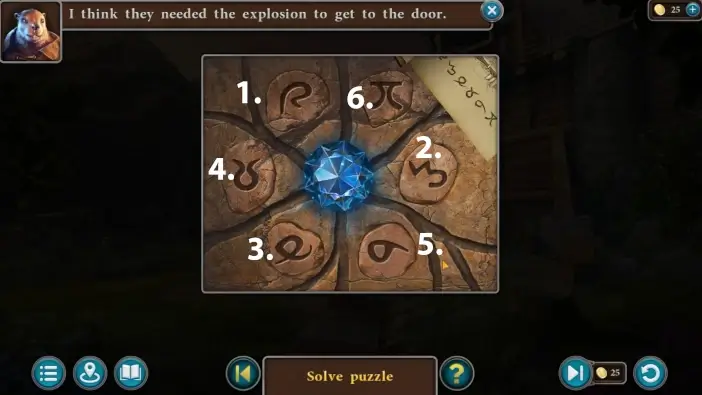
Press the runes in the order shown in the letter.
You will unlock the gate and behind it is a flooded tunnel. Korko will enter to check it and he will inform you that there is a temple room at the end that is not flooded, but first, you need to swim through the long and deep corridor. You will need to make a potion of underwater breathing.
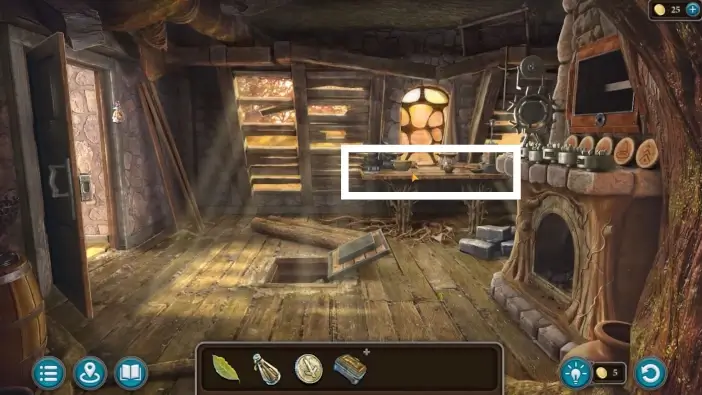
Go to the Maaron’s house and approach the table.
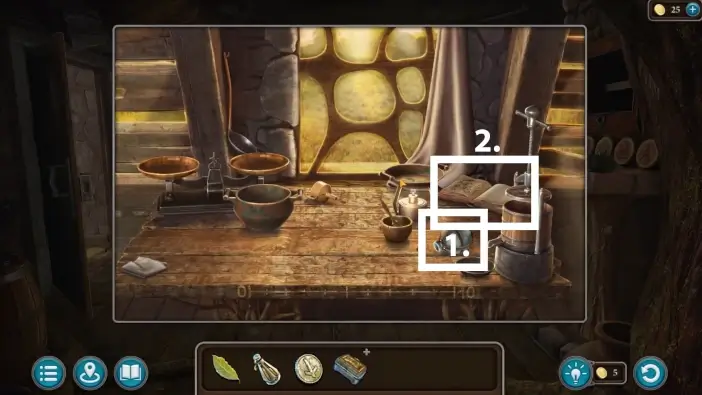
- Pick up the empty bottle. You will take water from the flooded tunnel with this bottle. It is essential for the potion to pick a water from the same reservoir where you will swim later.
- Pick the manual on how to create a potion of underwater breathing.
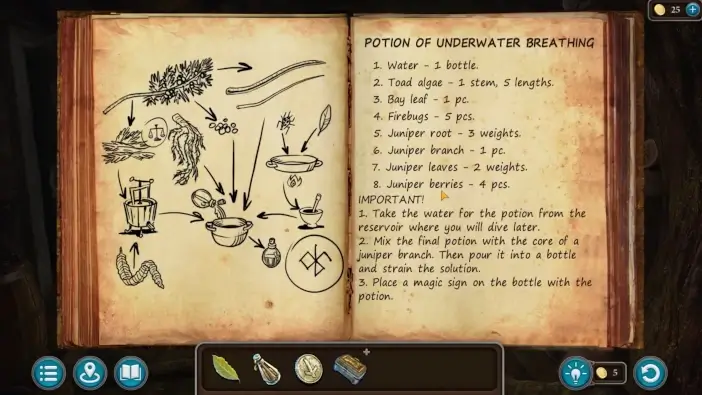
You can see all the ingredients you need for the potion in this manual. You’ll need to collect them all. The Maaron’s book will be added to your inventory.
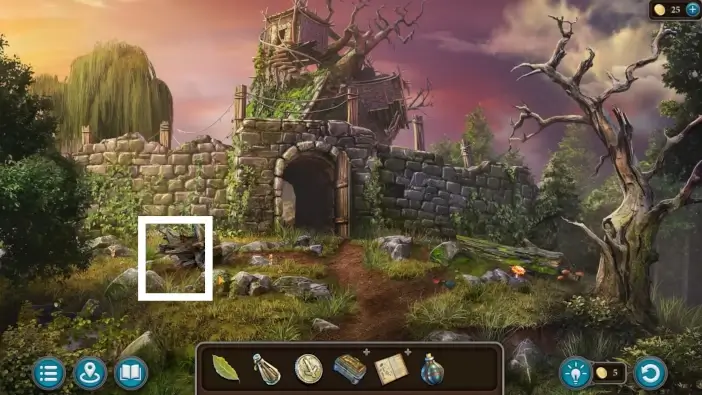
Go outside the Maaron’s courtyard and approach the stump on the left. Pick the firebugs.
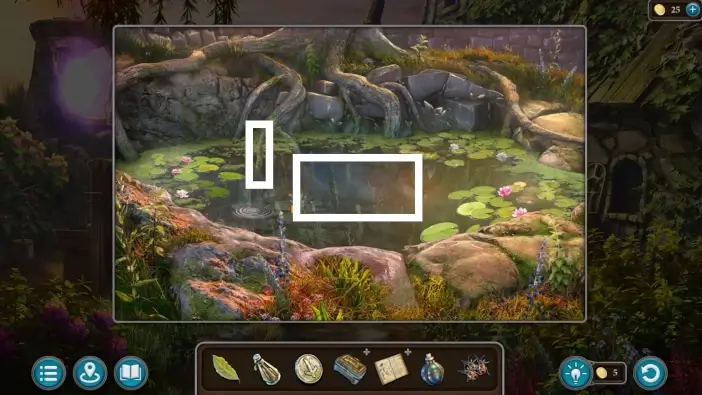
In the Maaron’s courtyard, approach the lake. Click on the water then catch the toad algae.
Go to the dam and at the tunnel entrance take the water with your empty bottle. The cave water will be added to your inventory.
- Climb up the dam. Take the saw cleaver.
- Go to the tree.
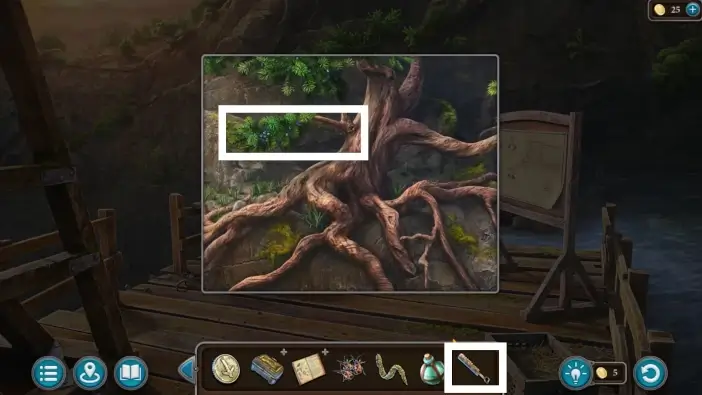
Cut the branch and root of the tree to get the juniper branch and the juniper root.

Click on the Maaron’s book to open it. Drag all the potion ingredients on the book to tick the entire list. The potion kit will be added to your inventory.
Go inside the Maaron’s house and approach the alchemy table. Place the potion kit on the table.
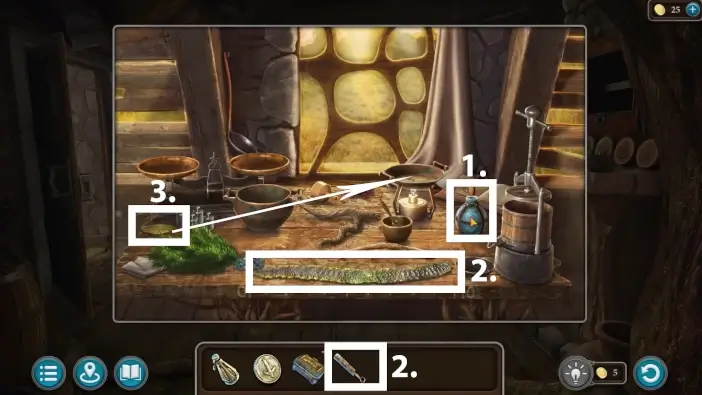
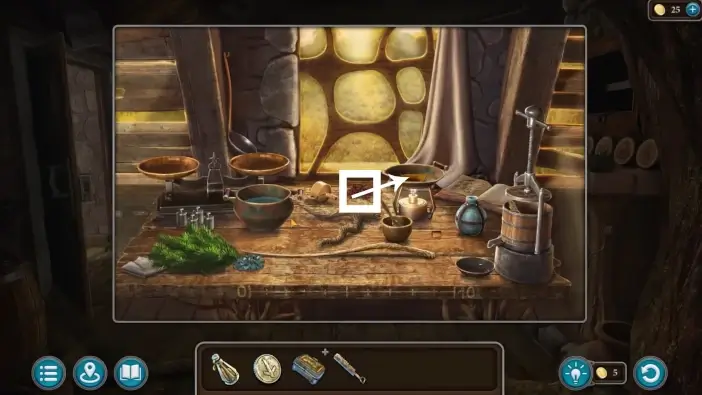
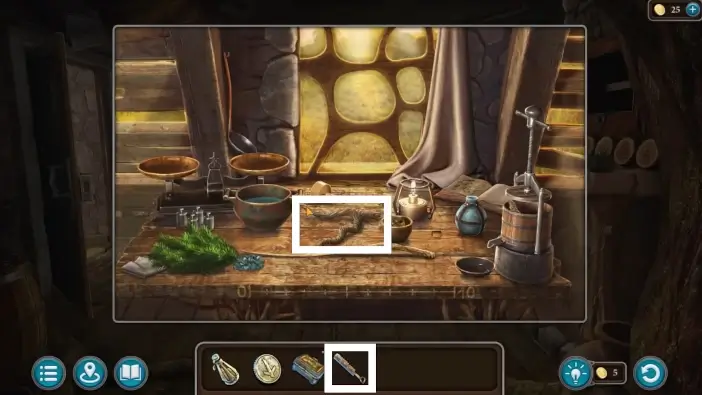
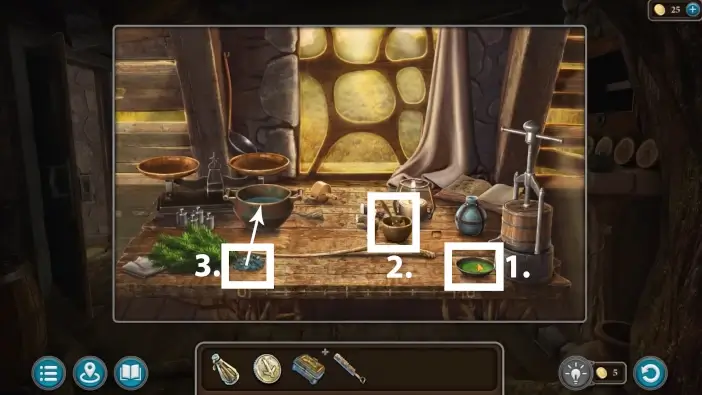
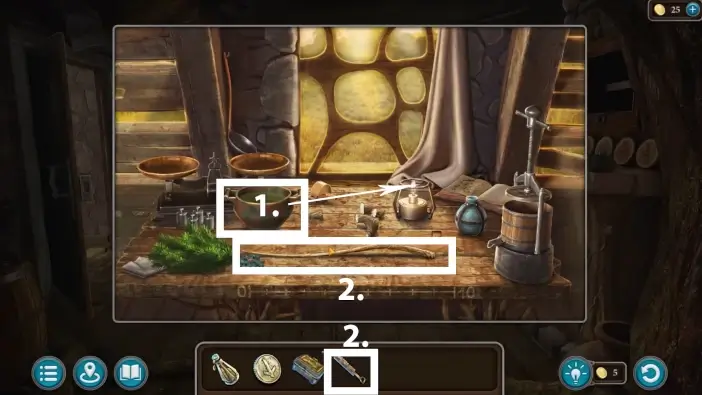
Follow the instructions from the Maaron’s book and/or follow the numbers, markers, and arrows on the pictures in this guide. Whenever you see an arrow, that means that you need to select the first item and then select another item, the first item will interact with the second one. Without arrows, you just need to click on the item and things will happen.
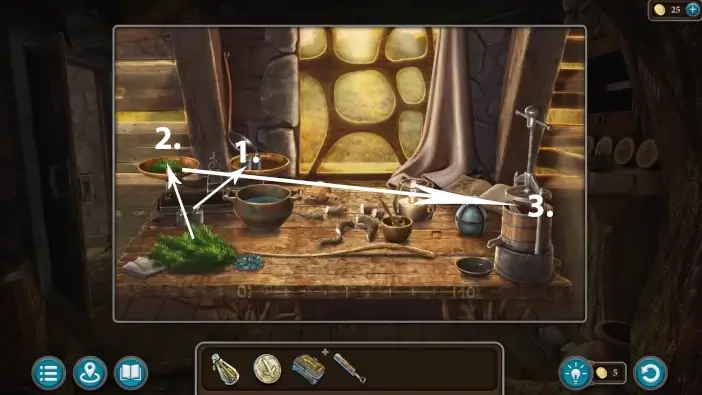
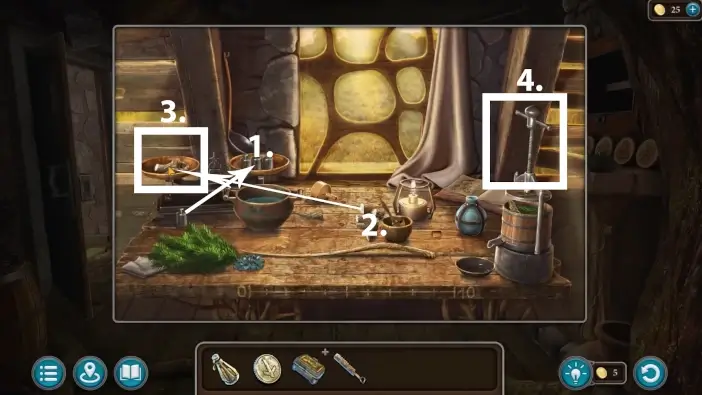
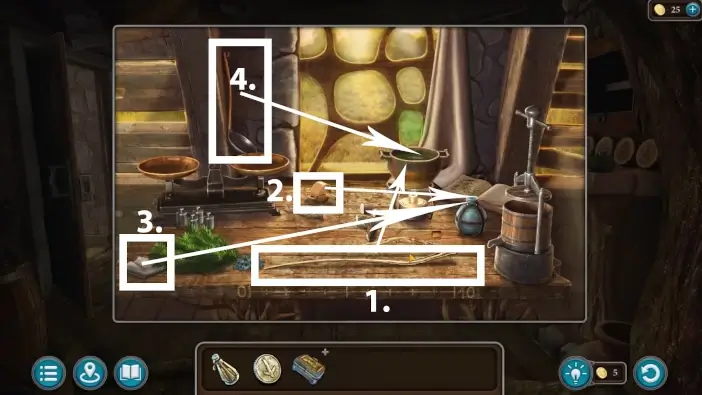
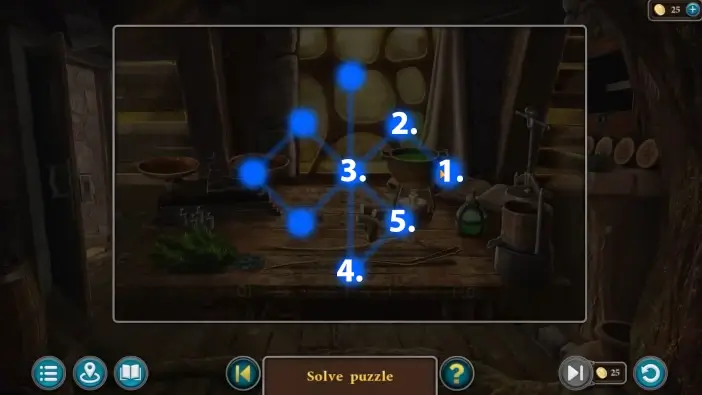
When you finish the potion you need to cast a spell. Follow the numbers on the pictures.
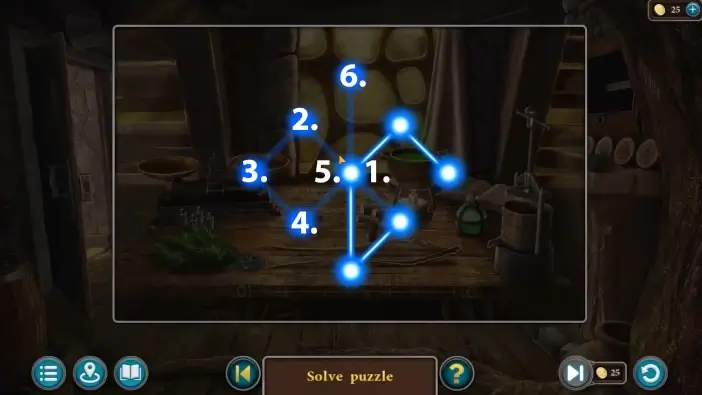
Once you finish casting the spell, you will get the potion of underwater breathing.
Go to the dam and the tunnel entrance and use the newly created potion. Then, navigate through the tunnels until you reach the temple (the tunnel is straight, with no turns).
This will mark the end of part 4 of our guide for the Main Chapter of the Lost Lands 10. Susan and Maaron will encounter Buldan and Folnur. Buldan will attack Susan and Maaron but Kiana will appear and shoot Buldan in the back. Buldan will hit Kiana with the magic while magically sealing the temple exit. Lastly, Folnur and Buldan will escape through the portal to an unknown location.
Thank you for reading!