Lost Lands 10 – Bonus Chapter | Part 1
Intro
Welcome to our walkthrough for Part 1 of the Bonus Chapter of “Lost Lands 10” from “FIVE-BN GAMES”. After discovering the mine, Susan and Kiana got separated. While Susan landed with a parachute outside the Maaron’s household, Kiana landed in a strange forest. You need to help Kiana reunite with Susan in the temple, where the story of the Bonus Chapter merges with the story of the Main Chapter of the game.
Walkthrough
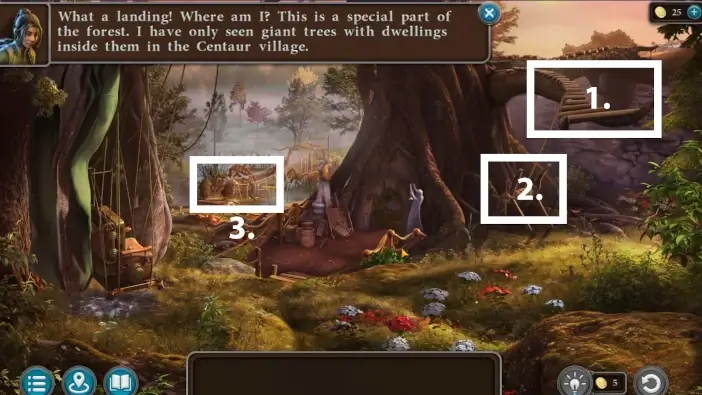
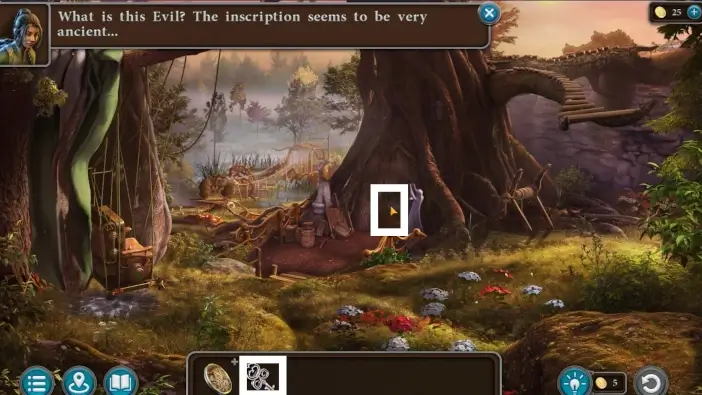
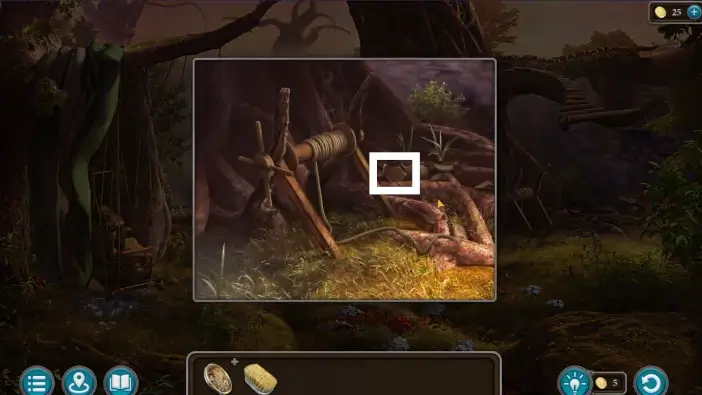
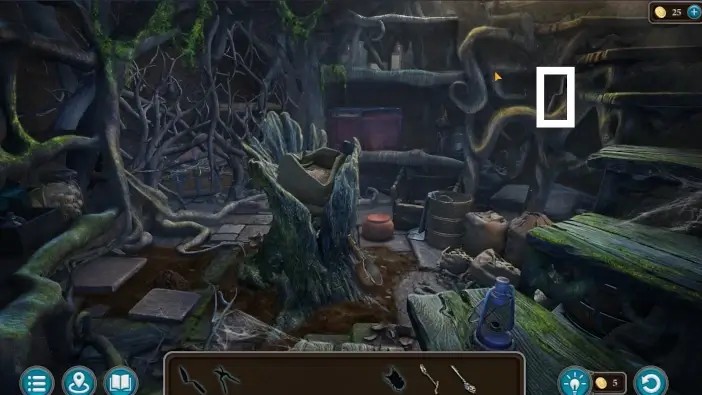
- Check the branches that look like a staircase. Kiana will comment that she can explore the area from the cliff but she needs to lower the branch to the ground with a winch.
- Use a winch. Unfortunately, the rope will break.
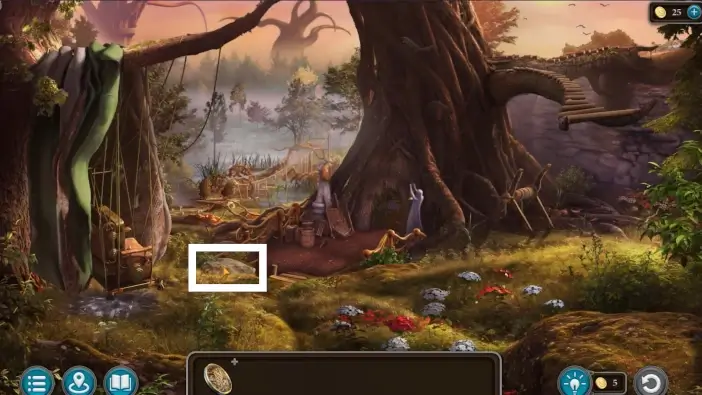
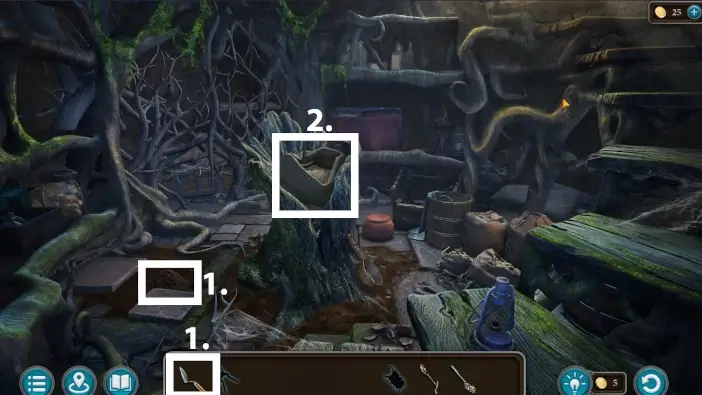
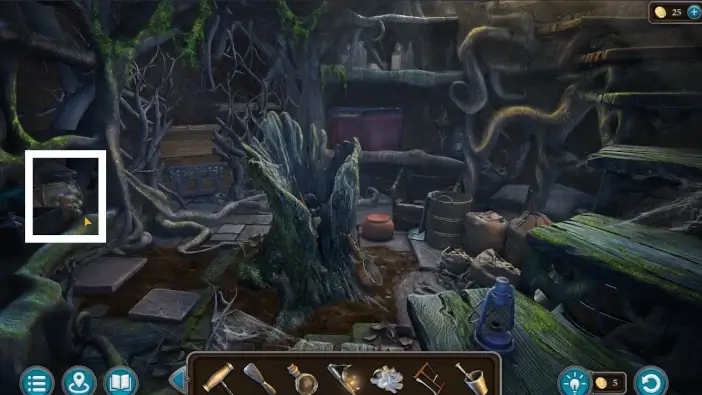
- Approach the bridge on the left.
Pick up the round mirror.
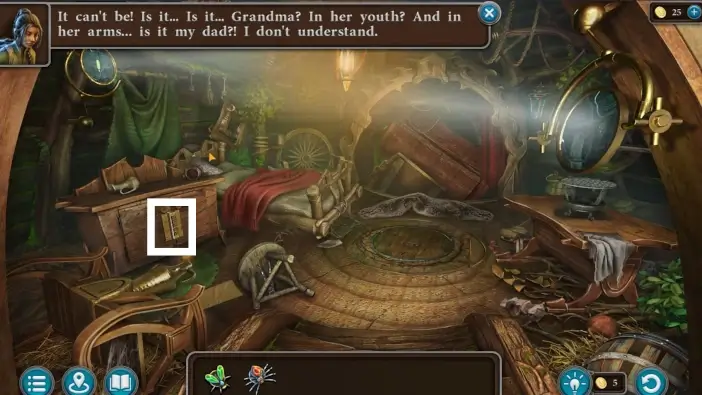
Approach the stone near the treehouse.
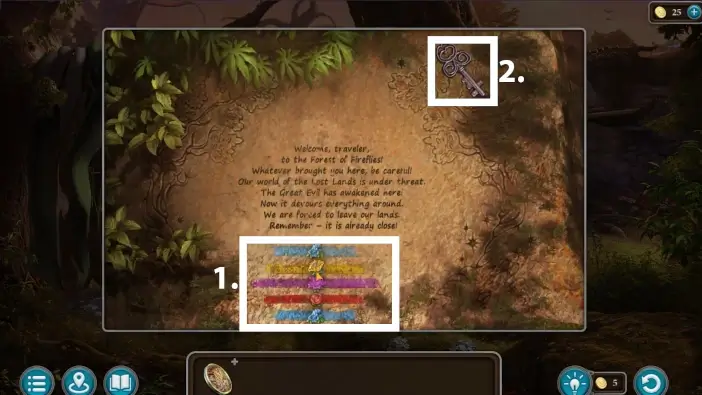
- Check the clue on the bottom. It is a clue for unlocking the treehouse door.
- Pick up the key to the treehouse.
Use a key on the treehouse door. A new puzzle challenge will begin.
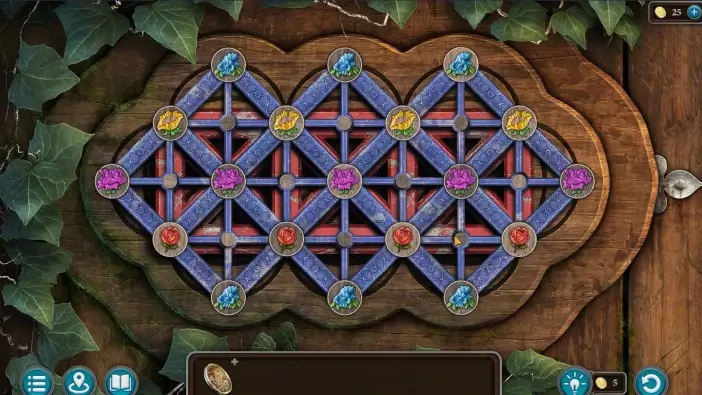
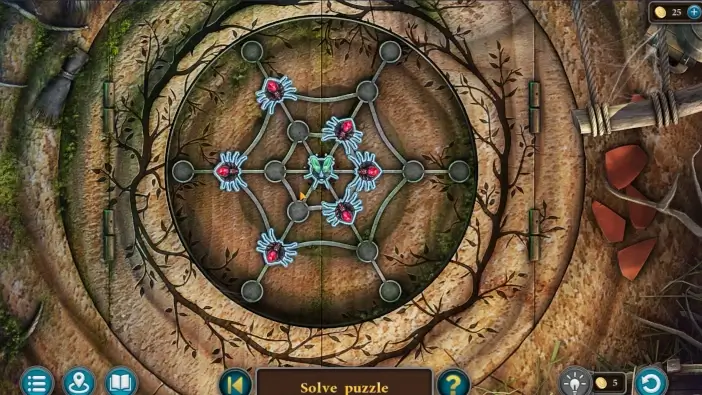
Solve the puzzle by following the clue from the stone. Rearrange the flowers by rotating the nodes. Each row should have only one type of flower. The rows of flowers must have the same order as in the clue from the stone. The solved puzzle is shown in the picture above. Once you solve this challenge, you can enter the treehouse.
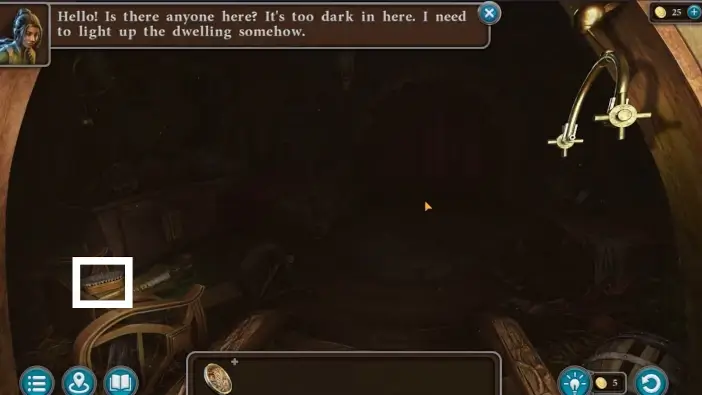
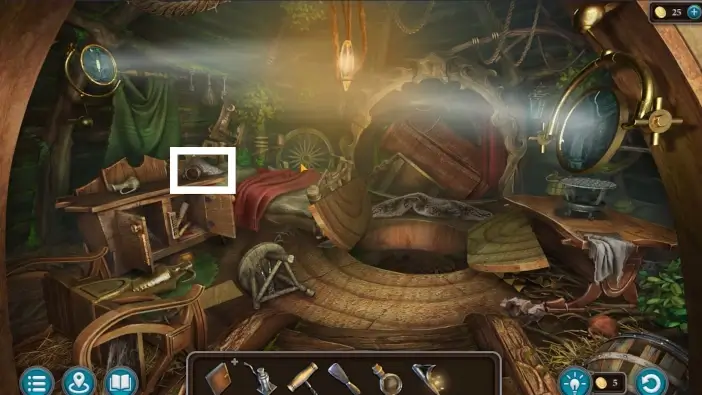
In the treehouse, there will be almost complete darkness. You need to illuminate the room first to discover more objects in the room. Take the brush on the left.
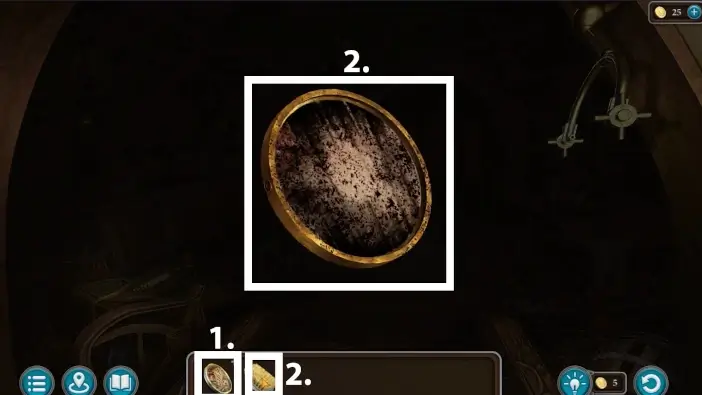
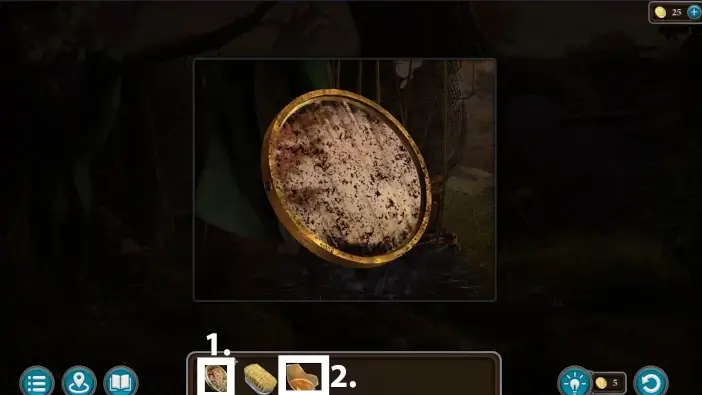
- Click on the round mirror in your inventory to examine it.
- Use a brush on it. Unfortunately, it won’t be enough to clean the mirror.
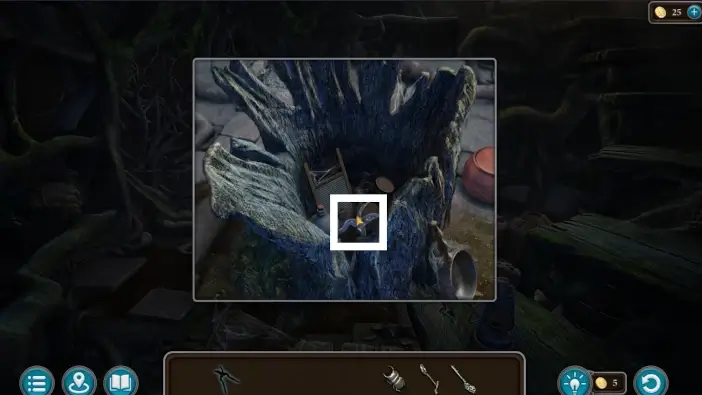
Go to the winch and pick the bottom of the jug.

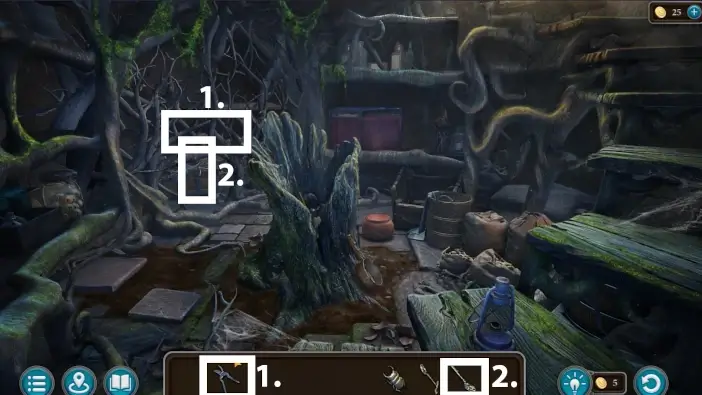
Approach the seat left from the tree.
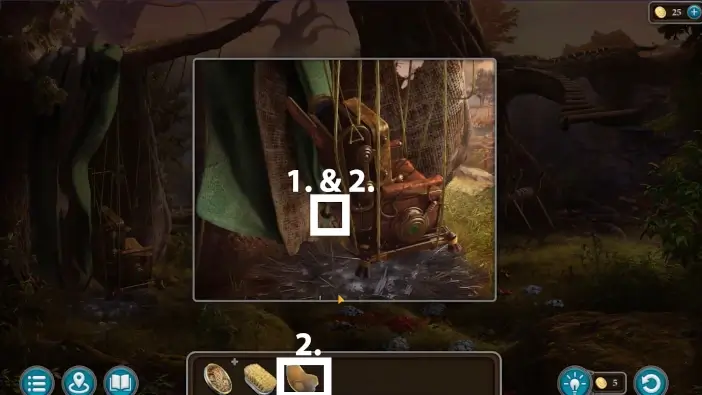
- Remove the cap.
- Place the bottom of the jug and fill it with alcohol. You will get the “alcoholic liquid” item in your inventory.
- Click on the round mirror in your inventory.
- Place the alcoholic liquid beside the round mirror.
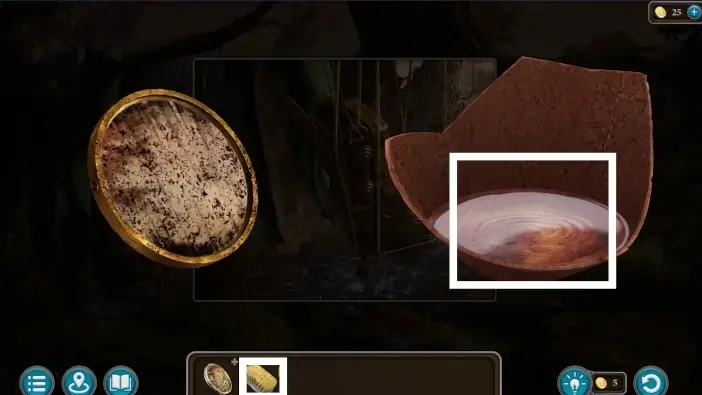
Wet the brush with alcohol and Kiana will clean the mirror.
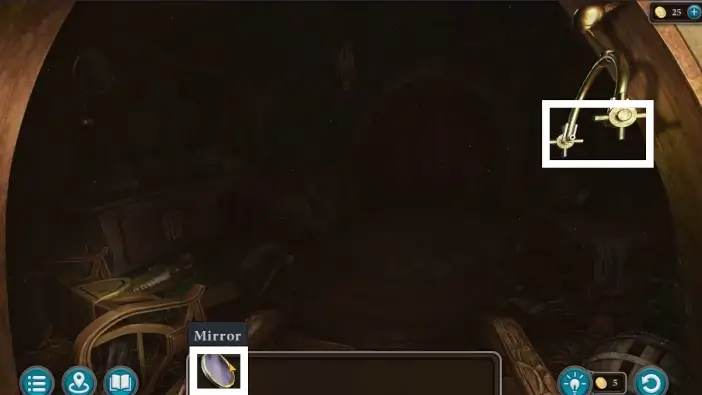
Place the clean mirror on the holder.
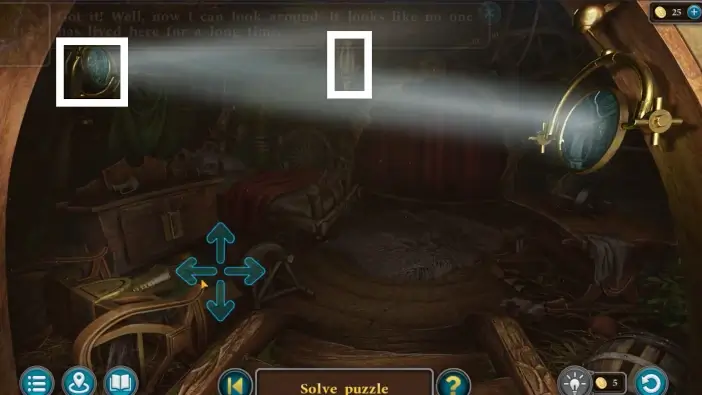
Adjust the mirror so the light from outside hits another mirror then adjust the second mirror so the light hits the chandelier.
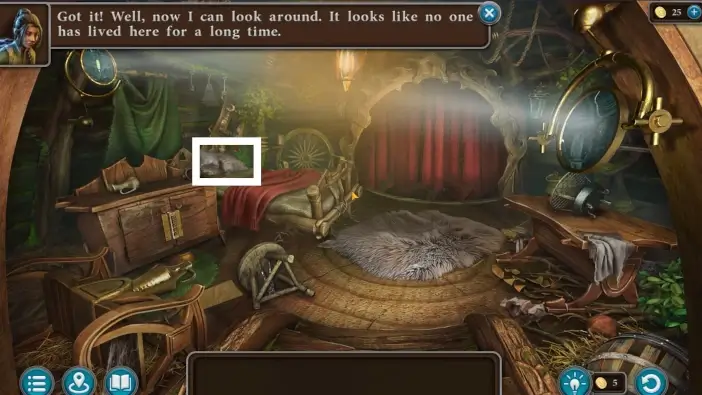
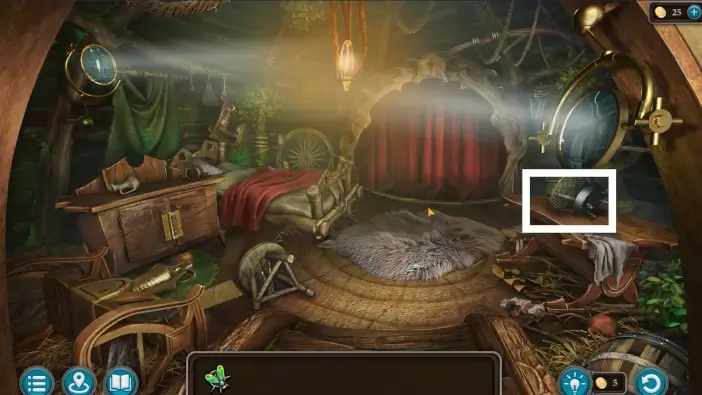
Approach the bed.
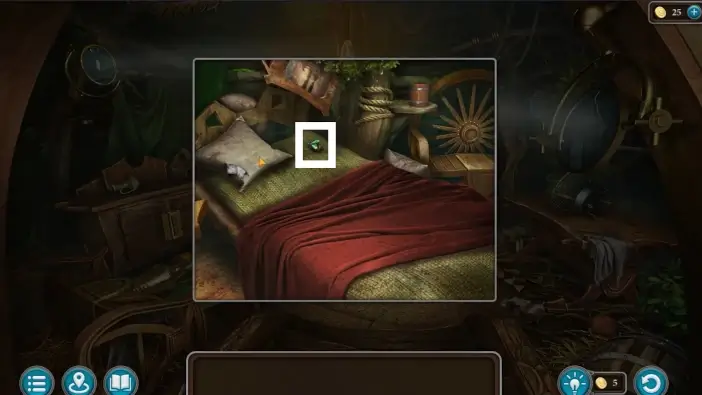
Pick the first insect figurine. You will need three insect figurines to unlock the trapdoor on the floor.
Approach the desk on the right.
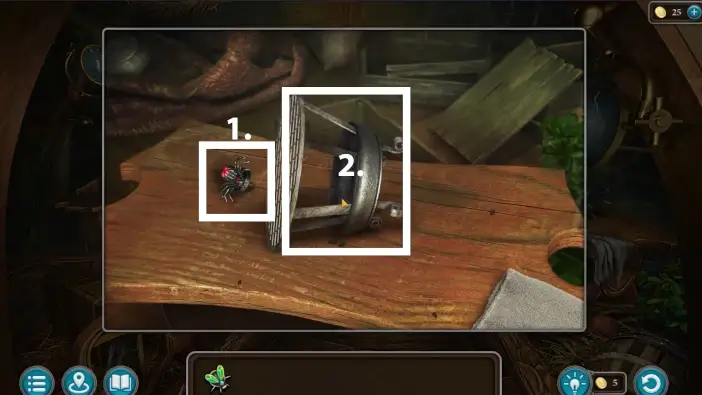
- Take the second insect figurine.
- Lift the stove to return it to its normal position.
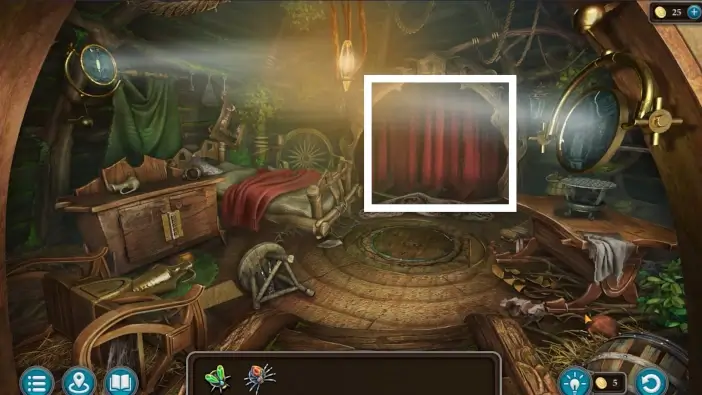
Remove the curtain and approach the wardrobe.
Pick the framed picture of Susan when she was younger.

Turn the frame to see runes. This is a clue for unlocking the cabinet.
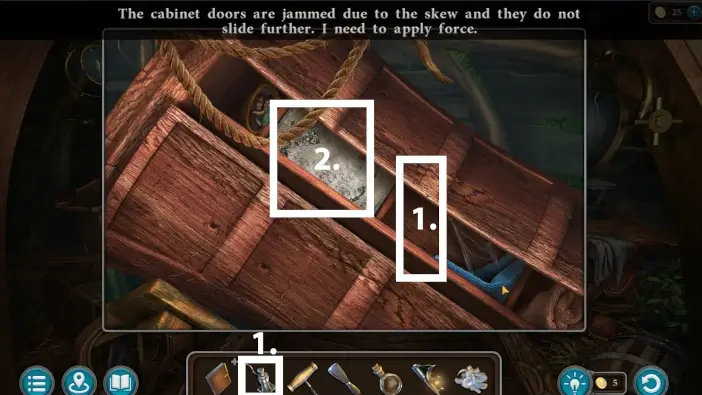
Go to the cabinet on the left.
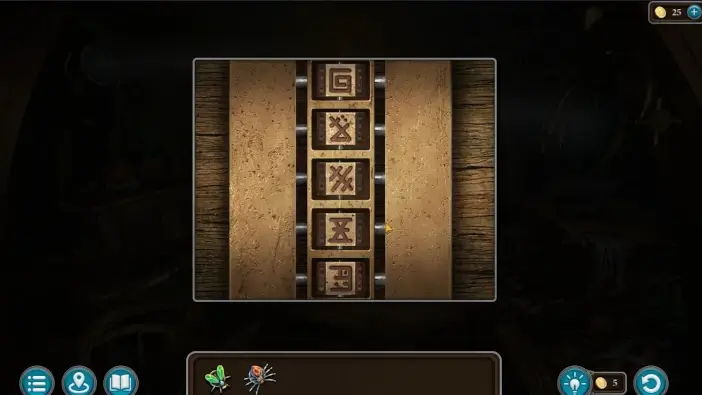
Set the runes to be in exact order like in the previous clue from the picture frame.
Once you unlock the cabinet, read the diary.
On each page, there is one symbol. It is a clue for one of the puzzles later, for unlocking the Uri’s safe. Also on page 362 is an additional clue. Uri’s diary will be added to your inventory so you can check for clues later.
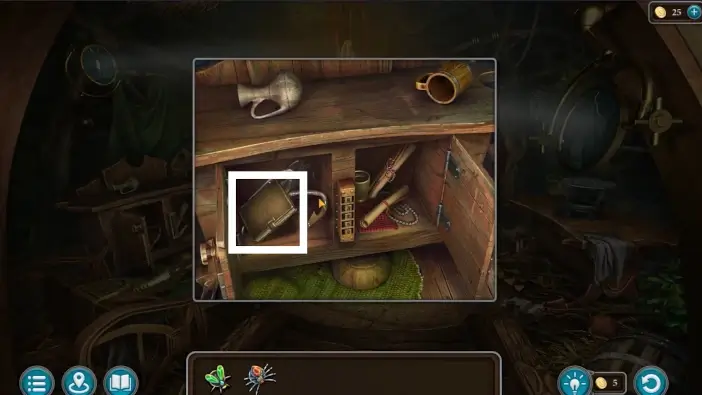
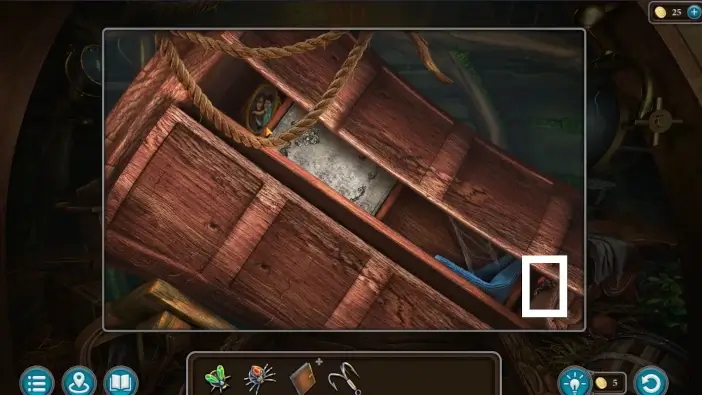
Take the grappling hook from the cabinet. You will need it for the winch outside and to lower the branch.
Go to the wardrobe and pick up the third insect figurine.
Remove the carpet and approach the trapdoor. Place all three insect figurines. The lid will open and a new puzzle challenge will begin.
Move all the bug figurines to their designated slots (those slots have the same shape as the bug figurines). If you complete this challenge in a short time, you will get the “Skillful” achievement. Once you complete the puzzle, the trapdoor will open, then enter the basement.
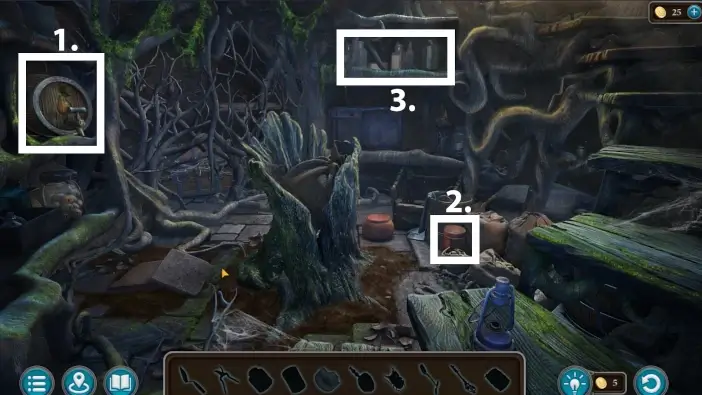
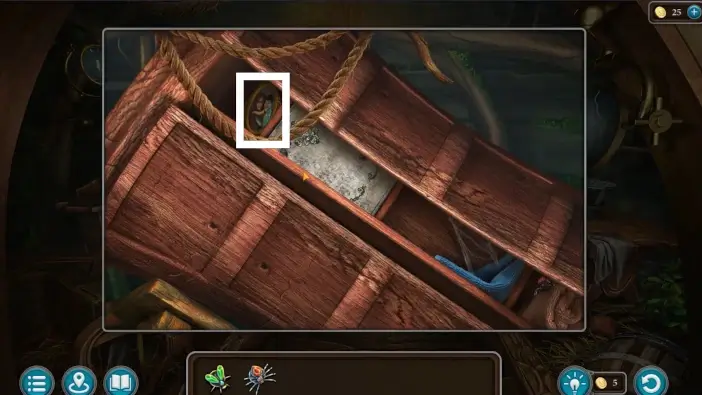
- Pick an ale keg.
- Pick up a can.
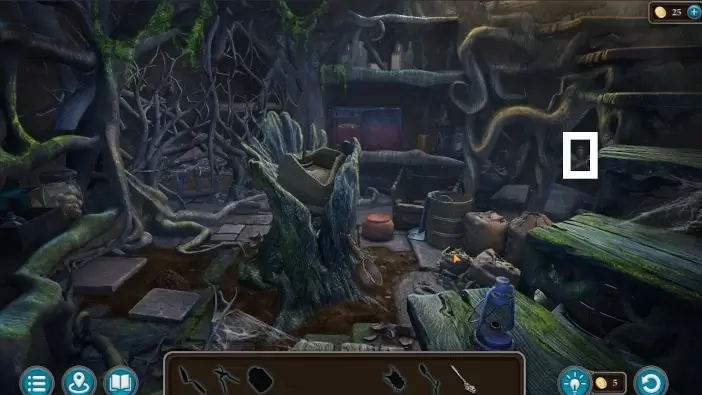
- Approach the shelves.
- Break the glass jar and pick a key and a glass shard.
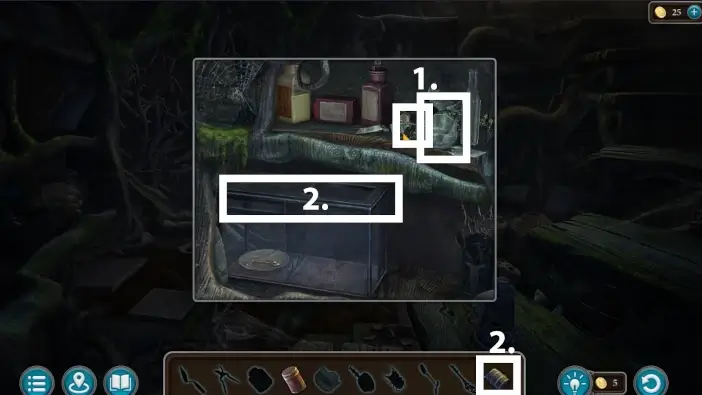
- Pour ale from the keg into the container.
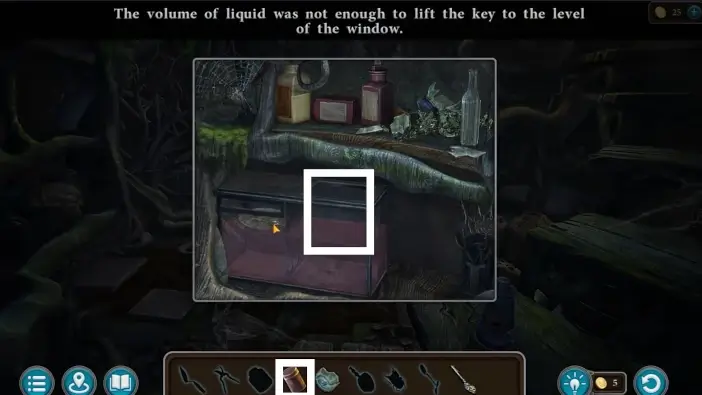
Place a can near the container.
- Use a glass shard to cut the sack.
- Take the ladle.
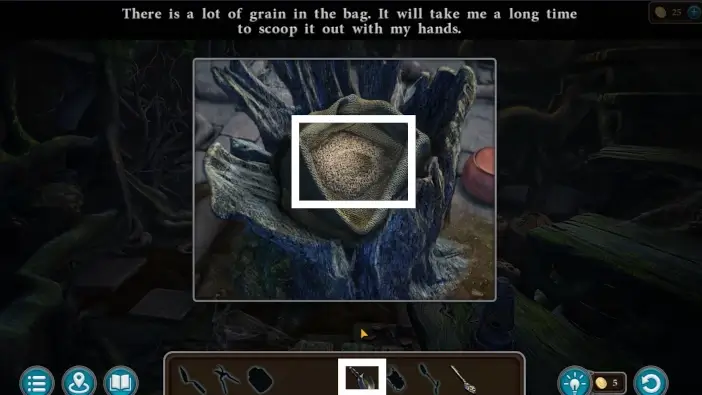
Take out all the grain from the sack using the ladle.
Pick up the trading weight.
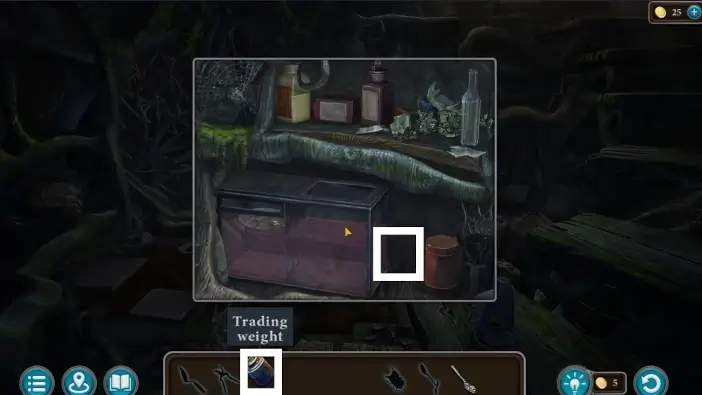
Place the trading weight near the container on the shelf.
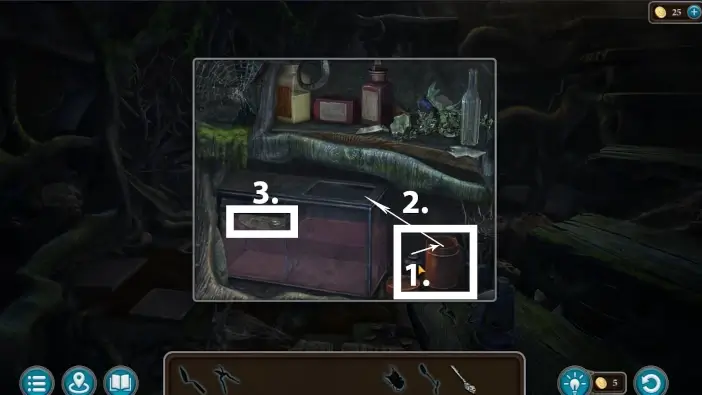
- Remove the cap of the can, then place the trading weight inside the can.
- Place the can inside the container.
- Take the key.
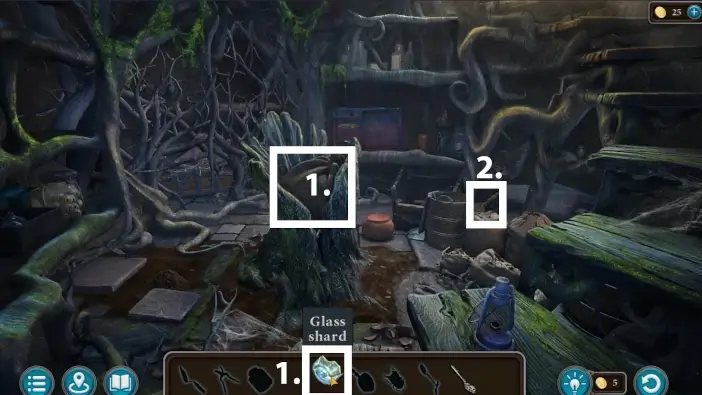
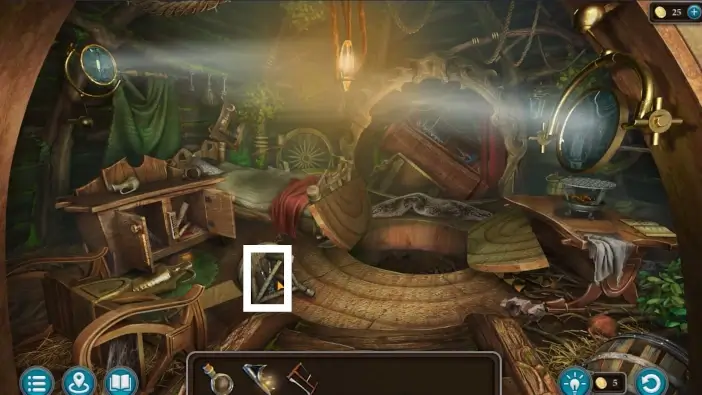
Pick up the trowel.
- Use a trowel to dig the hole and pick up the beetle figurine.
- Approach the tree and remove the empty sack.
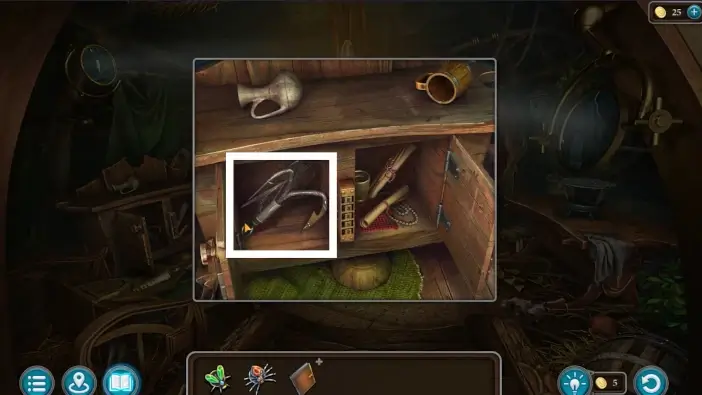
Take the secateurs from the tree.
- Use secateurs to cut branches so you can approach the chest.
- Approach the chest.
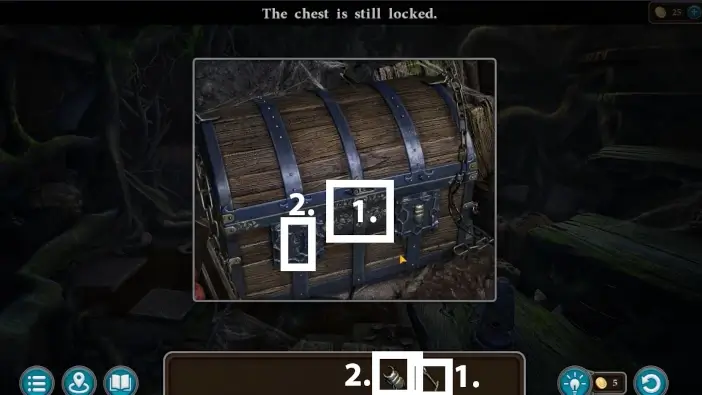
- Use a key from the glass jar to unlock the padlock, then use the key from the container on the chest’s lock.
- Place the beetle figurine on the left empty slot.
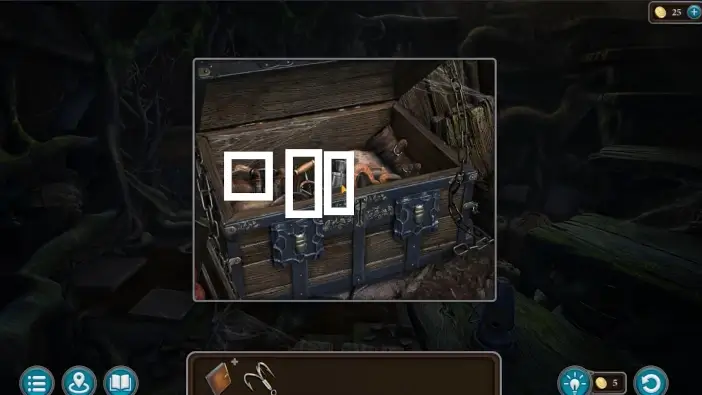
Pick the jack which will help you open the wardrobe wide open, corkscrew which will help you to open a jar full of eyeballs, and take the spatula which will help you to take some moss later.
Climb the stairs to exit the basement.
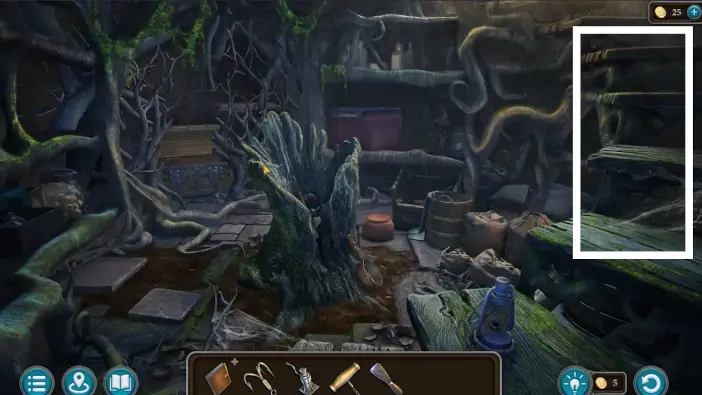
- Go outside the treehouse and attach the grappling hook to the winch. Kiana will lower down the stairs-like branch.
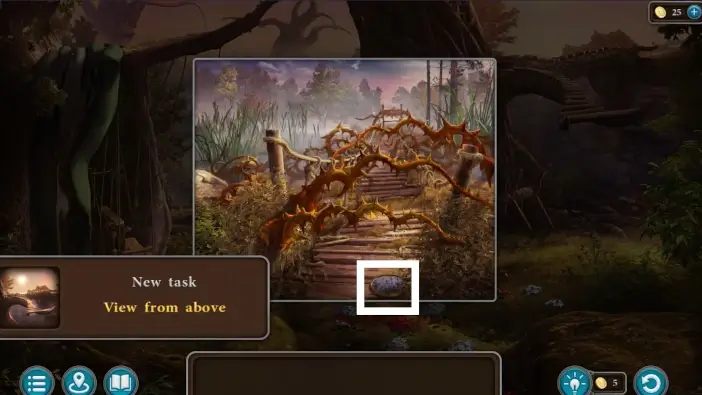
- Go up the branch to reach the cliff.
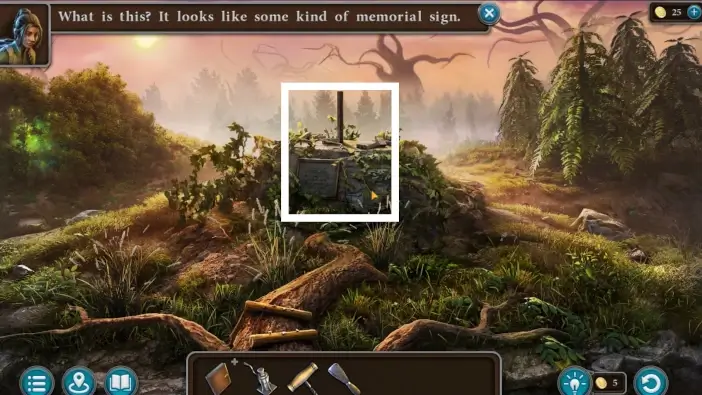
Approach the memorial sign.
- Optionally, read the message.
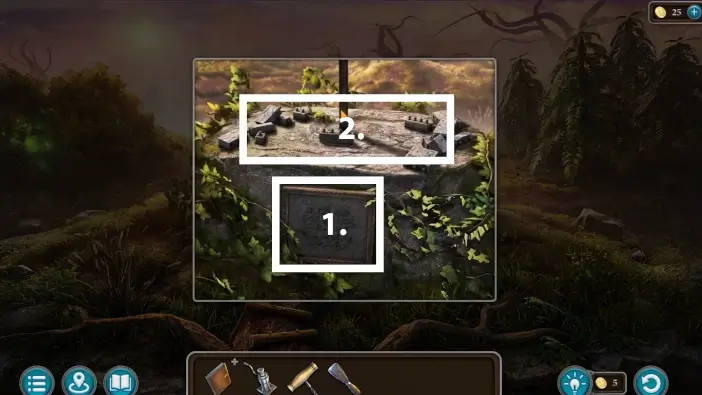
- Approach the stone pieces to start a new puzzle challenge.
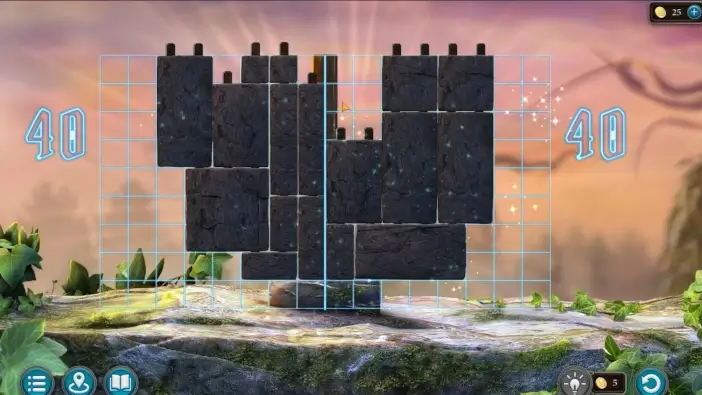
In this puzzle, balance the stones so that the same number of cells are occupied on both sides.
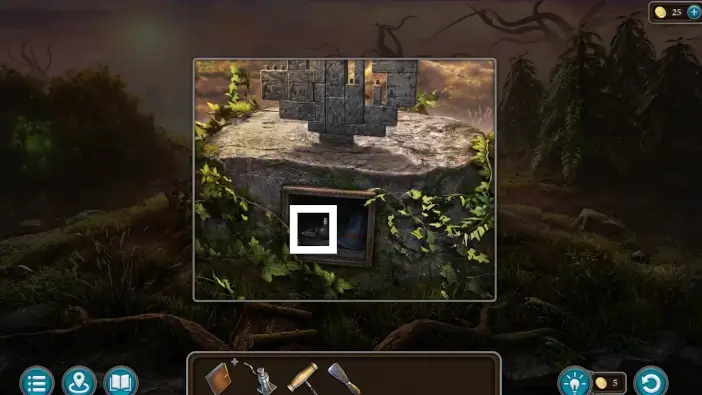
The hidden compartment will open where the message was. Pick the bottle of water and a flint from it. You will give a bottle of water to the Folnur’s sister Mora later and you will use flint many times.
A new cutscene will start when Kiana meets Uri’s brother Furi. Furi will mention that there is a flying turtle that can help Kiana in her search for Susan. He will also mention that the recipe for the bait for the flying turtles is in Uri’s diary.
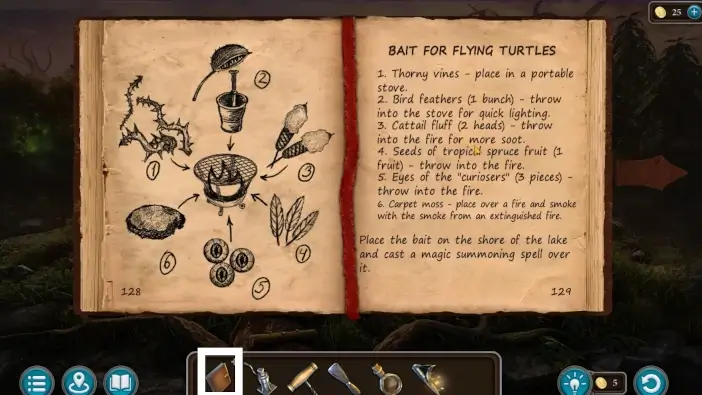
Open Uri’s diary and turn the page 128 to see the recipe. From now on, you will collect the ingredients for the bait.
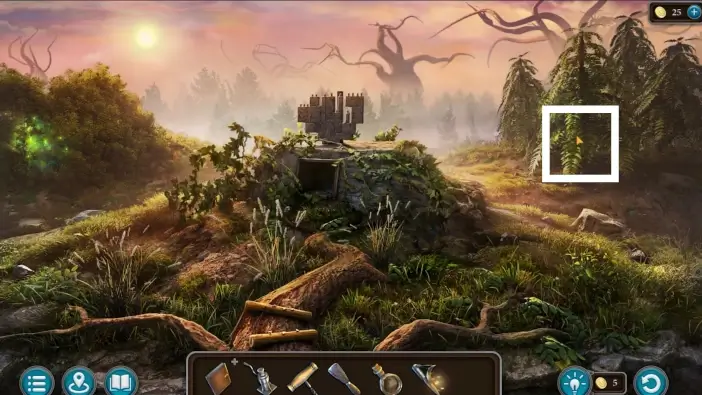
At the memorial area approach the tree on the right.
Take the fruit of a tropical spruce.
Return to Uri’s treehouse and take the bunch of feathers from the pillow.
- Go to the wardrobe and use the jack to hold its door (once you place the jack, click on it one more time).
- Take a closer look at the safe.
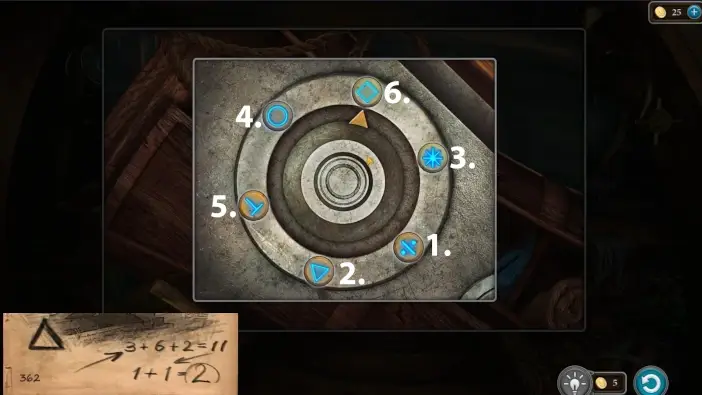
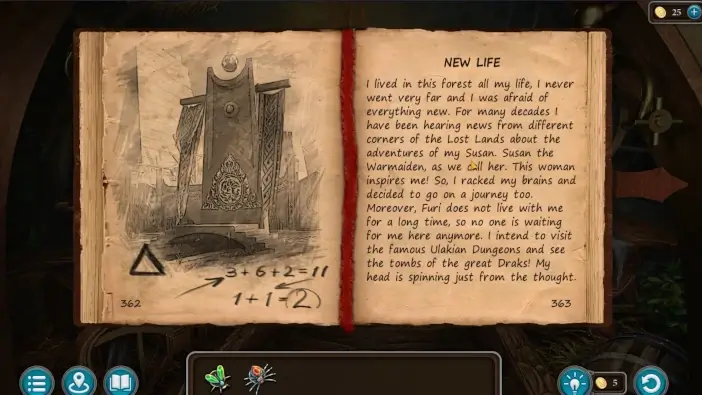
You need to figure out the safe code from Uri’s diary. Move and release the arrow on the buttons in the order shown in the picture above. Explanation of one example: From the screenshot, you can see that one page is marked with a triangle, so this page will have a clue when to move and release an arrow to the triangle button on the safe. The page is 362. Separate all digits and sum them: 3 + 6 + 2 = 11, then again separate the digits and sum them: 1 + 1 = 2. That means that the triangle button should be activated second by the arrow.
From the safe, take a saw that you will need multiple times, and the “mortar and pestle” item which you will need for making a lure for the flying turtle. Optionally, read about insects of Lost Lands from the book in the safe. You will encounter those insects later.
Go to the basement and pick up the jar of eyeballs.
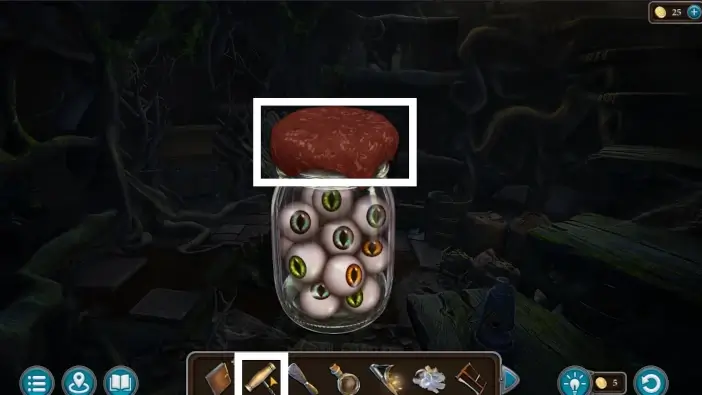
Click on the jar of eyeballs in your inventory to examine it and then use the corkscrew to open the jar. You will get the “eyes of the curious” item in your inventory.
Exit the basement and place the mortar and pestle on the table on the right where you will make a bait later.
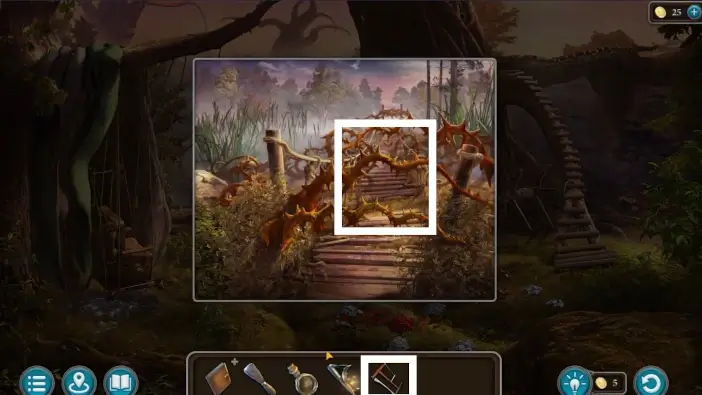
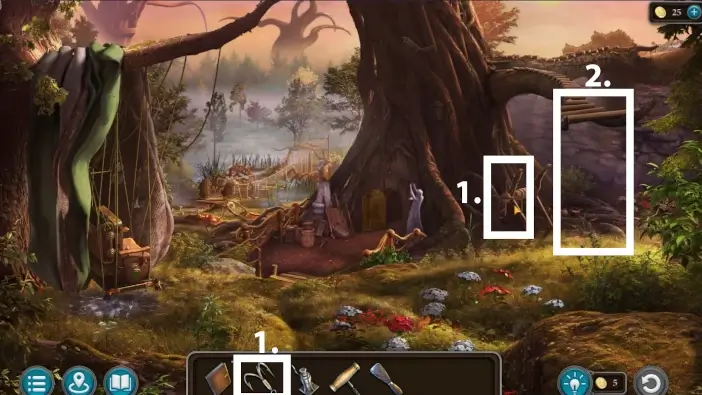
Exit the Uri’s house and go left toward the bridge. Use a saw to cut the thorny vines. They will be added to your inventory. Cross the bridge.
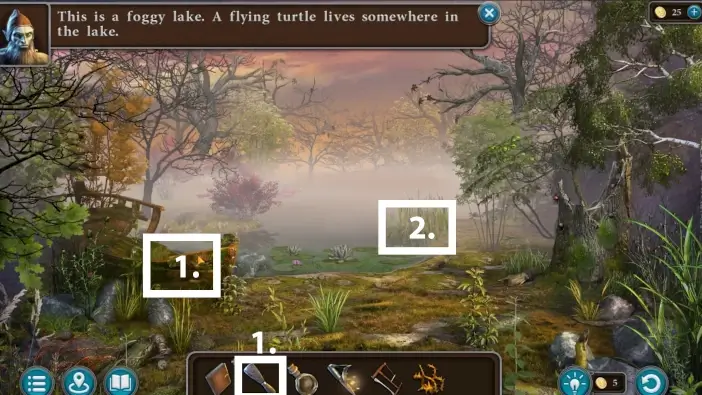
- You will get to the foggy lake where the flying turtle lives. Use the spatula to get the marsh moss from the boat ruin.
- Pick up the cob of cattail.
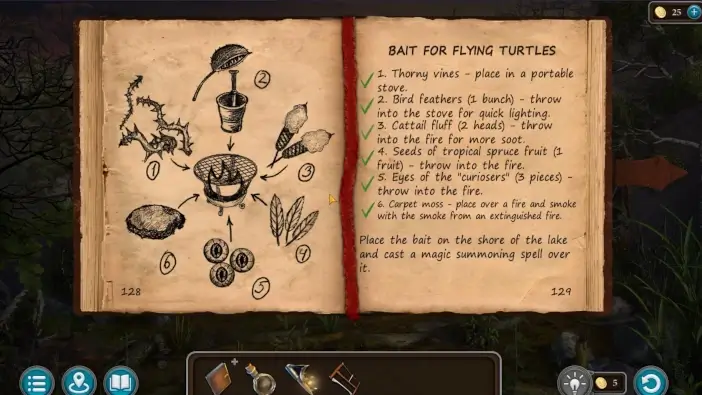
Examine the Uri’s diary and open the page 128. Select an ingredient for the bait in your inventory and then click on the diary to tick one list item. Do that for all ingredients in your inventory: the fruit of tropical spruce, a bunch of feathers, the eyes of the curious, thorny vines, marsh moss, and cob of cattail. Once you tick the entire list, you will get the “ingredients for bait” item in your inventory.
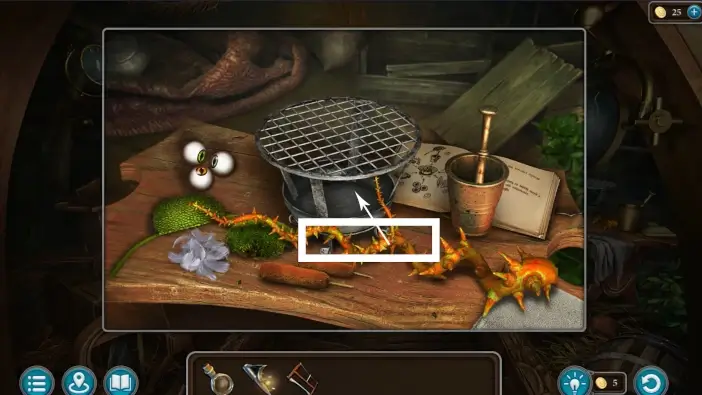
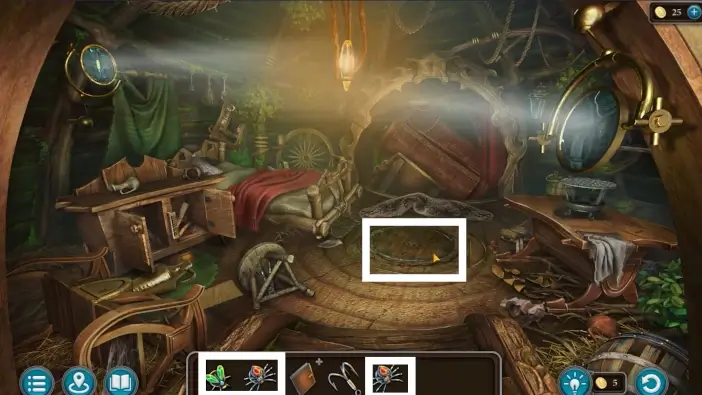
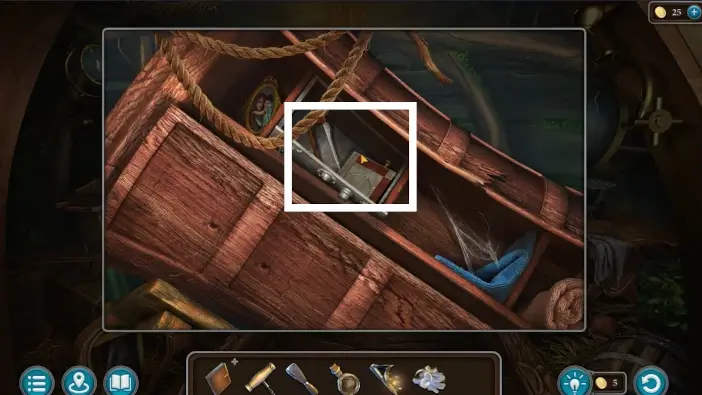
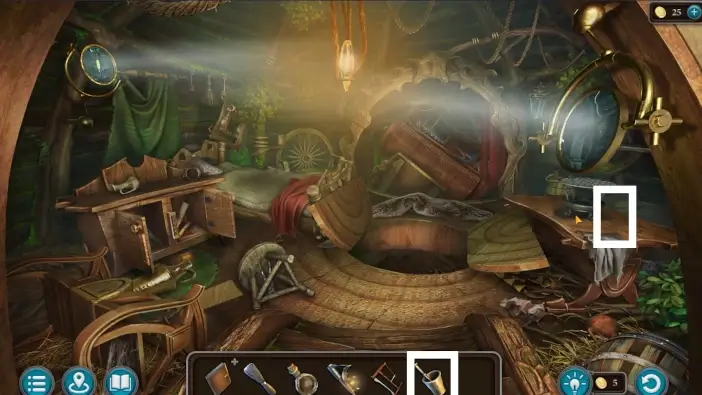
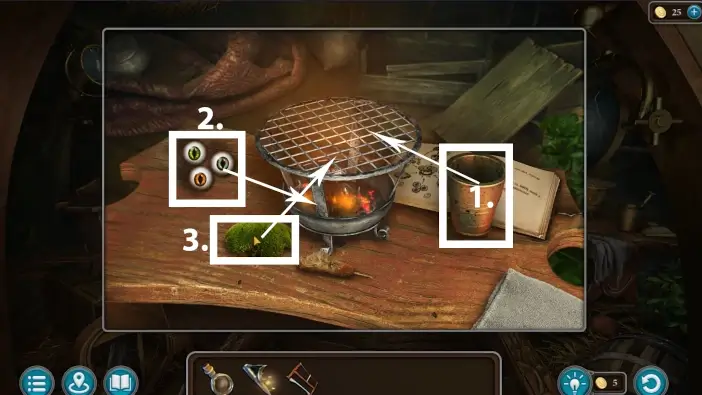
Go to Uri’s treehouse and place the ingredients for bait on the table on the right. Follow the recipe from Uri’s diary and/or follow the numbers, markers, and arrows in the pictures in this guide. Whenever you see an arrow, that means that you need to select the first item and then select another item, the first item will interact with the second one. Without arrows, you just need to click on the item and things will happen.
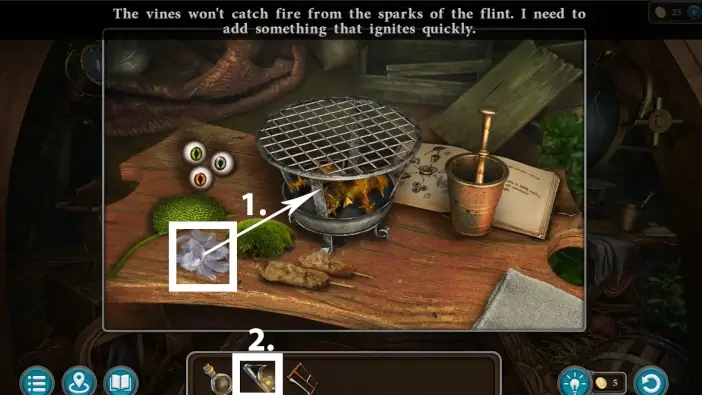
In the picture above, the second step is to use flint to burn the vines.
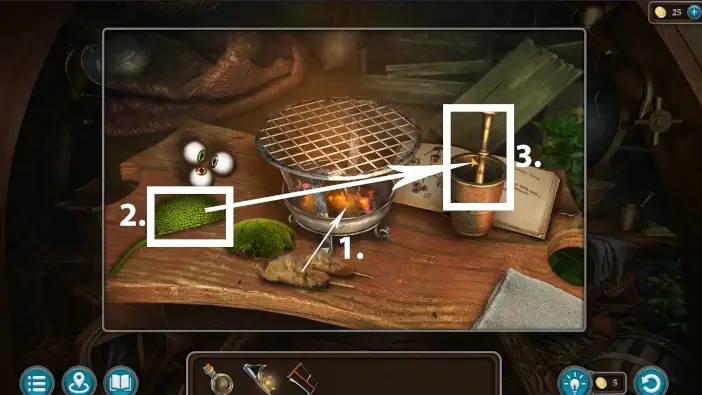
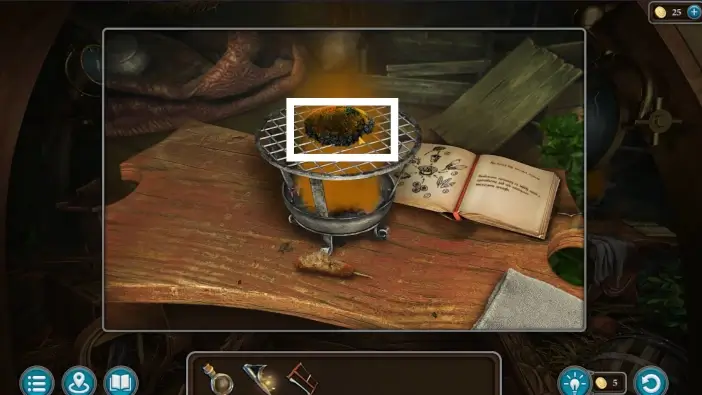
When you finish, take the turtle bait from the stove.
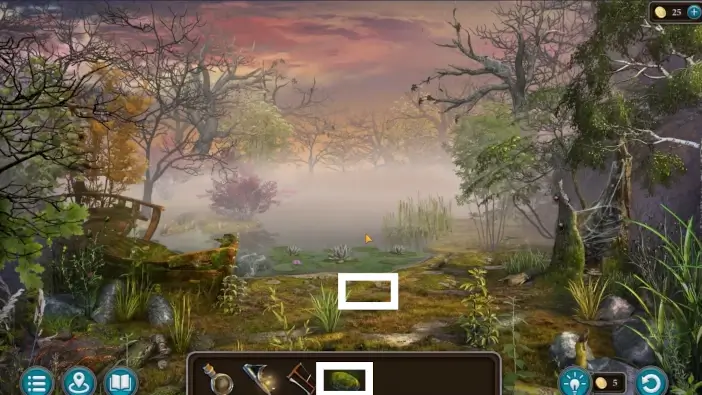
Go to the foggy lake and place the turtle bait.
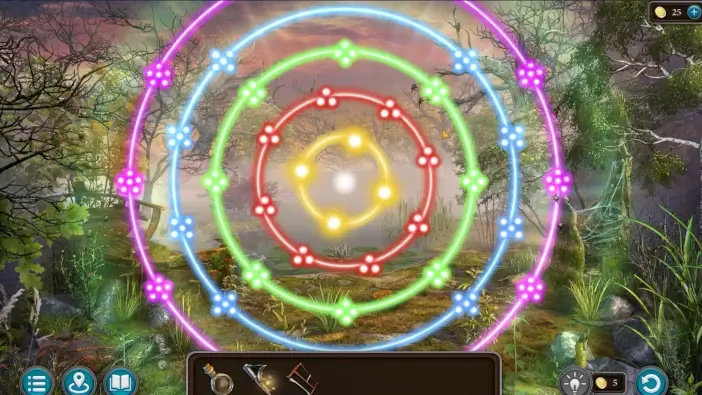
Perform the magic summoning spell by dragging the nodes to create circles. The flying turtle will arrive but it will have a net around her head.
Go to Uri’s house and take the nippers.
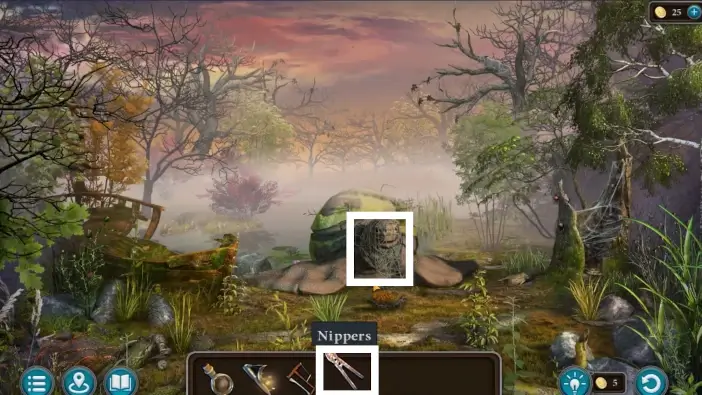
Use nippers to cut and remove the net from the flying turtle’s head.
This will mark the end of part 1 of our guide for the Bonus Chapter of the Lost Lands 10. Kiana will fly with the turtle to the Wastlenads to find a villager who can help her find Susan.
Thank you for reading!