Lost Lands 10 – Bonus Chapter | Part 2
Intro
Welcome to our walkthrough for Part 2 of the Bonus Chapter of “Lost Lands 10” from “FIVE-BN GAMES”. Kiana flew on a flying turtle and landed on an oasis surrounded by wasteland. She needs to find anyone who can help her find her grandma Susan.
Walkthrough
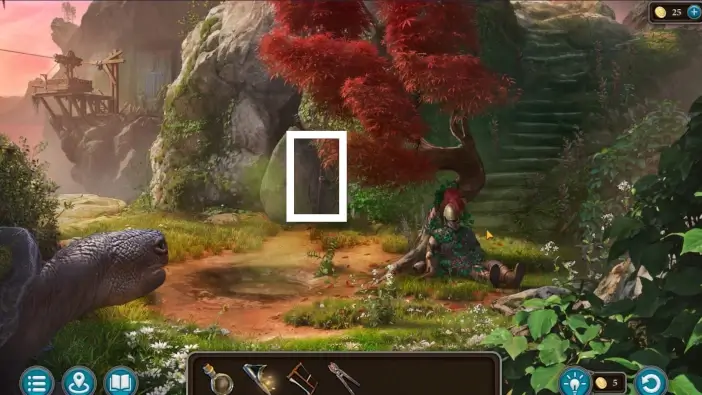
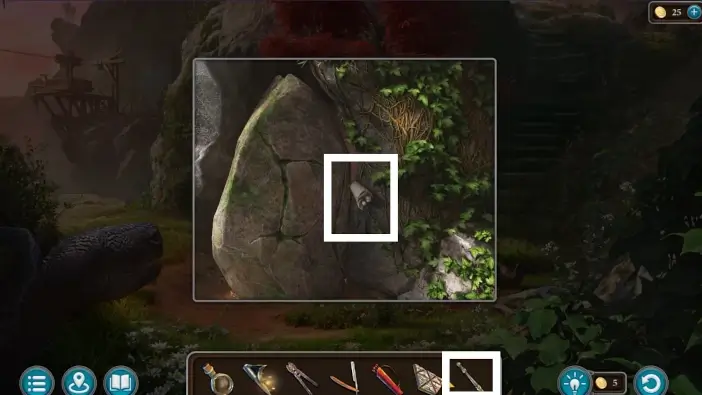
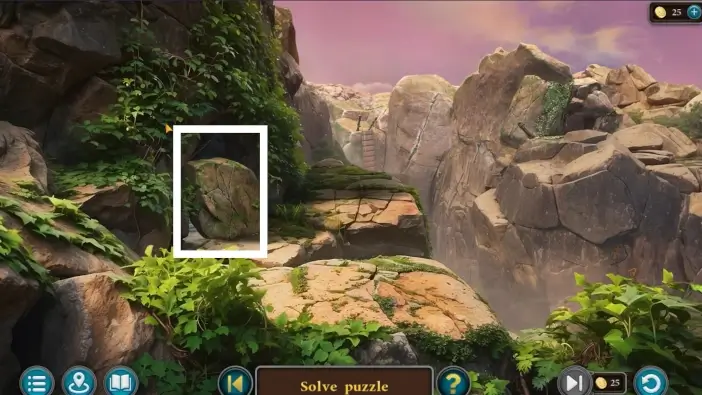
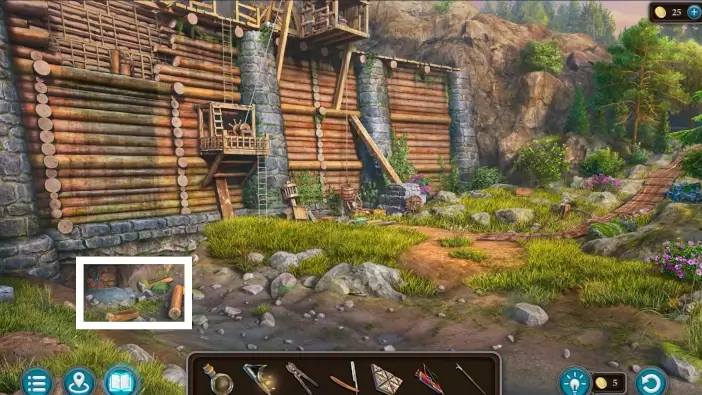
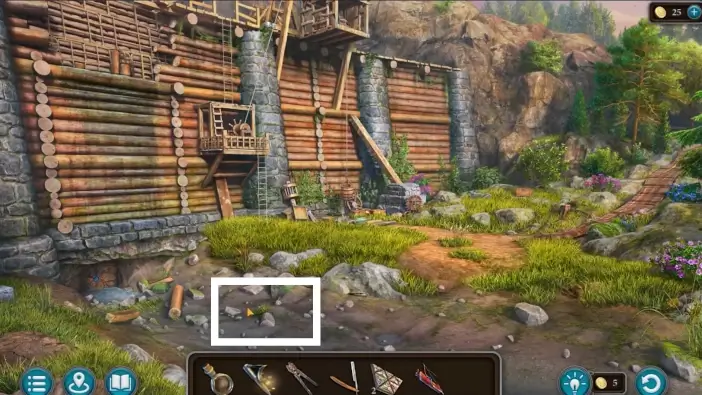
Approach the boulder.
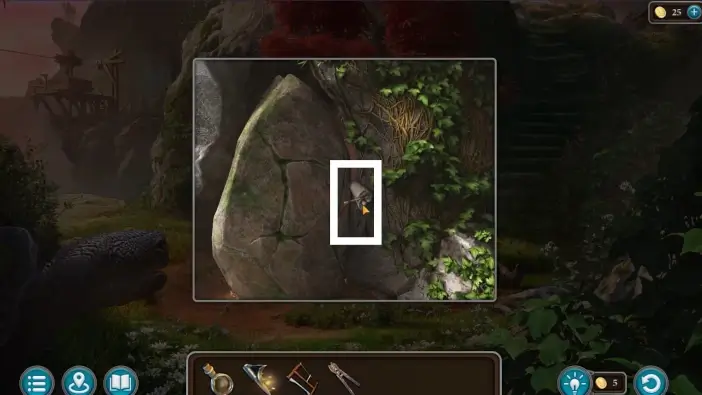
Pick up the straight razor.
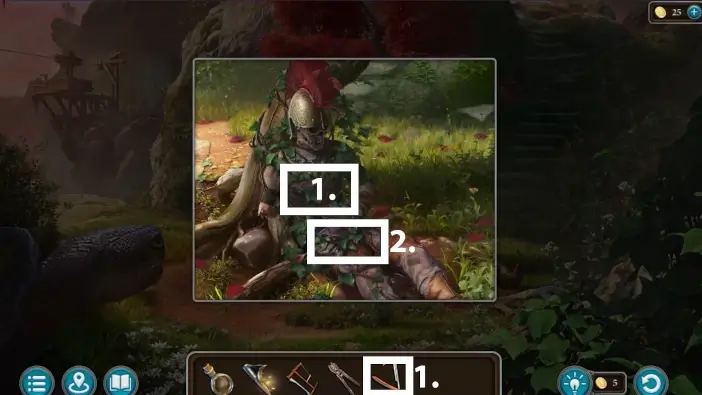
- Approach the warrior’s corpse at the tree. Use the straight razor you just picked up to cut ivy.
- Take the quiver of arrows. You will use it many times, but you will need to find a bow.
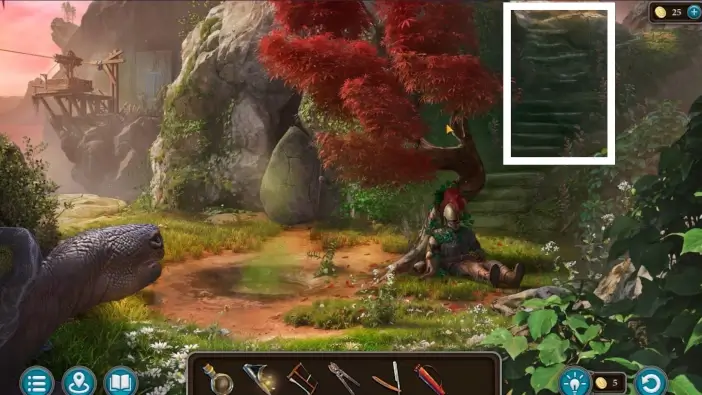
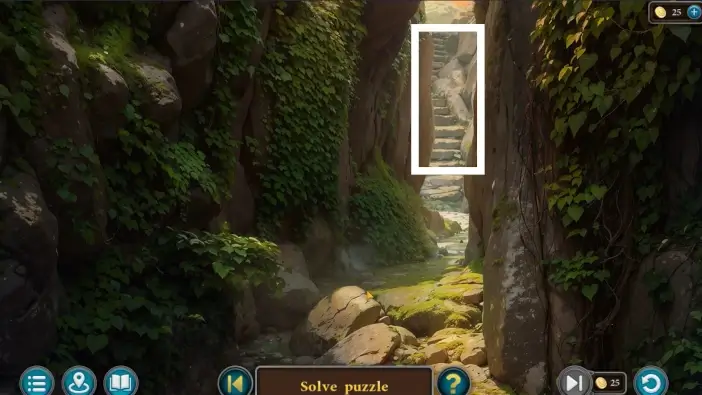
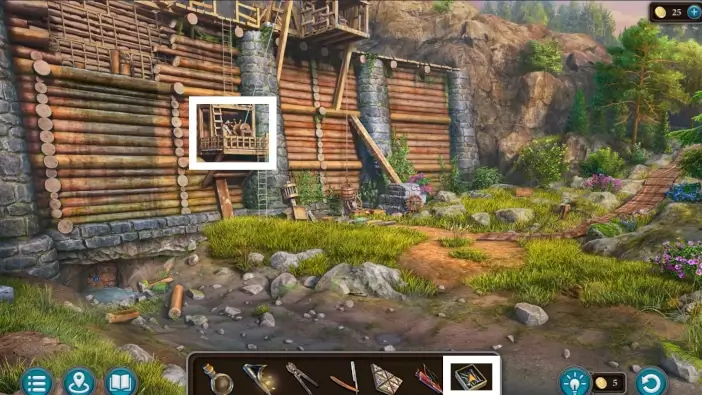
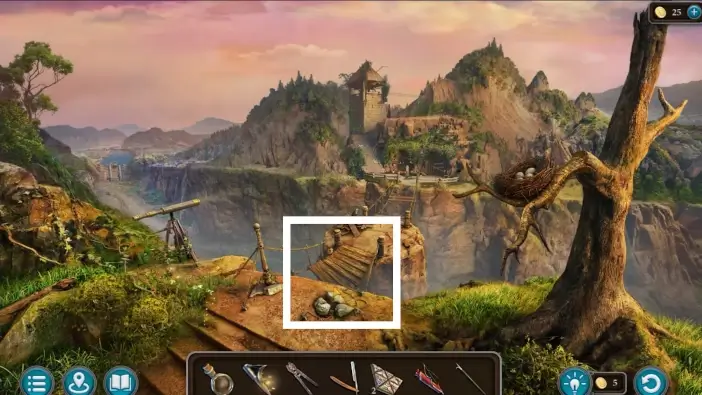
Climb up the stairs.
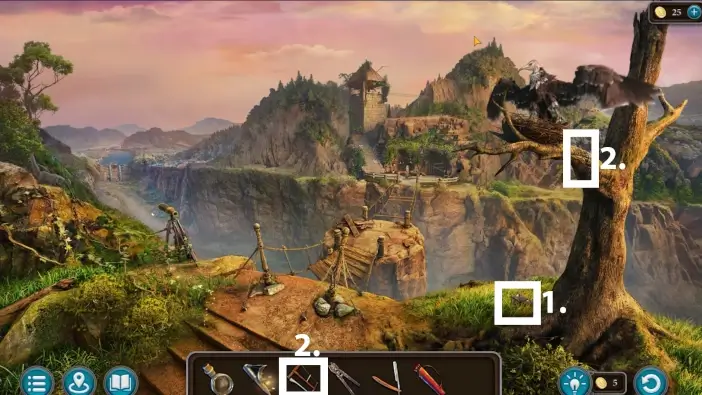
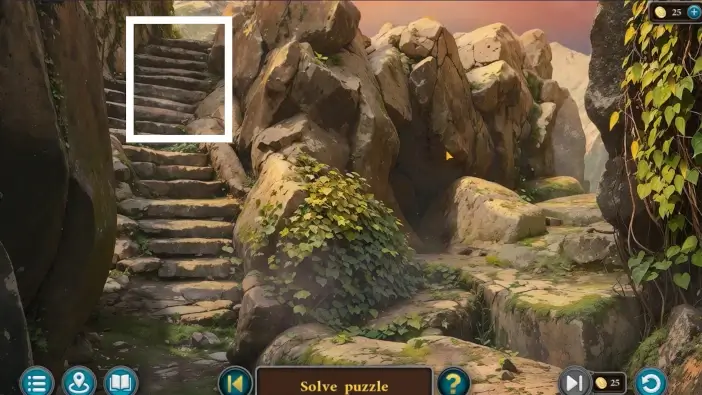
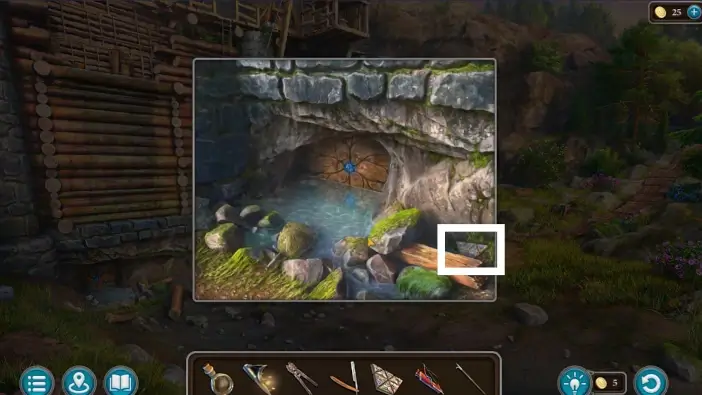
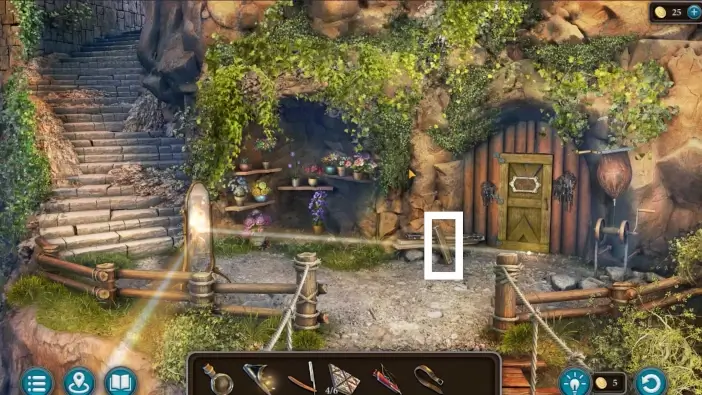
- Pick the first patterned trapezoid. You’ll need six of them to unlock the door of the observation post.
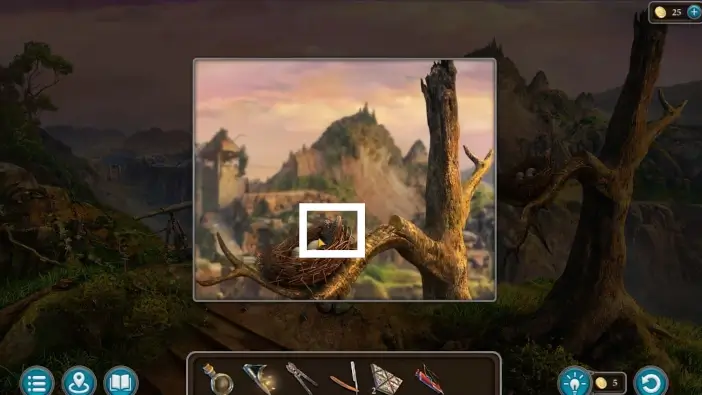
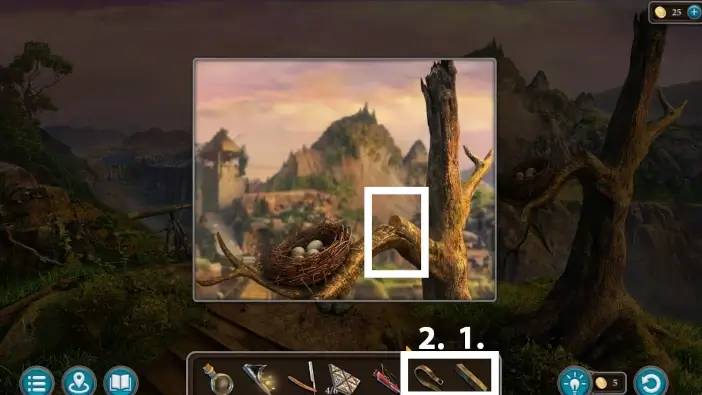
- Use a saw to partially cut the branch and scare the vulture bird away.
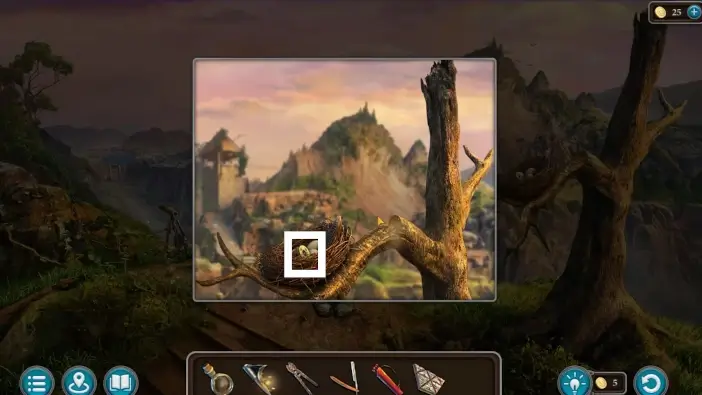
Take the eyepiece of the telescope from the vulture’s nest.
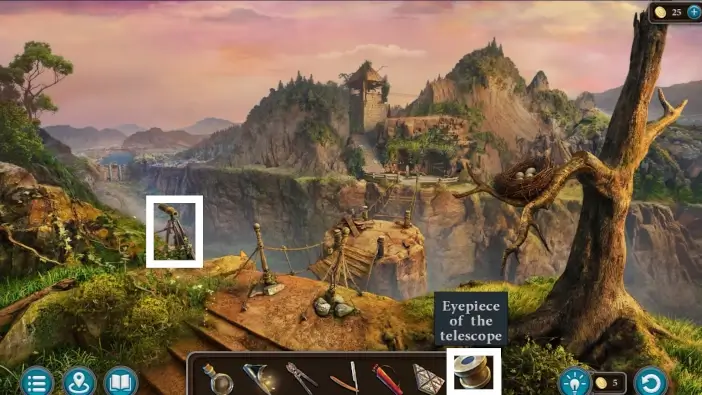
Place the eyepiece of the telescope on the telescope. Use a telescope to see landmarks which is where you will go next. Kiana will see the dam and the labyrinth of passages. She will then notice the barricaded door to the observation post and she will decide to check if somebody lives there.
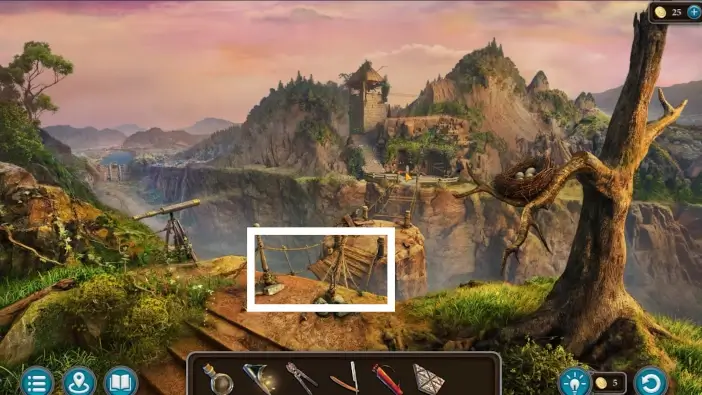
Approach the broken rope bridge.
- Use a straight razor to cut the rope.
- Take the wooden pole.
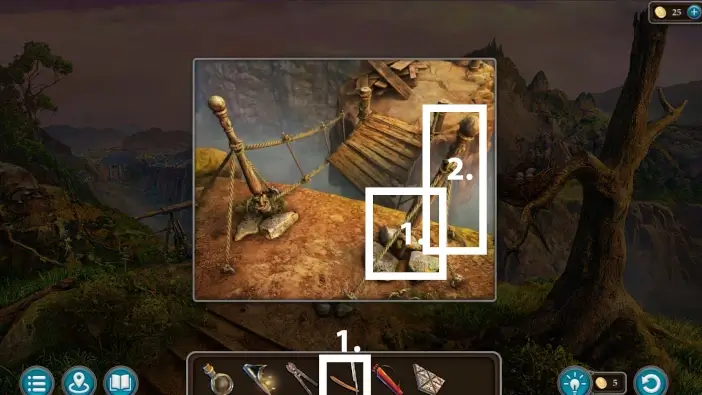
Go back to the oasis and use a wooden pole to move a boulder away.
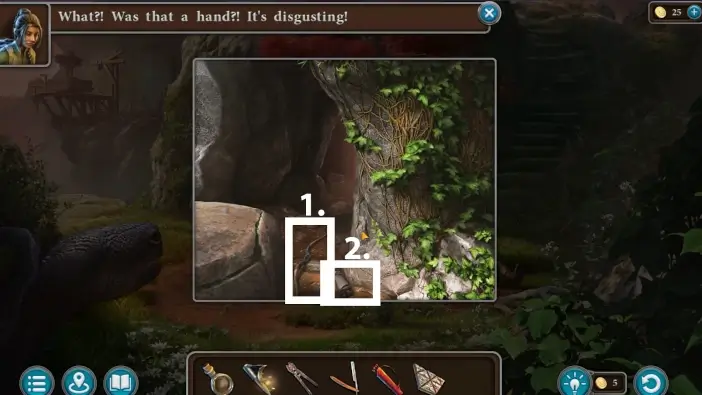
You will reveal a hidden passageway but you can also take two more items: the Elogan bow and the withered hand which you will use to distract the steel-weaving spiders later.
- Click on the bow in your inventory to examine it.
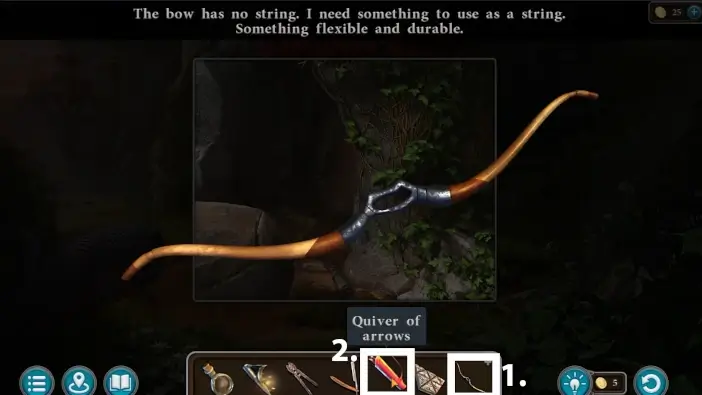
- Place the quiver of arrows on the bow. You’ll still need a bowstring to complete your weapon.
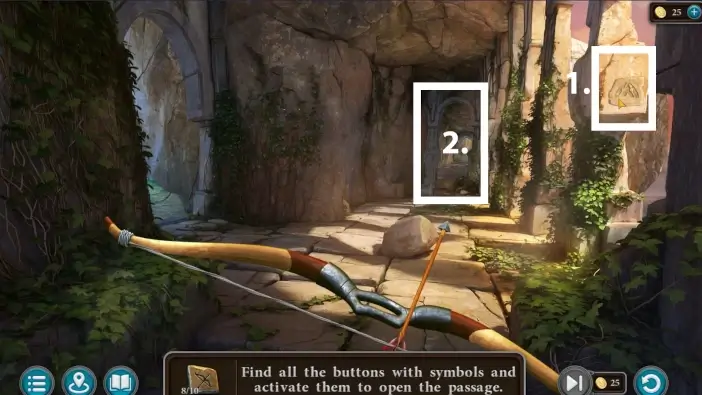
Enter the hidden passage where the boulder was. Follow the pictures in this guide to arrive at the next puzzle challenge location.
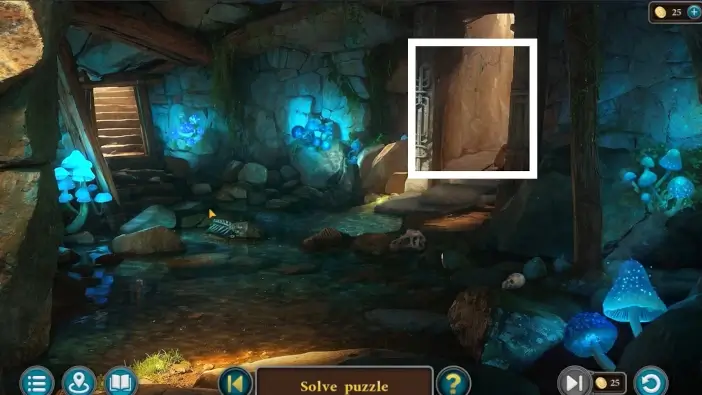
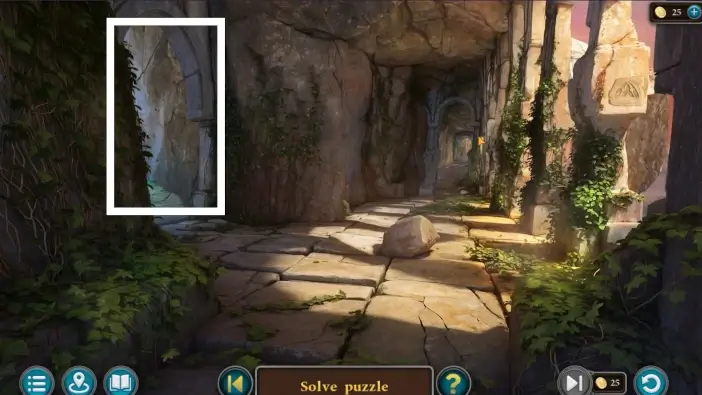
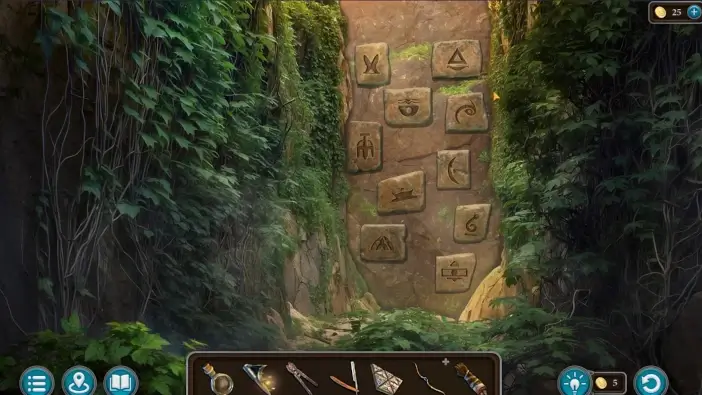
You will find a wall that is blocking the way. To remove the wall, you will need to shoot stones with the same symbols as on the wall. These stones are in various locations in the labyrinth but first, you need a functional bow.

Go back to the foggy lake and place a withered hand inside the stump to distract the steel-weaving spiders.
When the spiders are distracted use the nippers to cut the strong spider thread.
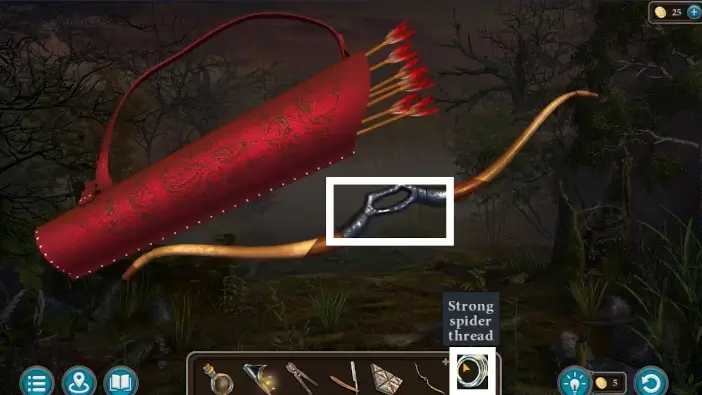
Click on the bow again from your inventory to continue preparing it. Attach the strong spider thread on the bow to get a fully functional bow and arrows in your inventory.
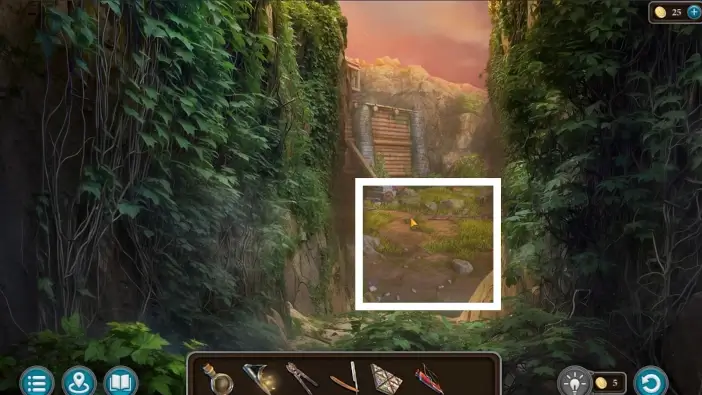
You can return to the oasis area by clicking on the lake. You will be automatically transported by the flying turtle.

Return to the canyon area and place the “bow and arrows” item on the ground to equip Kiana with bow and arrows. Visit the locations in the pictures and shoot at all the symbols marked on the pictures to remove the stone wall you encountered before.
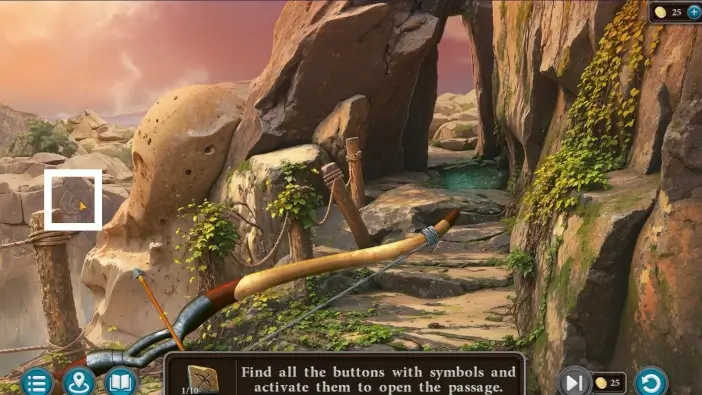
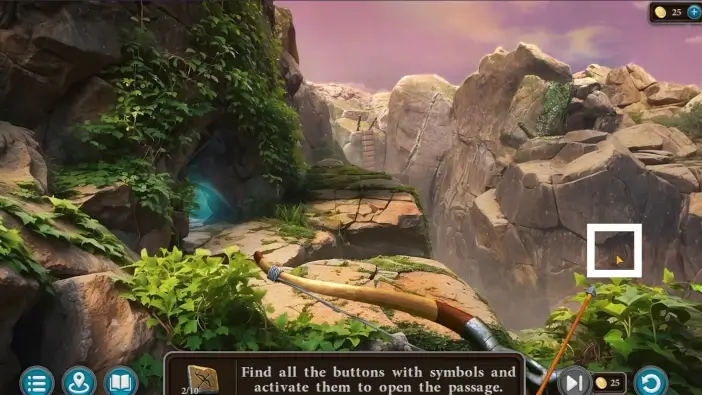
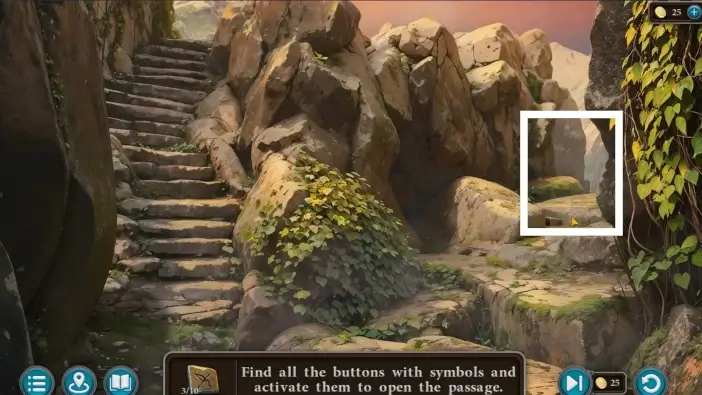

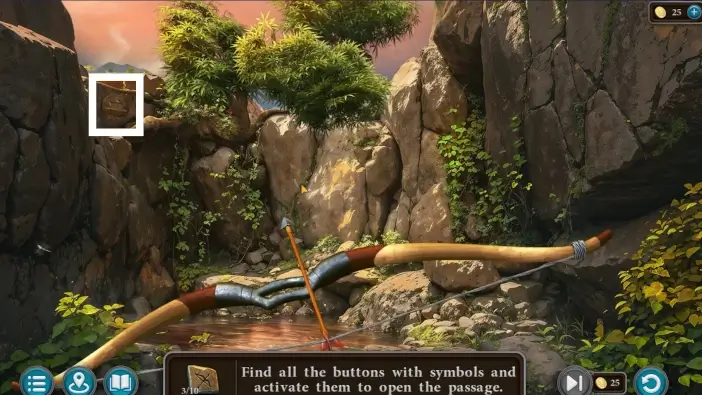
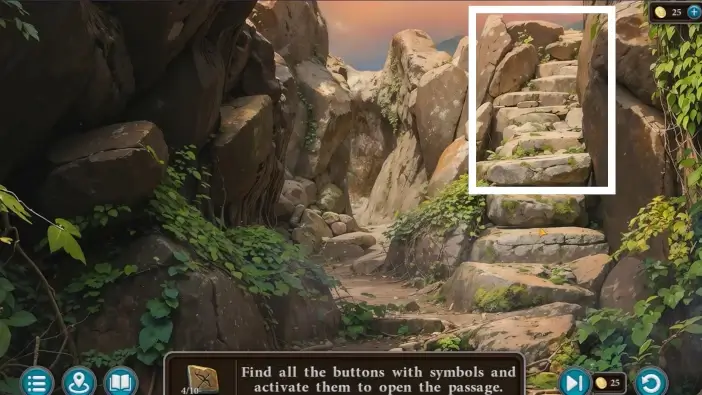
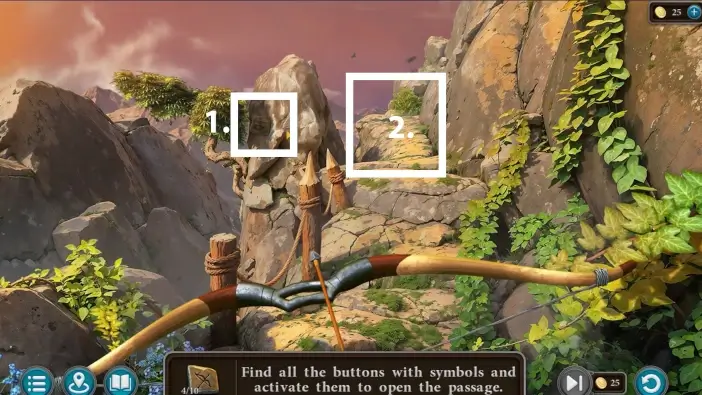
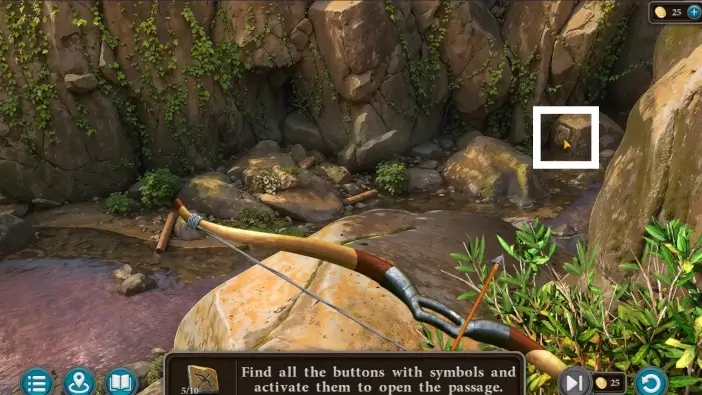
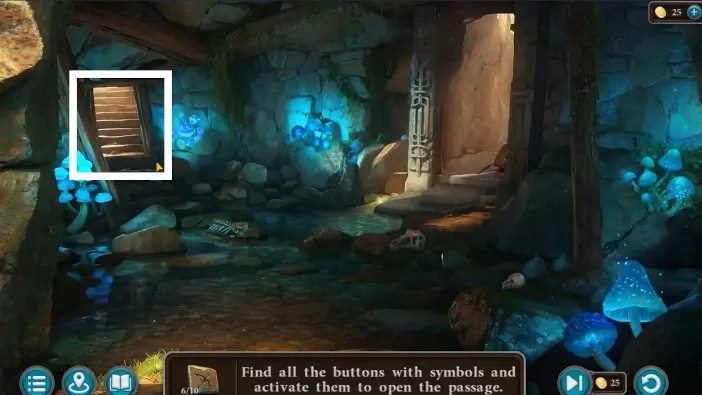
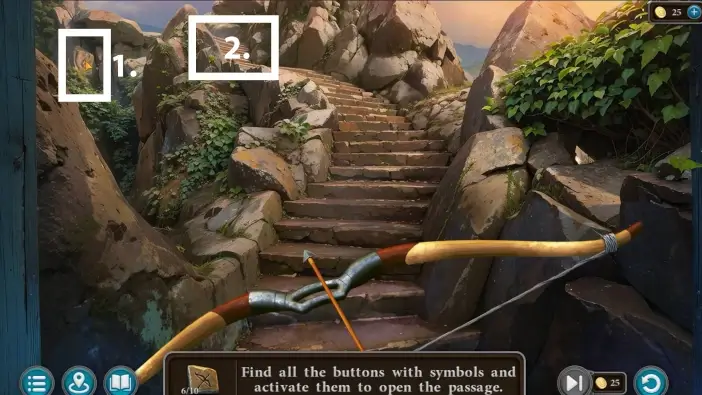
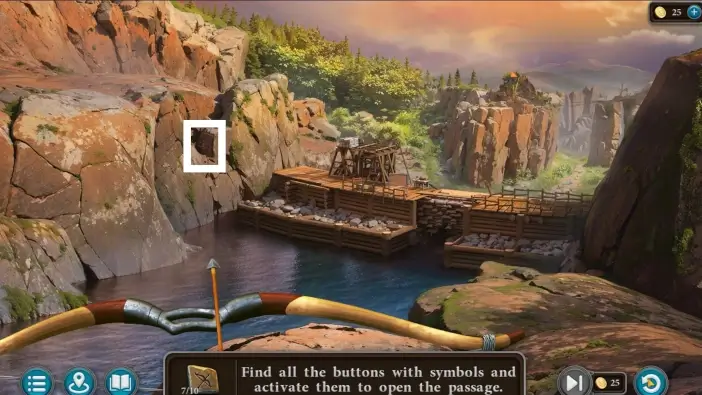
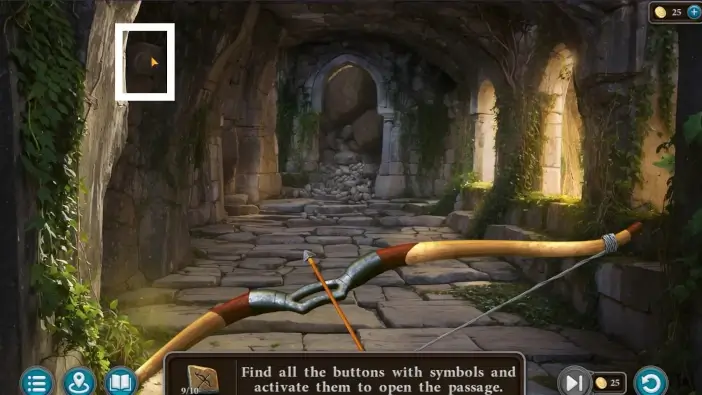
Go back to the wall and it will move away because you shoot at all ten symbols around the canyon. Proceed to the dam.
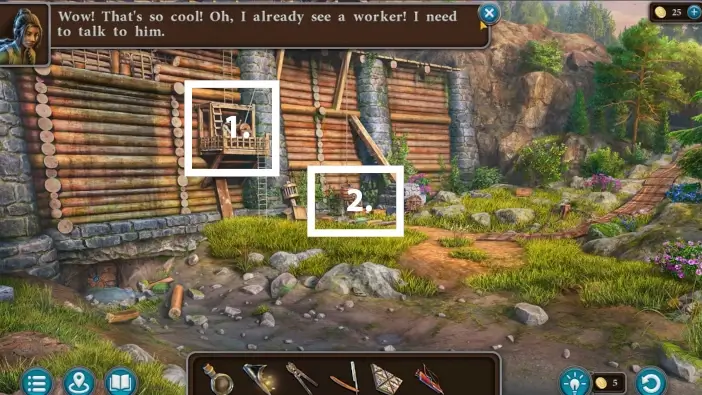
- Speak with the dam worker. He will ask Kiana to give him the nails so he can fix the winch.
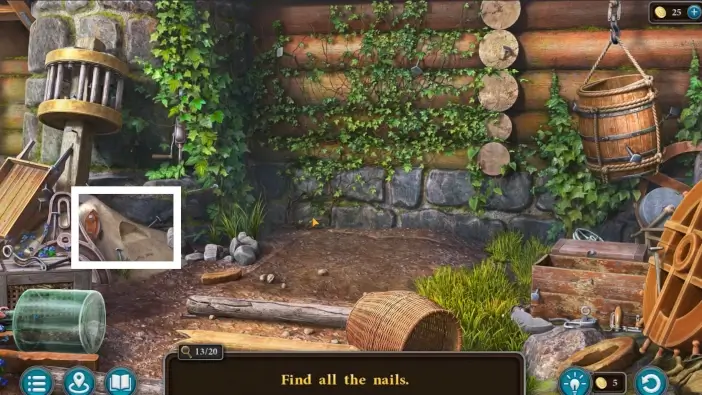
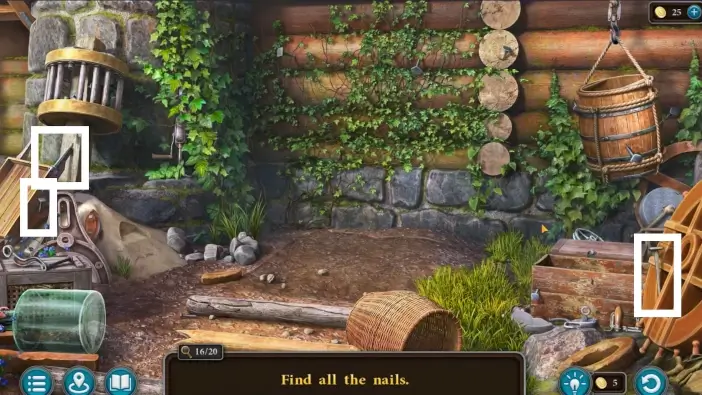
- Go under the wall to start collecting the nails.
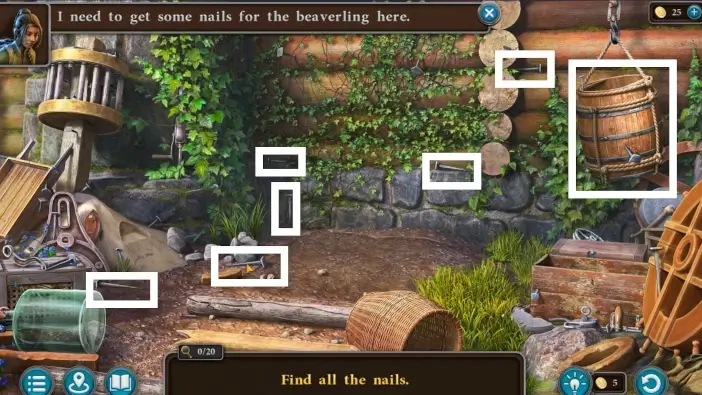
You’ll need to collect twenty nails. Don’t forget to approach the barrel on the right, you will find more nails inside.

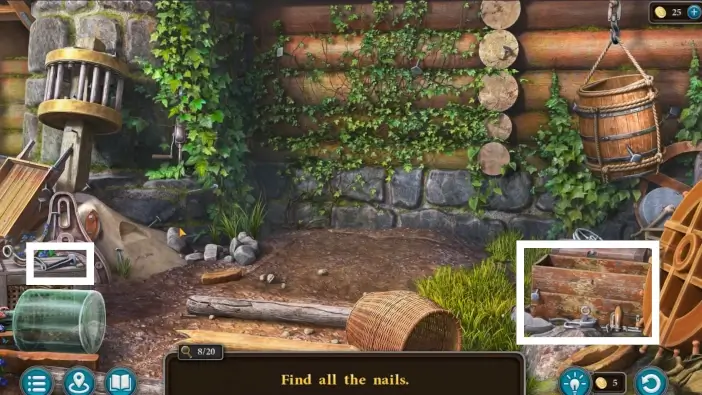
Check the box on the right to find more nails.
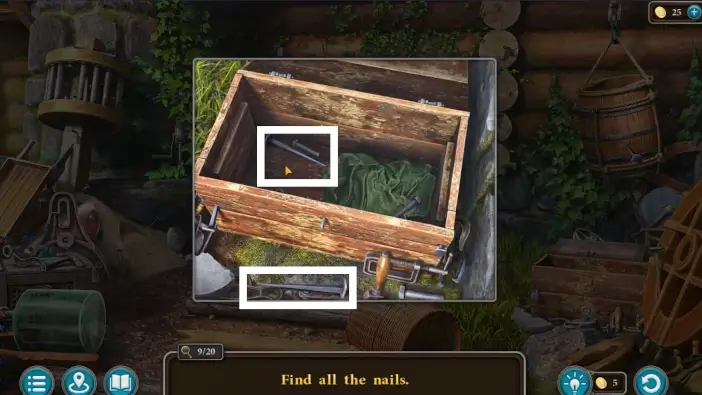
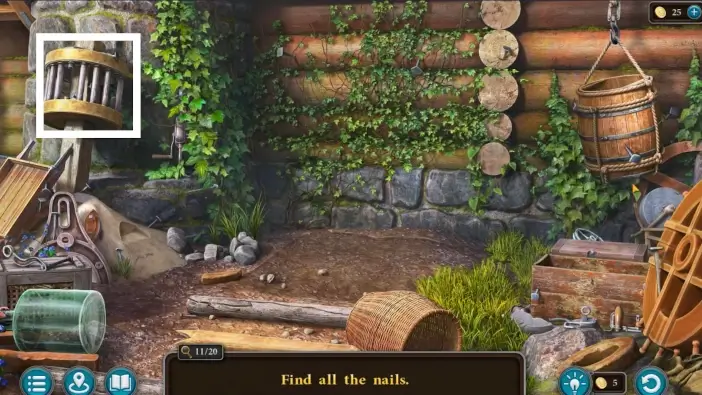
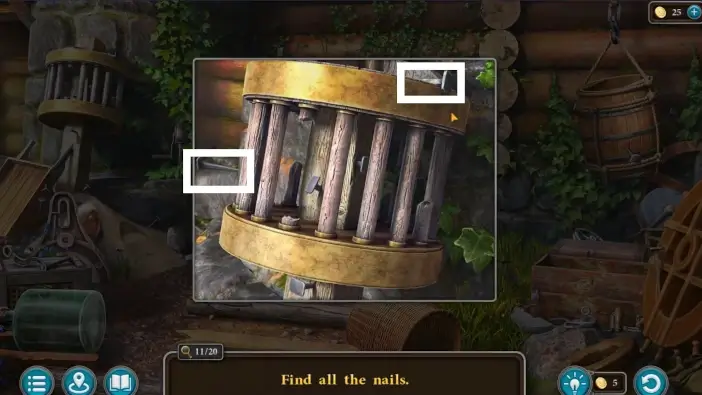
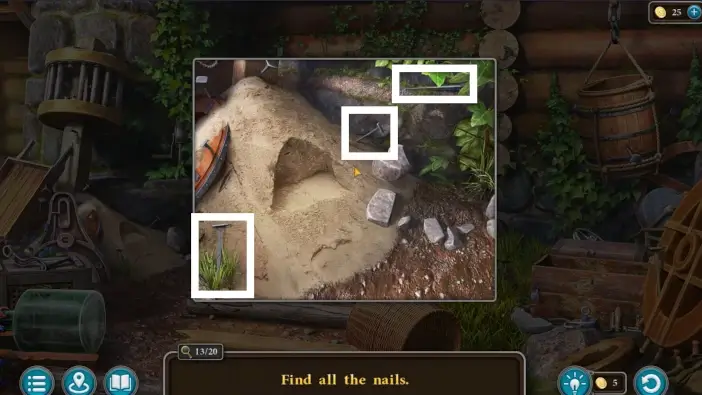
When you find all twenty nails, you will get the “nails” item in your inventory.
Give the nails to the dam construction worker and a new cutscene will begin.
The worker will introduce himself. His name is Roni and he will explain to Kiana that he met Susan and Maaron and that they went inside the cave below the dam. Kiana will ask Roni if he has some tool with a hook to help her repair a broken rope bridge. Luckily Roni will give her a pike pole.
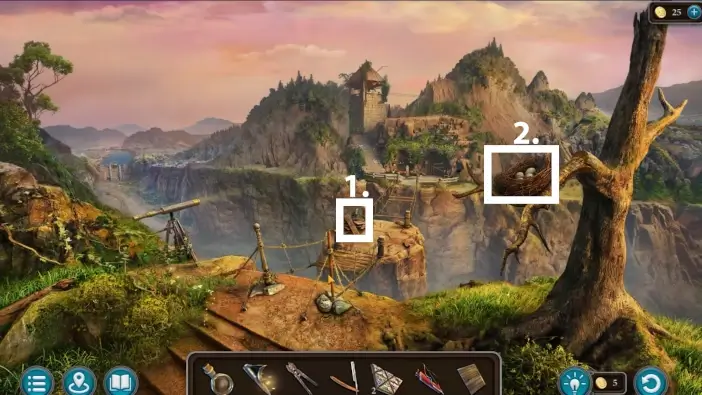
Approach the hidden passage to the temple on the left.
Take the second patterned trapezoid.
Go to the broken rope bridge.
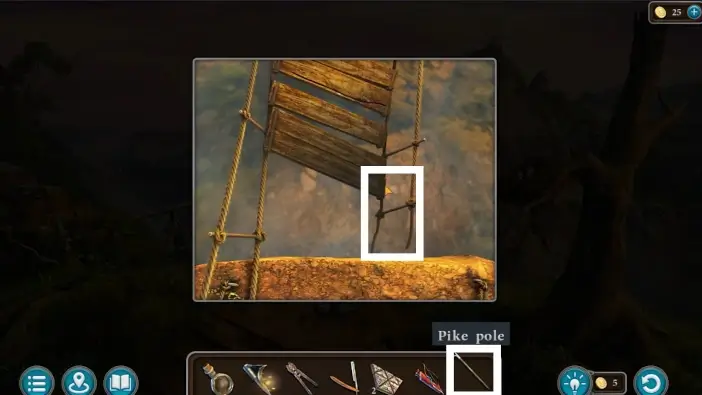
Grab the hanging part of the rope bridge with the pike pole and Kiana will tie it to the wooden pillar.
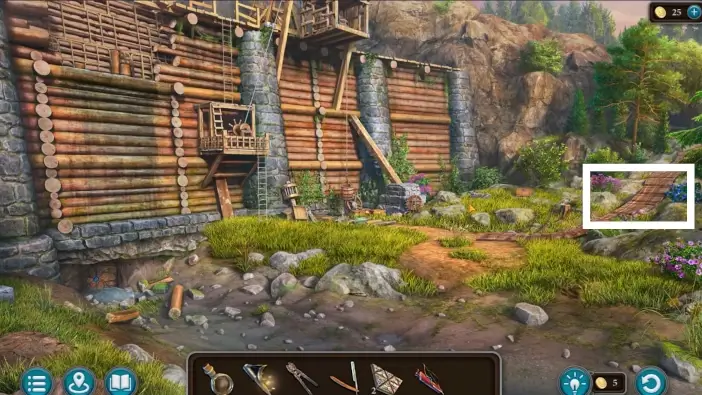
Return to the Dam and approach the ramp that Susan used.
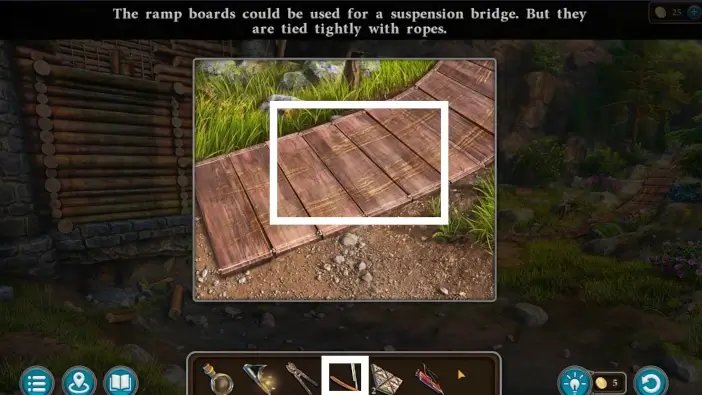
Use a straight razor to cut part of the ramp and take it.

Return to the rope bridge and place the part of the ramp on it to fix it.
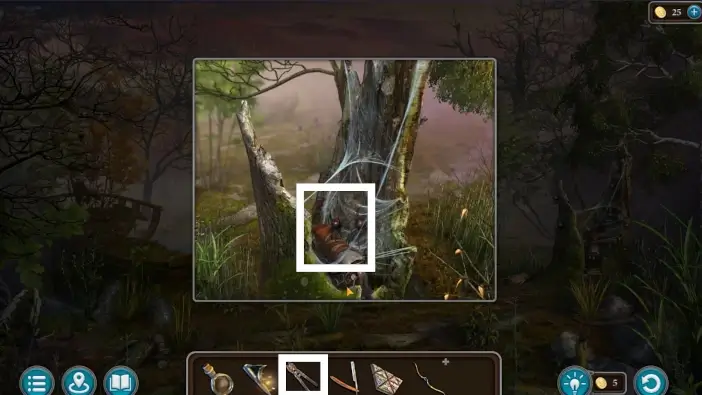
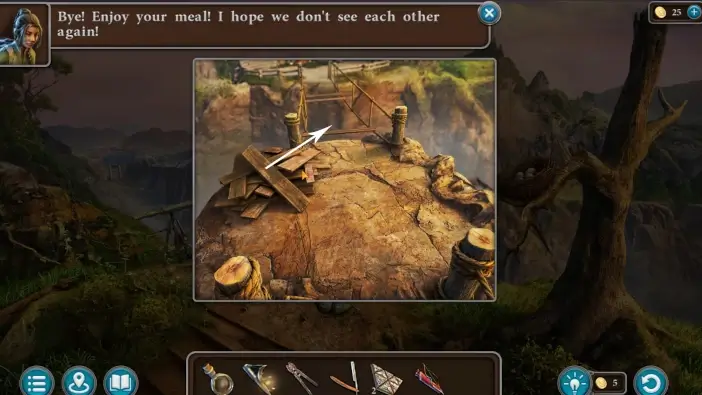
- Cross the rope bridge and approach the pile of planks. The vulture will stand on it. This will unlock a new item you can find and interact with to solve this problem.
- Approach the nest. Kiana will notice a spiked glove in it. This will unlock a new item you can find and interact with to solve this problem.
Go to the dam and try to catch the fish. Kiana will fail because the fish is slippery (if you can’t interact with the fish, check the nest, spiked glove, and the vulture first).
Return to the rope bridge area and take the spiked glove.
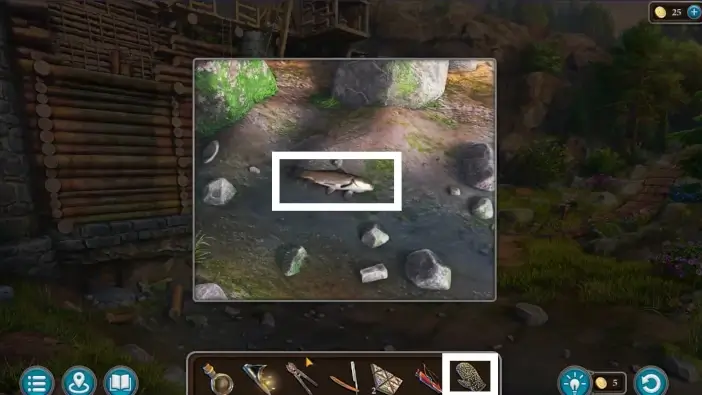
Go to the dam and pick up the fish using the spiked glove.

Cross the rope bridge and give the fish to the vulture. It will fly off.
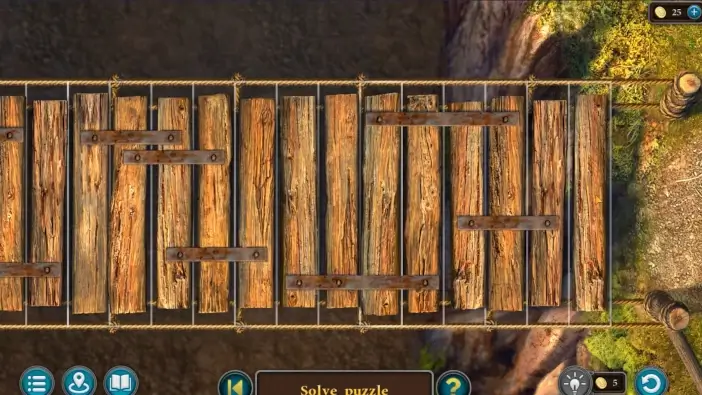
Use a pile of planks to fix the second rope bridge. A new puzzle challenge will begin.
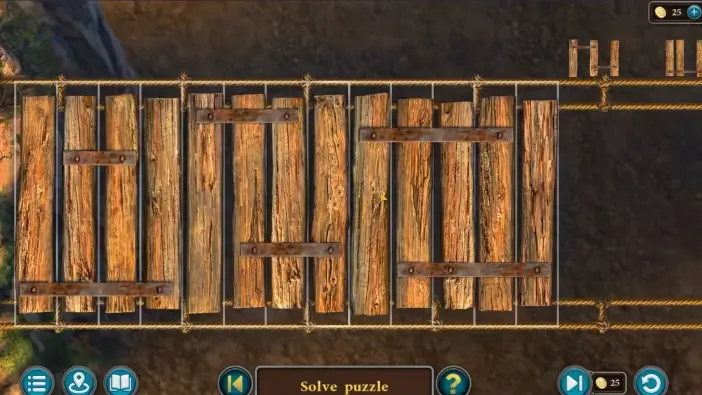
To fix the bridge, lay the planks on the bridge to form a path without gaps.
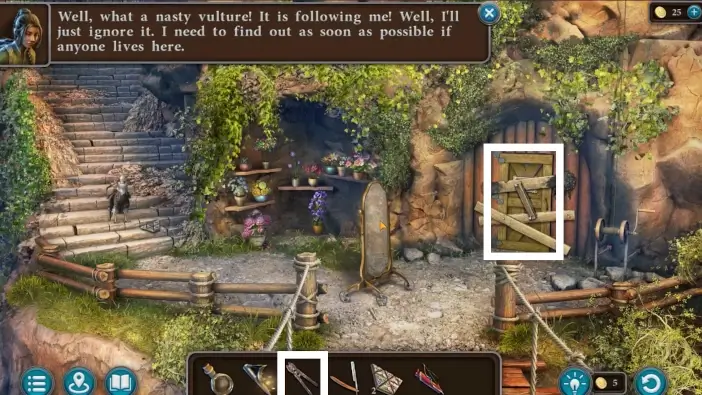
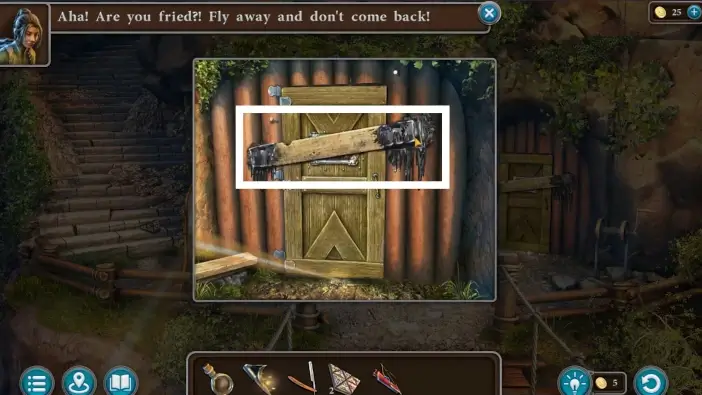
When you cross the bridge, you will reach the observation post. Approach the door and inspect the boards. Use the nippers to take out the nails. Examine the last board that is glued with hardened resin.
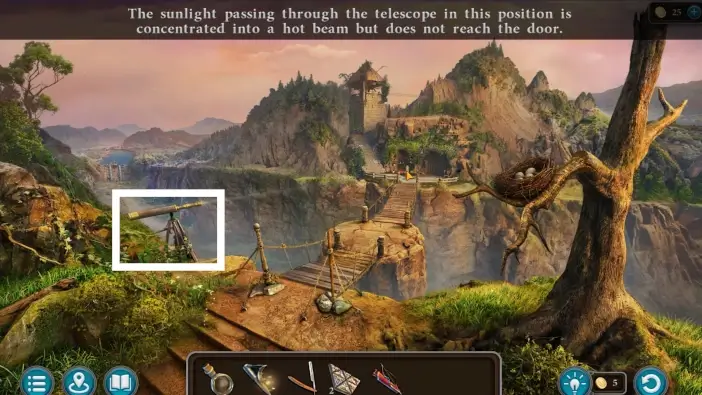
Return to the telescope and turn the telescope to the observation post.
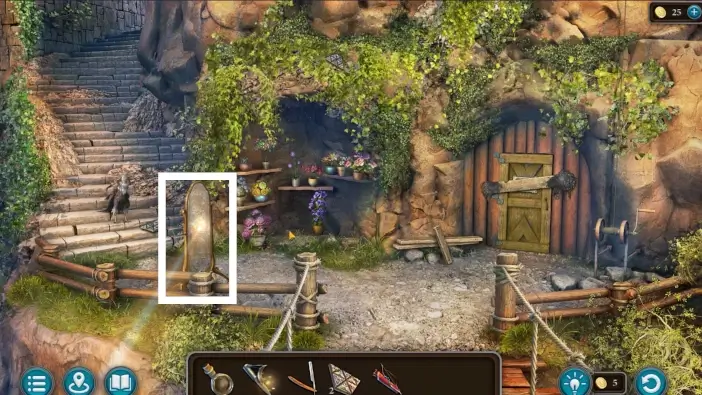
Move the mirror to the left to deflect the sun’s rays. Approach the mirror.
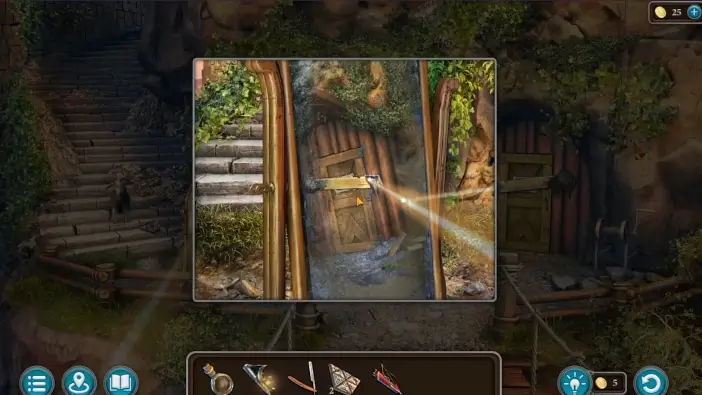
Move the mirror so the light shines and melt the resin.
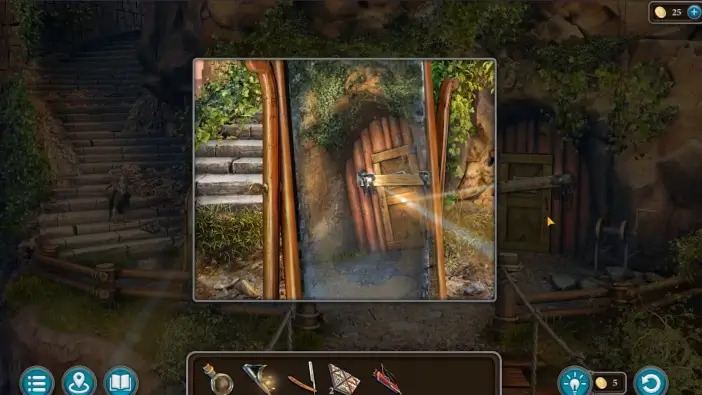
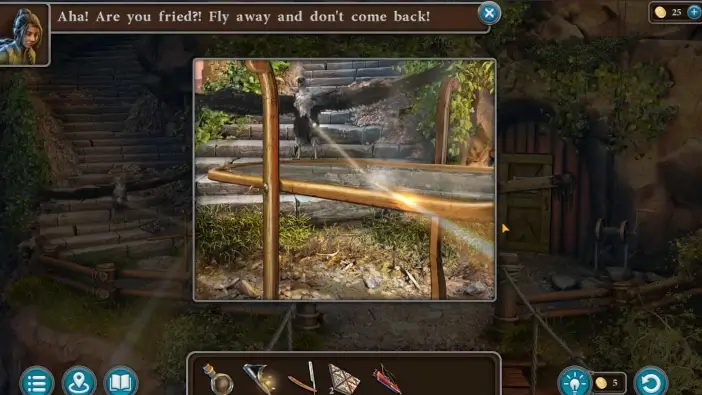
Move the mirror to cast light on the vulture. It will escape again.
Move the board from the door. The door is locked and you need to collect all six patterned trapezoids.
- Use a winch to lower the wineskin filled with gas.
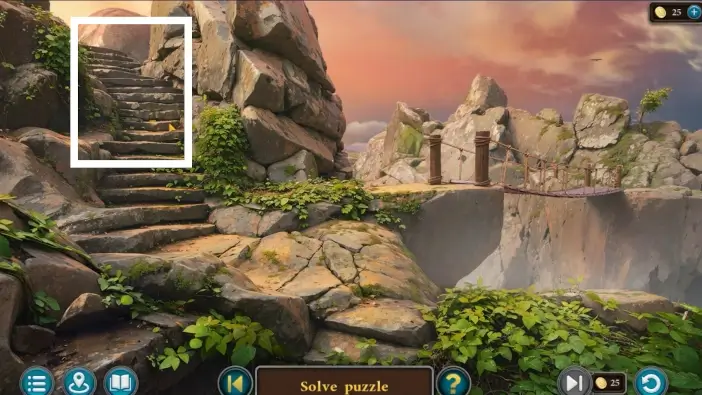
- Pick up the third patterned trapezoid from the stairs.
- Use a bow and arrows to shoot and take the fourth patterned trapezoid from the branches of the tree.
- Go upstairs.
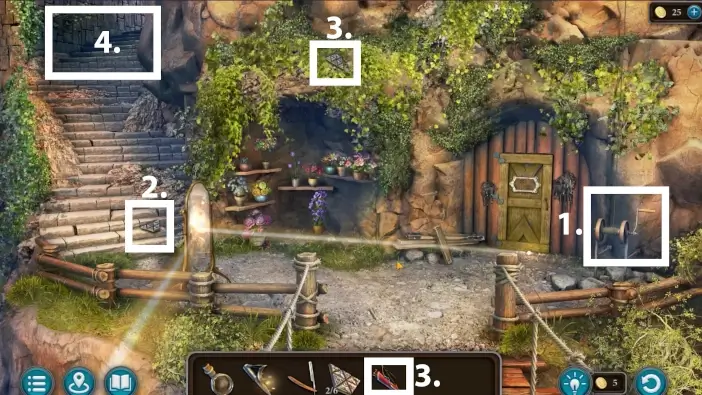
Approach the winch on the right.
- Use a winch to bring the fabric belt closer. Remove the clothes to continue using the winch.
- Take the fabric belt.
Return to the observation post and pick up the wooden block.
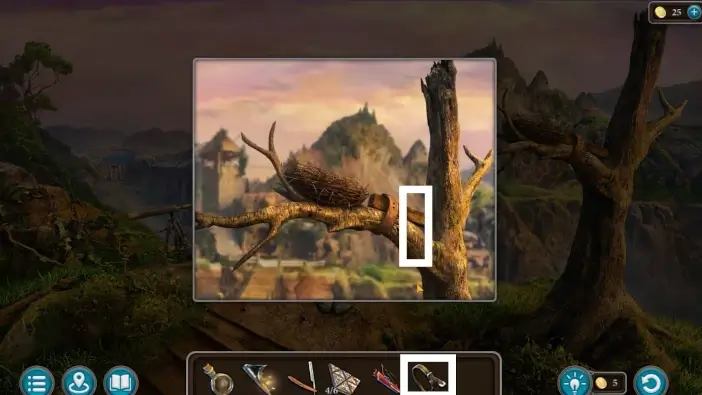
Go to the rope bridge area and approach the tree where the vulture’s nest is. You need to fix the branch, then the vulture will return to its nest and won’t bother you again.
- Place the wooden block on the branch.
- Use the fabric belt to fix the branch but it won’t be stable enough.
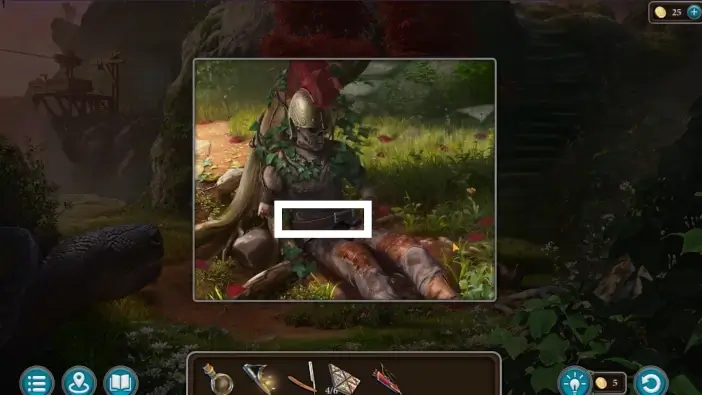
Go to the oasis area, approach the warrior’s corpse, and take the leather belt.
Return to the vulture’s nest and additionally secure the branch with the leather belt.
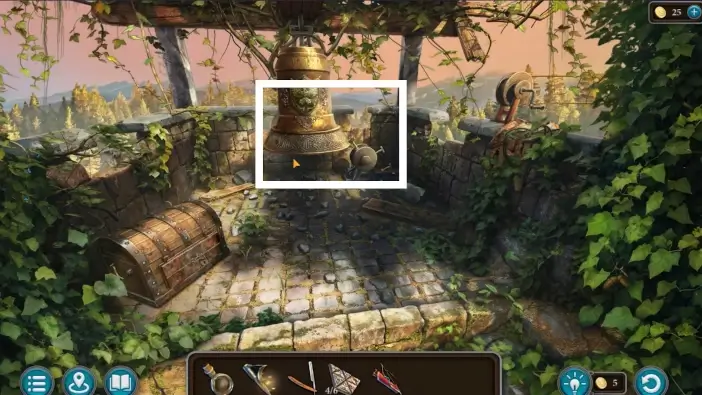
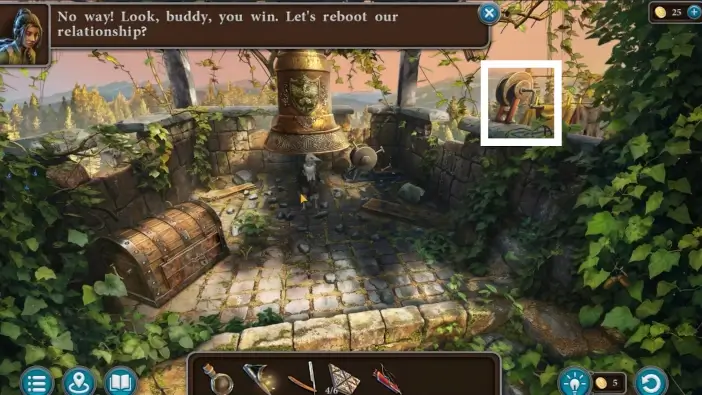
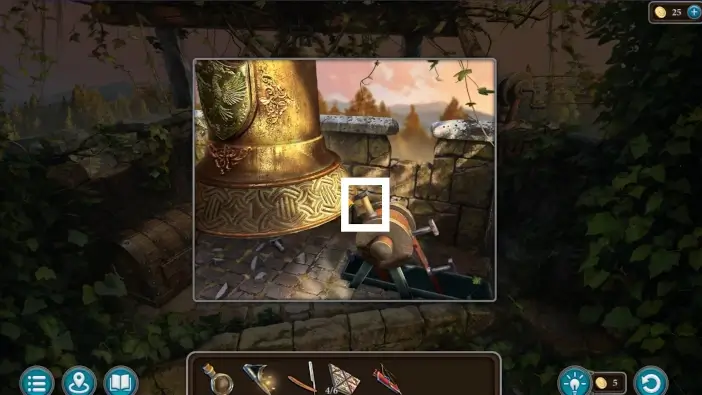
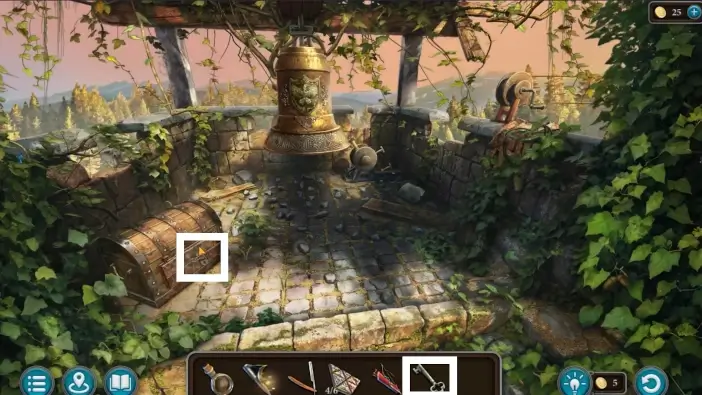
Go to the observation post and climb upstairs to reach the tower. Approach the mechanism on the other side of the bell.
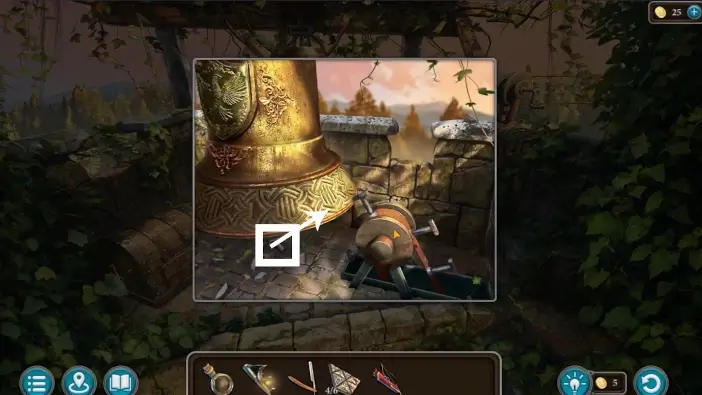
Use a hammer from the floor to hit the bell. Once you do that the mechanism will be activated and you will get a letter from the resident of the observation post.
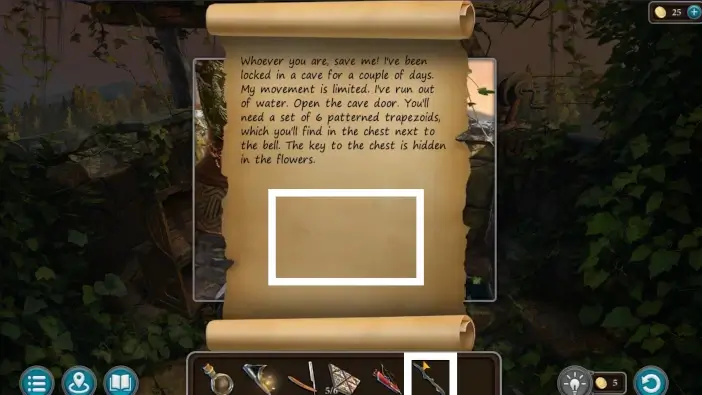
Take the letter. The mysterious resident will inform you that you need to collect six patterned trapezoids to unlock the door. Some of the trapezoids are inside the chest and the key to the chest is hidden in the flowers. The resident also needs some water, which you already have to give them.
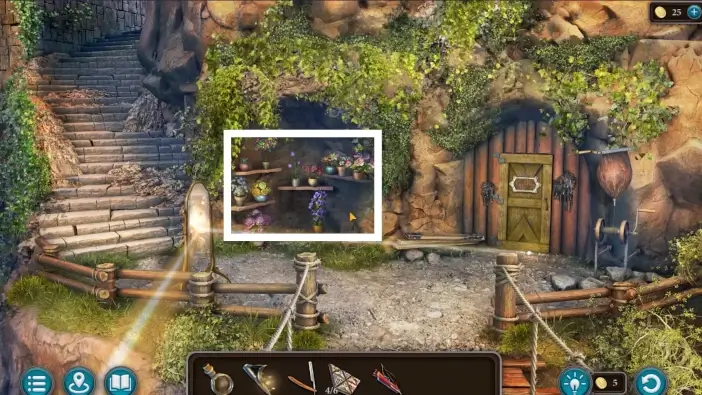
In the observation post’s courtyard, approach the flowers.
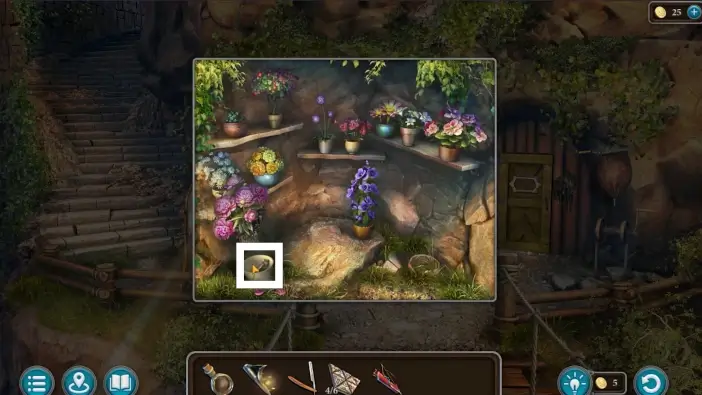
Pull out the flowers from the flowerpot on the left and take the key to the chest.
Return to the tower and use the key on the chest. This will start a new puzzle challenge.
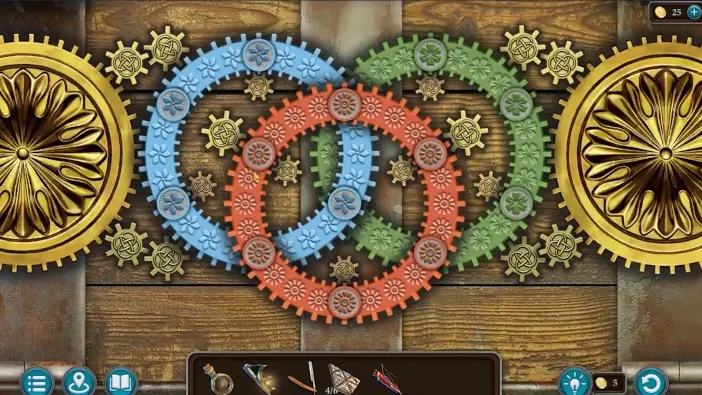
To unlock the chest you need to place all flowers in the larger circles of the same color.
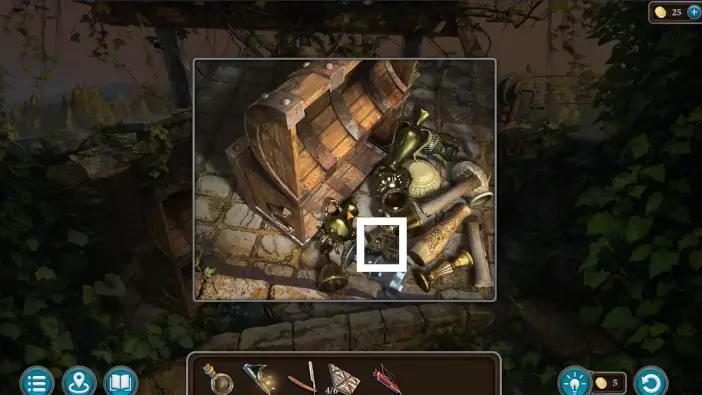
Take the fifth patterned trapezoid. Despite opening the chest, you still don’t have enough trapezoids to unlock the door. You need to write a letter to the resident.
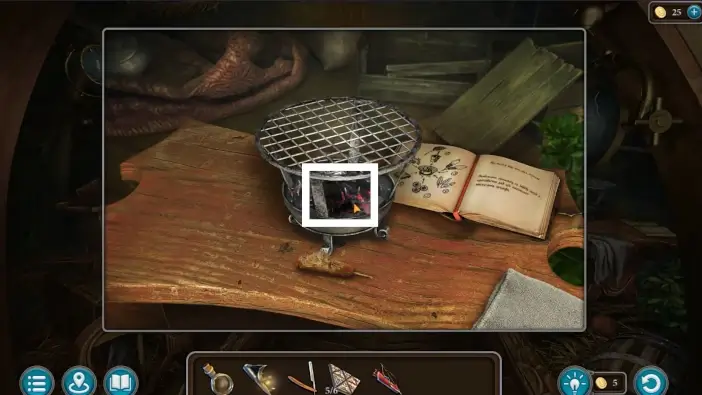
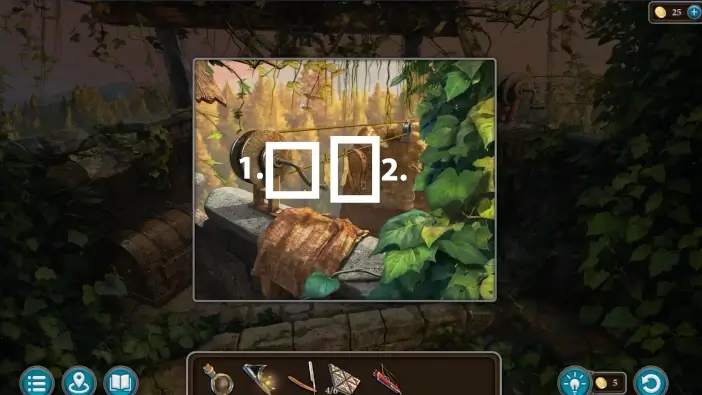
Go to Uri’s house, approach the table on the right, and take the charcoal stick from the stove.
Return to the tower of the observation post, take the letter again, and turn another side of it. Use the charcoal stick to write the letter.

Place the letter on the mechanism and use a hammer once again to hit the bell. Leave the bell and then approach it again. The resident will reply. Read the letter and take the sixth patterned trapezoid.
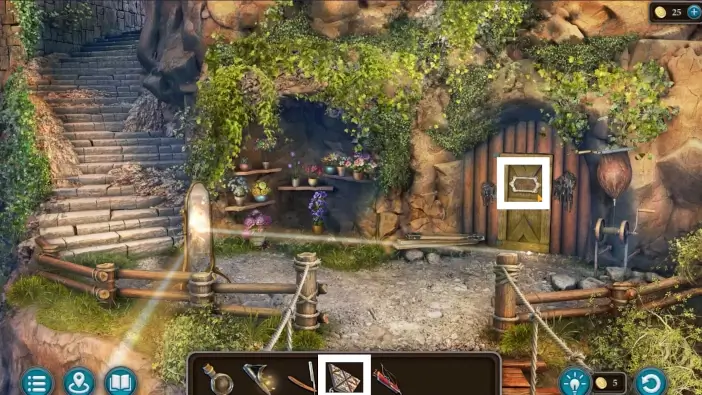
Go to the door of the observation post and place all patterned trapezoids on it to start a new puzzle challenge.
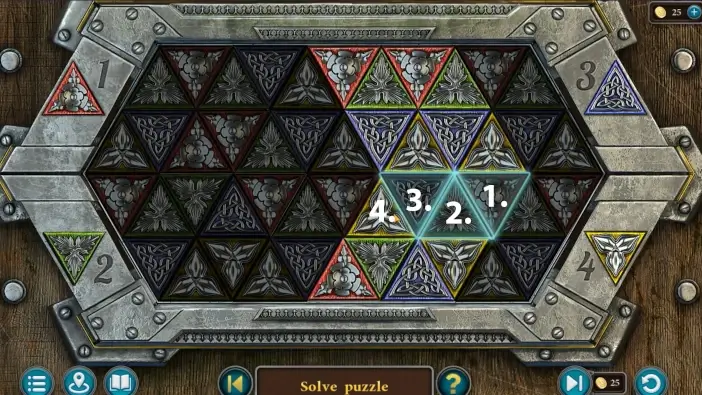
On the sides, you can see numbers beside each patterned triangle. On the center of the door, click on the triangles always in the same order as shown on the edges, ie. first red, second green, third blue, and fourth yellow. Once you click on four triangles in this order, they will disappear. Remove all triangles to unlock the door.
This will mark the end of part 2 of our guide for the Bonus Chapter of the Lost Lands 10. In the next part, Kiana will meet a resident of the observation post and together they will devise a plan on how to reach the temple.
Thank you for reading!