Escape Room Strange Case 2 | Part 1
Intro
Welcome to our walkthrough for Part 1 of the “Escape Room Strange Case 2” from “Labeledman”. This game is a continuation of the game “Escape Room: Strange Case” where you investigated the “Alchemist” crime. In this game, your character ended up in a mental asylum, heavily wounded. But this is not an ordinary mental asylum…
Day 1
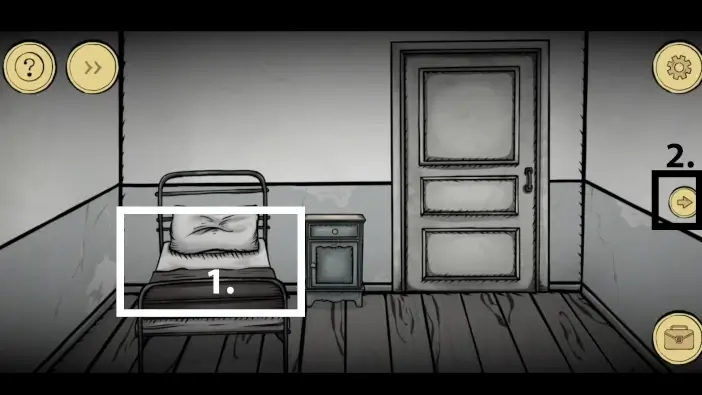
- Approach the bed and pick up the old boot beneath it.
- Go right toward the bathroom.

- Optionally, approach the mirror on the left and click on it one more time to see a hallucination. Is it a hallucination tho?
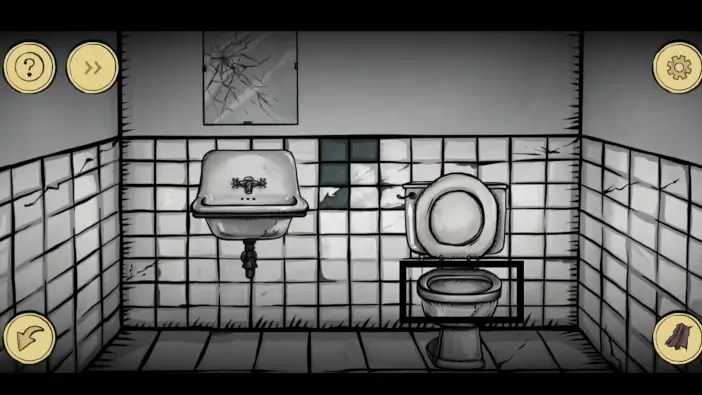
- Approach the bathroom tiles.

In your inventory, select the old boot and break the part of the wall. A new puzzle challenge will start.
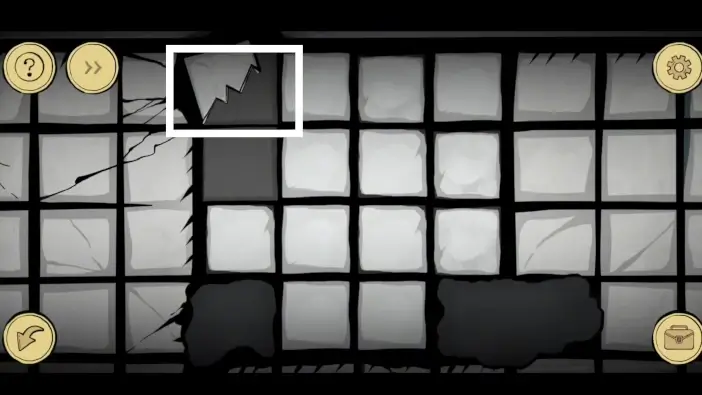
Click on a bathroom tile next to the empty tile and the bathroom tile and the empty one will switch places. On the wall, there will be one broken tile. Using the previous logic of swapping tiles, bring the broken tile to the top, as in the picture above, and then take the broken tile.
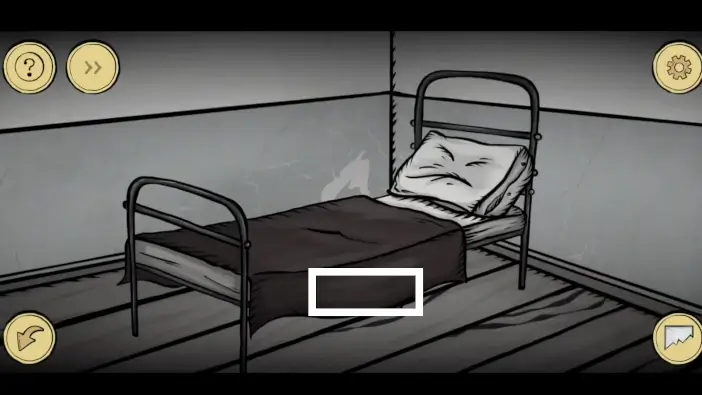
Return to the bed, select the broken tile from your inventory, and use it to get the piece of bed sheet.
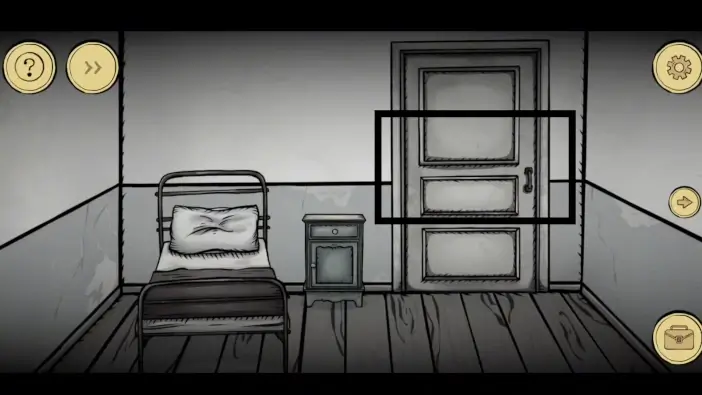
If you try to exit your room, the orderly will block your path.
To solve the issue with the orderly, go to the bathroom and approach the toilet bowl.
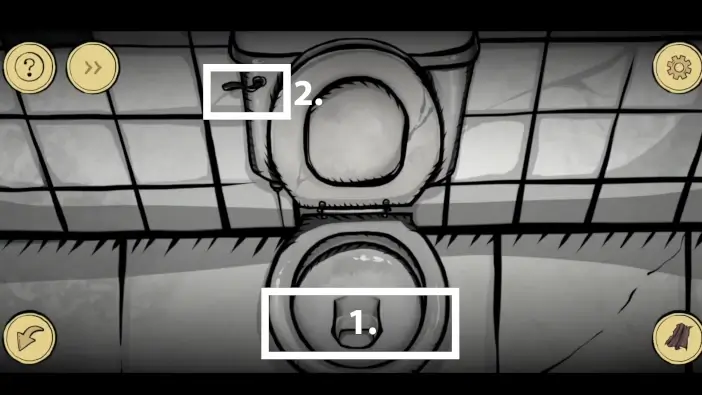
- Place the piece of bed sheet inside the toilet bowl.
- Flush the toilet to clog it.

Exit the room and tell the orderly that the toilet is clogged. He will go away to find a plumber. This will be an opportunity to explore the asylum.
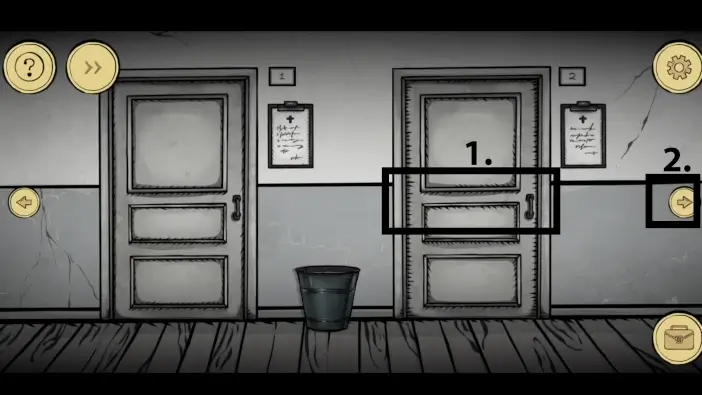
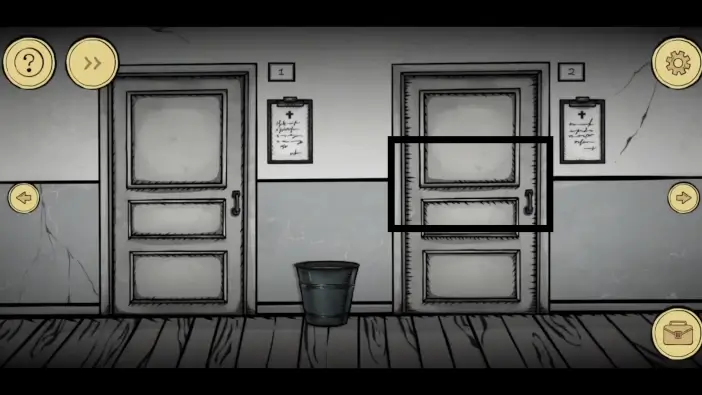
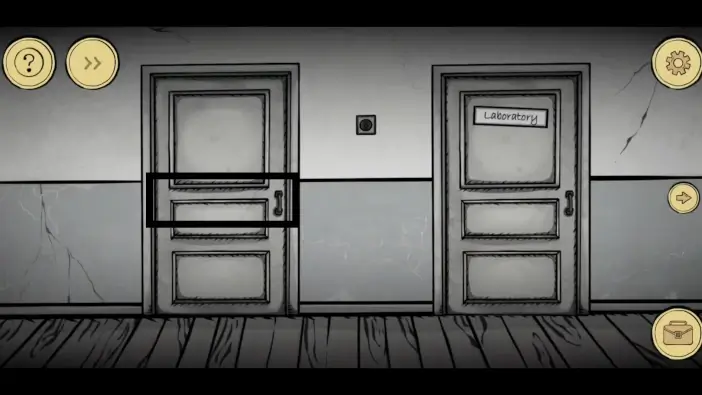
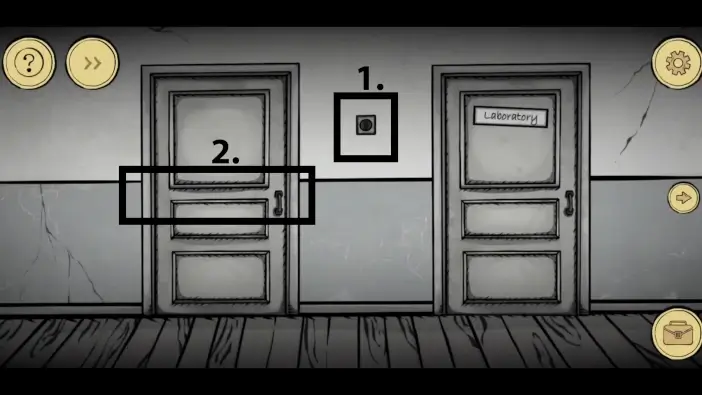
- Check door number 2 to see a cutscene. Later, you will see that patient again.
- Go further to the right side of the hallway, by clicking on the right arrow.
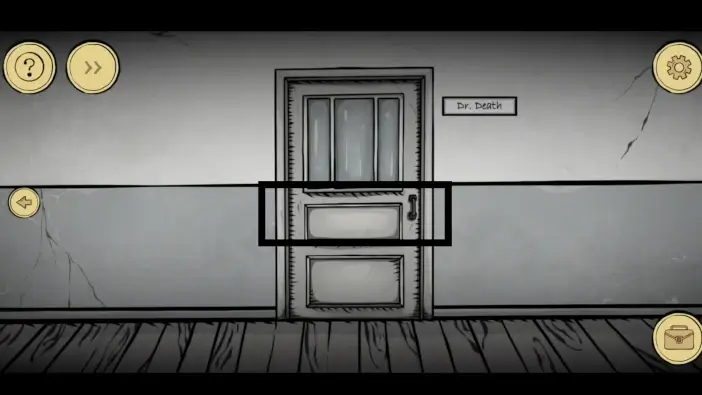
Enter the Dr. Death’s office.
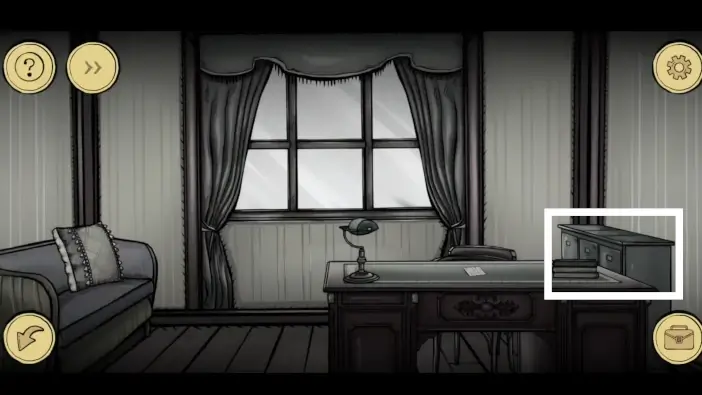
Approach the drawers with folders. To open the central drawer, you need to open all others first. For each drawer, you’ll need a password.
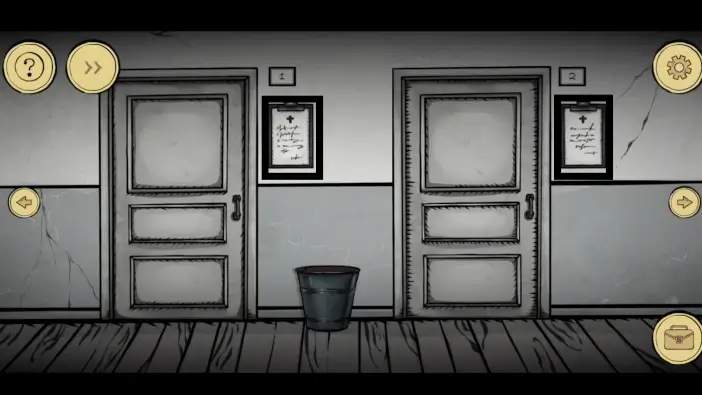
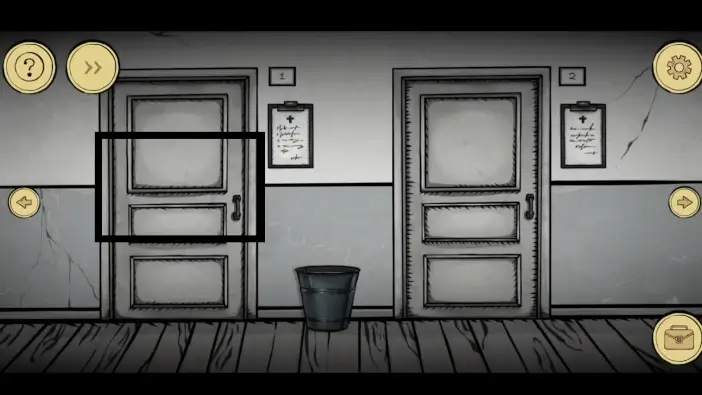
Go back to the hallway part where your door is (number 1). Check the two notices beside the doors. You can see the passwords for the drawer number 7 and the drawer number 2.
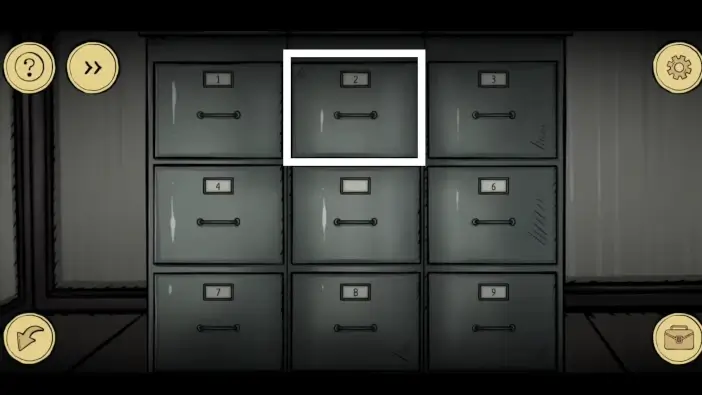
Return to the doctor’s office and approach the drawer number 2.
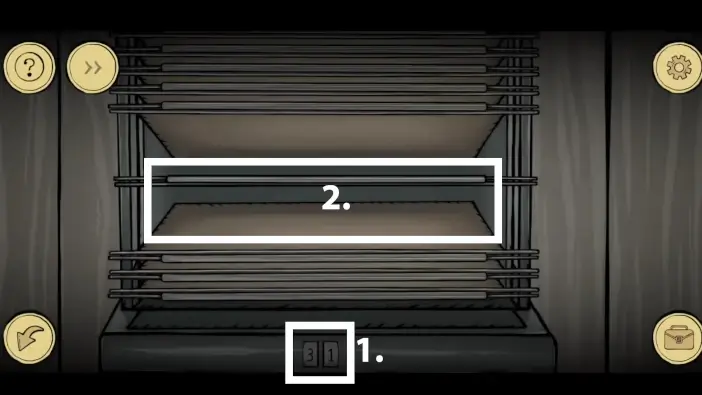
- Change the safe code to 31 to unlock the drawer.
- Take the folder.
In the folder from drawer number 2, you can see passwords for three other drawers.
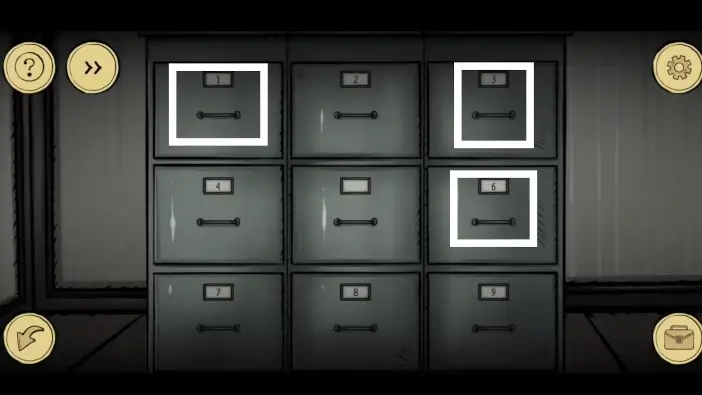
Open drawers number 1 (password is 15), number 3 (password is 80), and number 6 (password is 22).
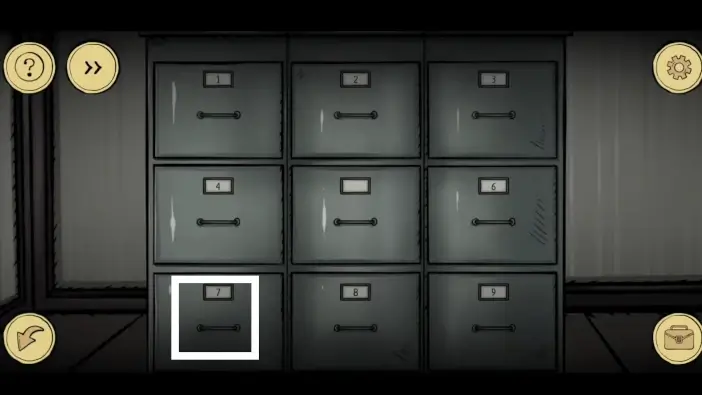
Approach the drawer number 7.
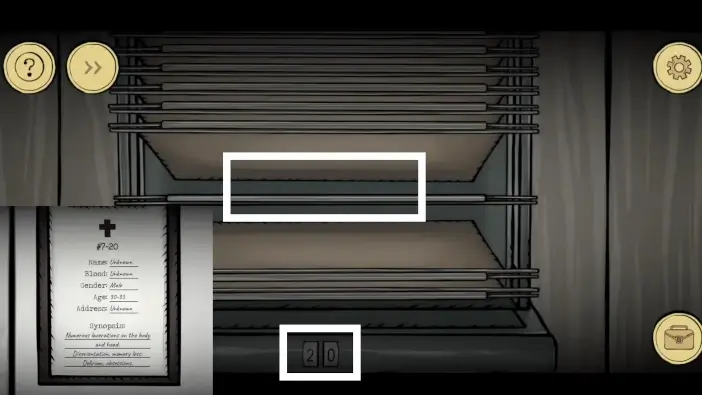
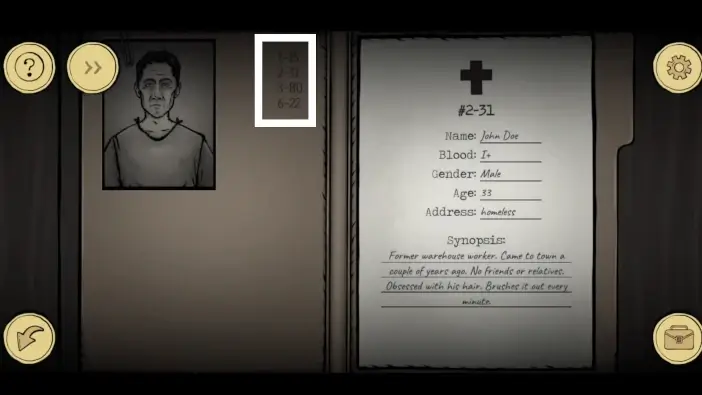
The password is 20, as written on the notice board next to the door of your room. After unlocking the drawer, take the folder.
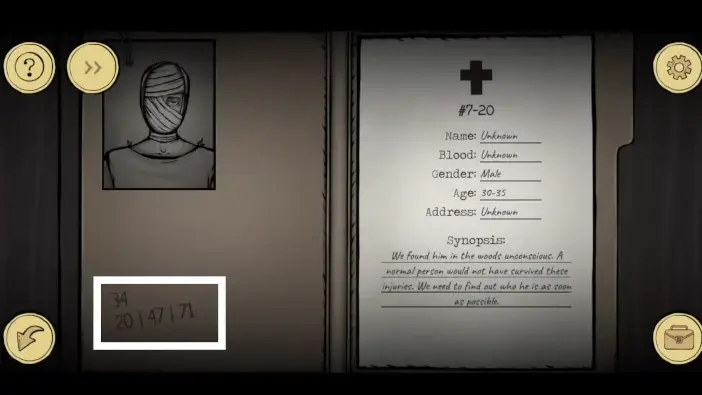
It is a folder about you. Look at the clue on the left. These are the passwords for drawers number 4, 8, and 9.
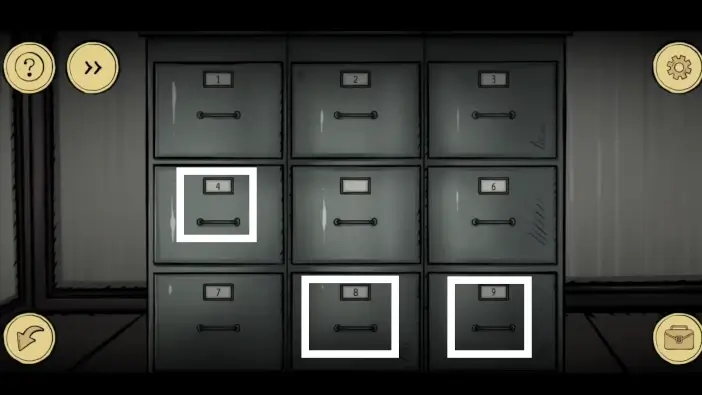
Open drawers number 4 (password is 34), number 8 (password is 47), and 9 (password is 71).
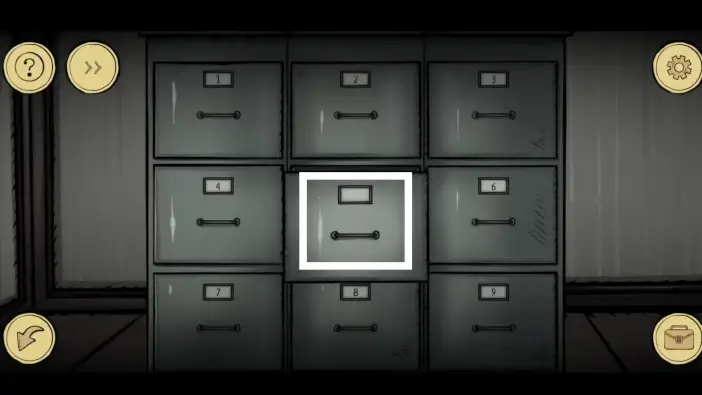
When you open nine drawers, the central drawer will be unlocked. Pick the trinket from it. You will use this item near the end of the game.
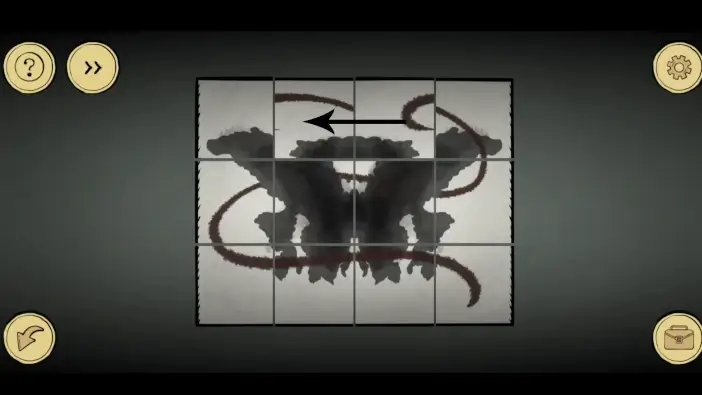
Doctor Death will arrive in the office and he will give you three Rorschach psychological tests to solve. In the game, you need to rearrange the tiles to get the correct ink shape.
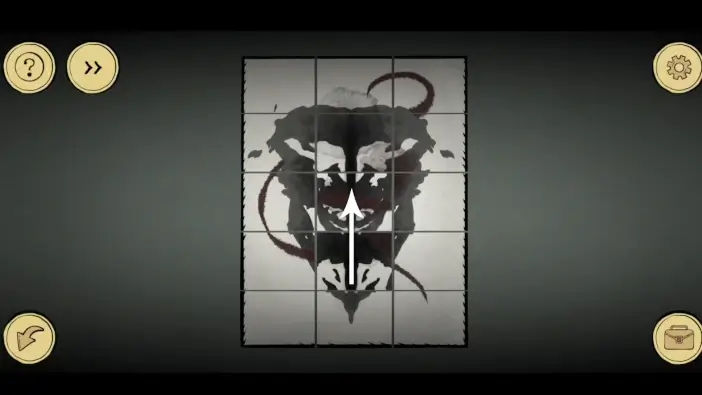
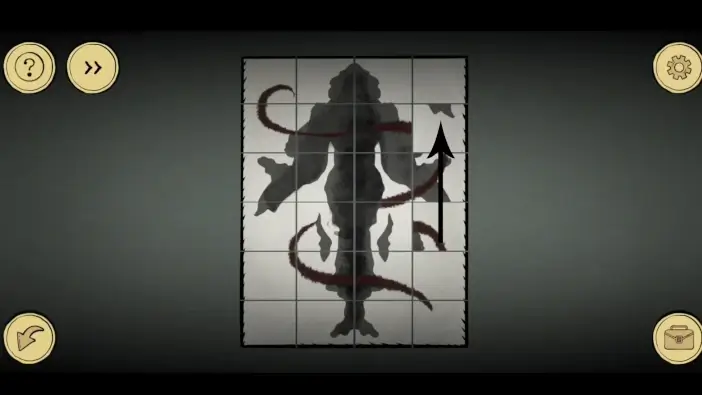
Once you pass the tests, the doctor will give you the nightstand key after the conversation. With it, you can unlock the drawer inside your room later.
Go back to your room.
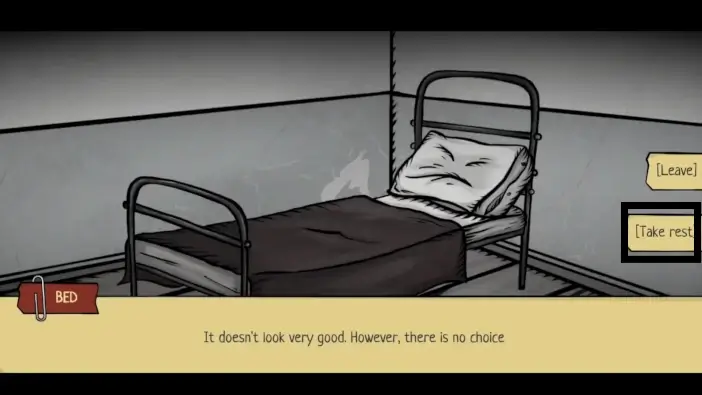
Approach the bed and choose an option to take a rest. A new interesting cutscene will appear where you will see the doctor’s terrible secret.
Day 2
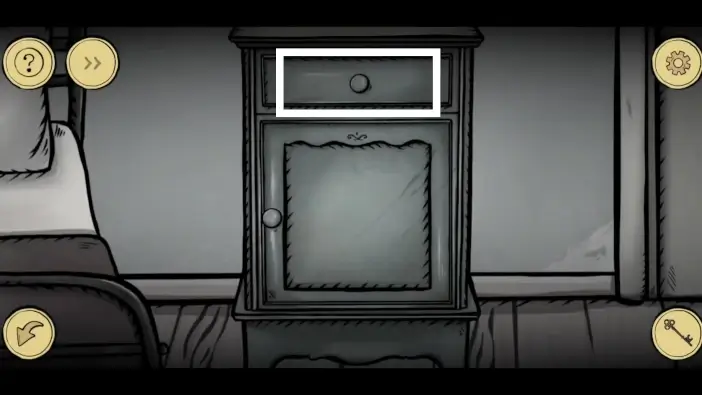
Use a nightstand key you received from the doctor and open the drawer in your room. Take the comb and the coin.
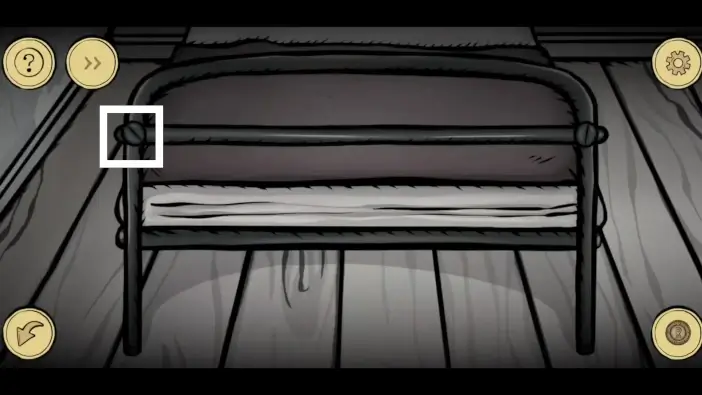
Approach the bottom side of the bed and use the coin to unscrew the pipe. Pick up the pipe.
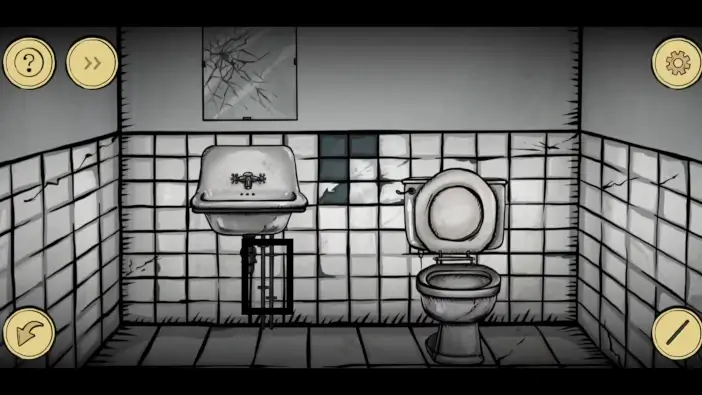
Go to the bathroom and approach the pipes from the sink. Use the pipe from your inventory to break the sink’s pipe and create a flood.
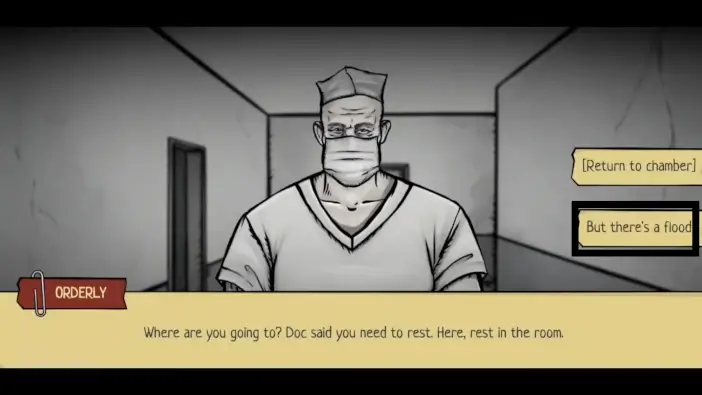
Exit your room and tell the orderly that there is a flood in your bathroom. You will again be able to explore the hallway.
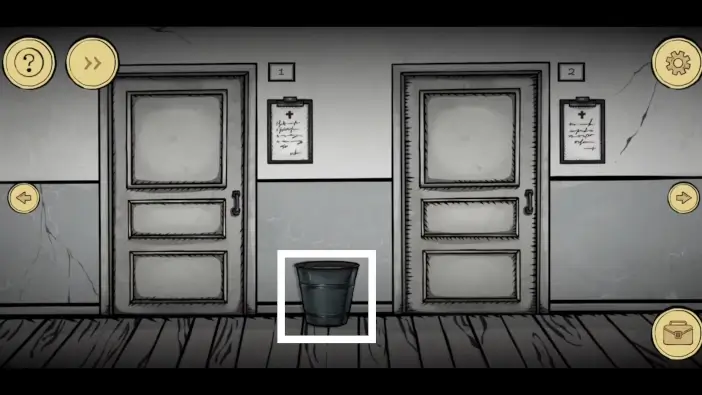
Near your door, approach the trash bin and take the candy wrap. After that, go right, toward the doctor’s office.
- Click on the patient and he will run away. You need to catch him a couple more times later to start a conversation with him.
- Peek through the door to hear the conversation between the doctor and the orderly.

Go back to the area where your door is, and from there, go left.
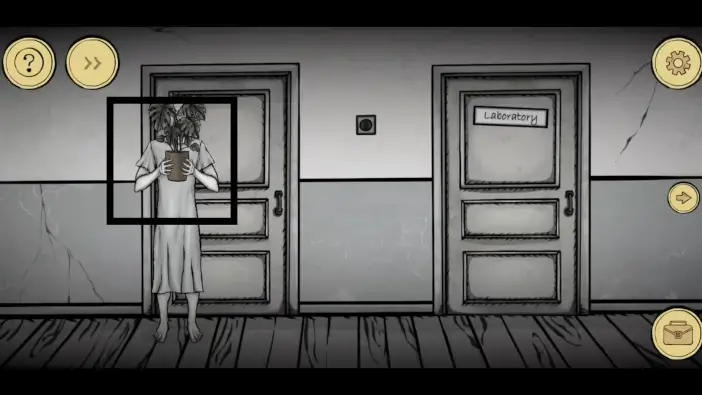
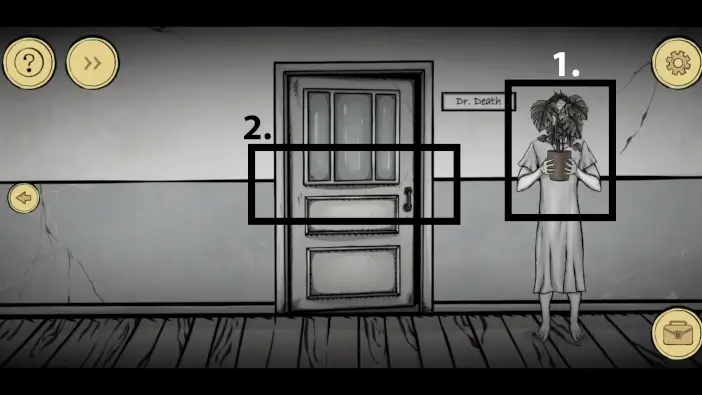
Near the laboratory, click on the patient again. He will go away again.
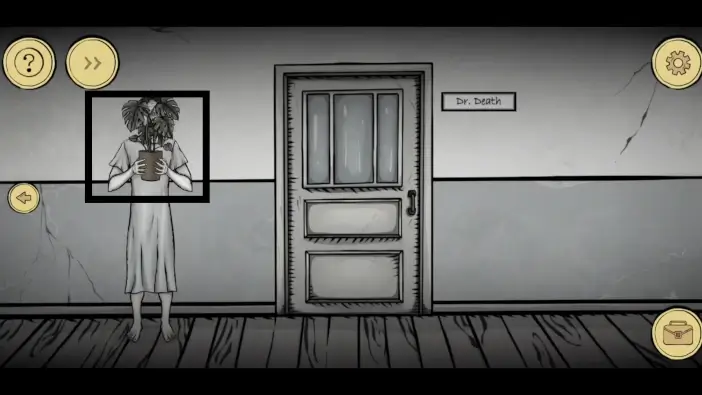
Go to the doctor’s door and approach the patient for the third time. This time you will have a conversation with him. Offer to help him. He will ask for a strawberry and in return, he will give you the key to all the doors.
Enter room number 2 which is next to yours. There is a patient who was a victim the previous night.
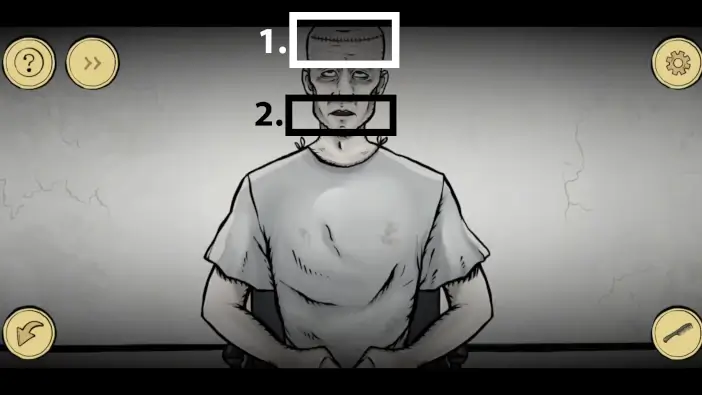
- Approach the patient and give him the comb to scratch his head.
- While scratching his head he will open his mouth. Pick the candy from his mouth.
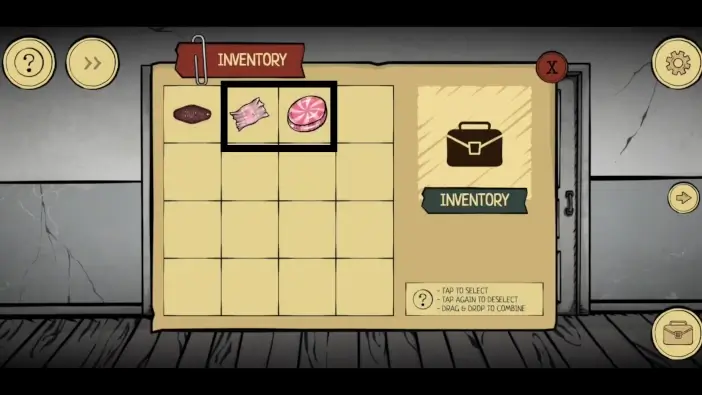
In your inventory, merge the candy wrap and the candy to create the strawberry candy item.

Return to the area where the doctor’s office is and give the strawberry candy to the patient. He will give you a paper clip as a reward.
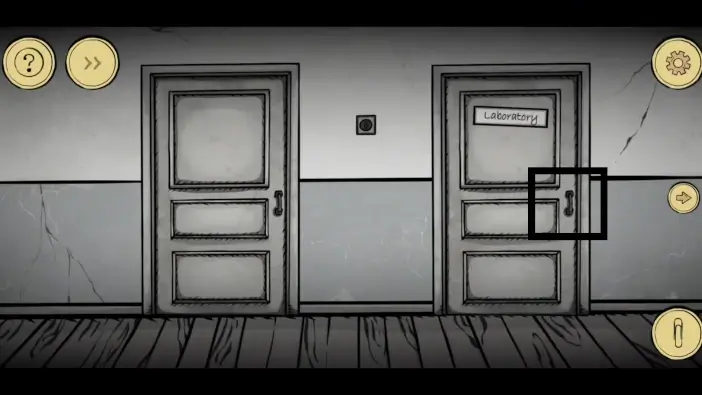
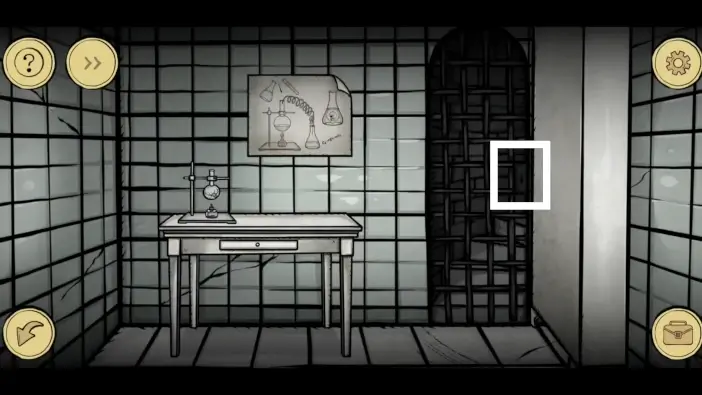
Enter the laboratory by using the paper clip.

- Get the matches from the drawer.
- Remove the broken vial. You will put in another vial later.
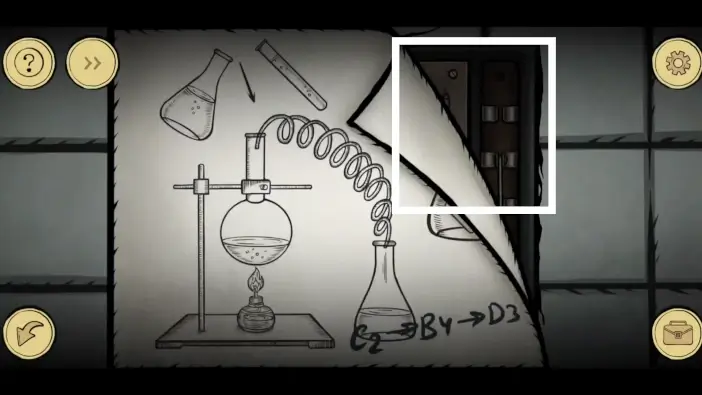
- Check the diagram.
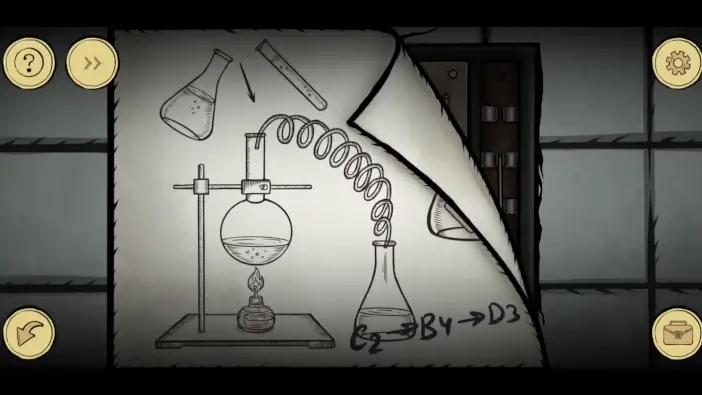
Remember the clue written on the bottom right. You will need it later when you brew an acid.
Go to the warehouse, which is next to the laboratory.
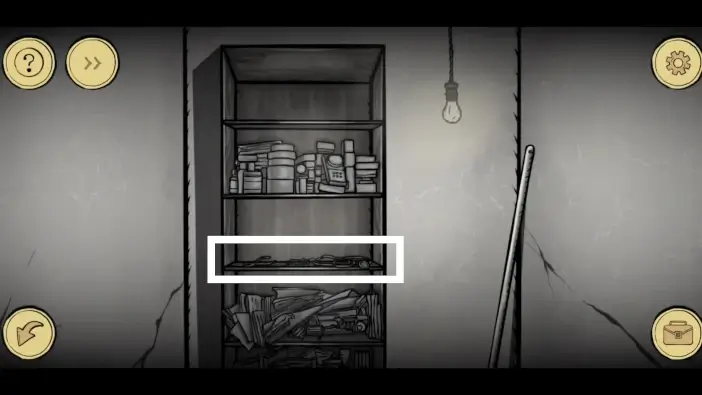
Take the pliers, the spiral tube, and the stethoscope.
- Exit the warehouse and turn off the light in the warehouse.
- Return to the warehouse.
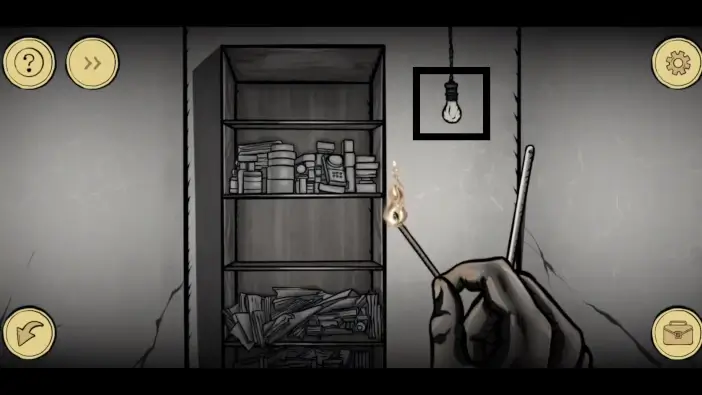
Select the matches in your inventory and light the match to see in the warehouse. After that, take the lamp.
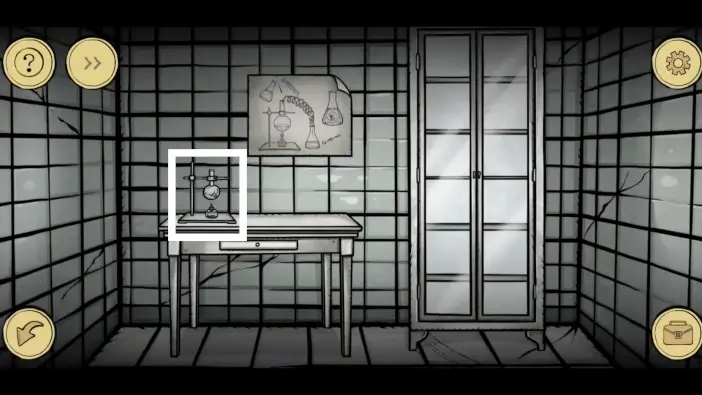
Go back to the laboratory and approach the desk.
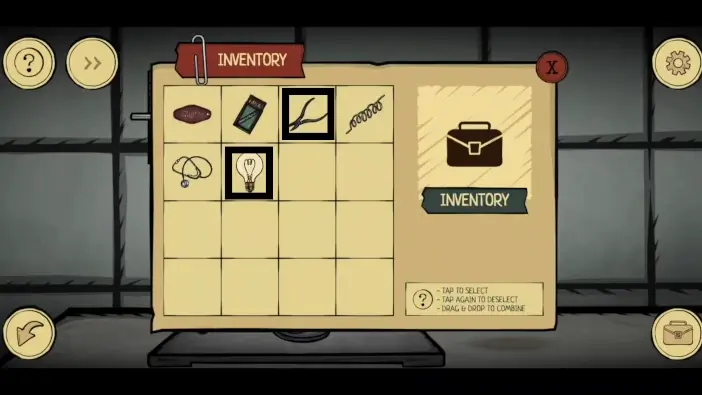
In your inventory, merge pliers with the lamp to create the lamp bulb item.
Place the lamp bulb on the holder.
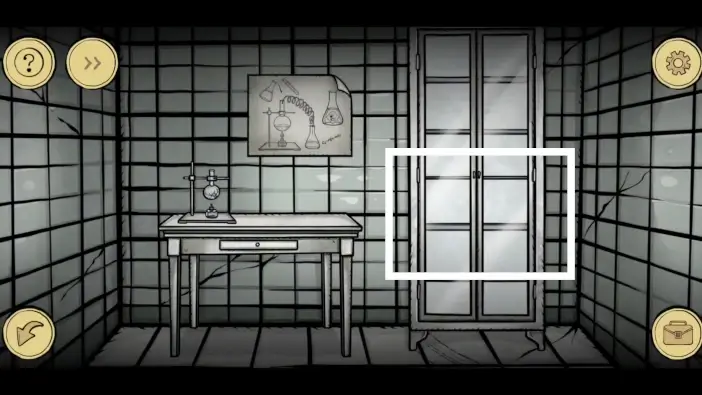
Open the cupboard to the right side of the table.
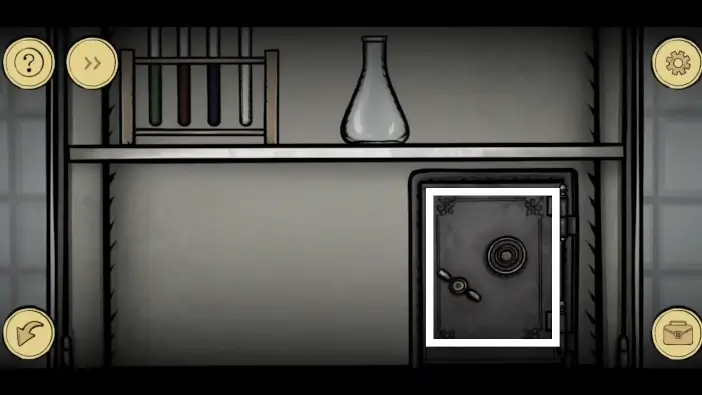
Approach the safe.
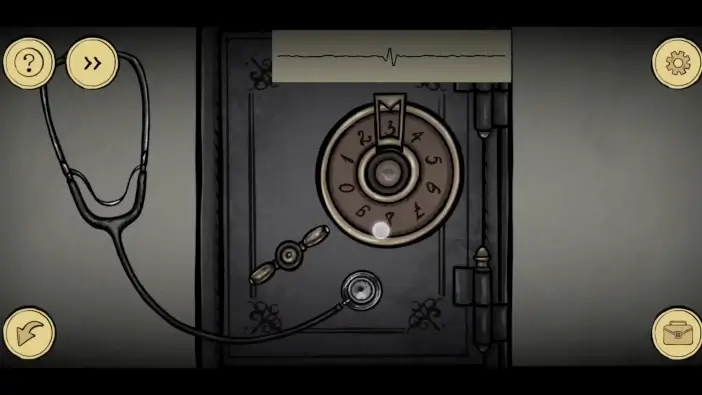
Place the stethoscope on the safe. Rotate the numbers and release the wheel once you see the stethoscope react. The numbers you need are 3, 8, 6, and 2. Pick up the reagent from the safe.
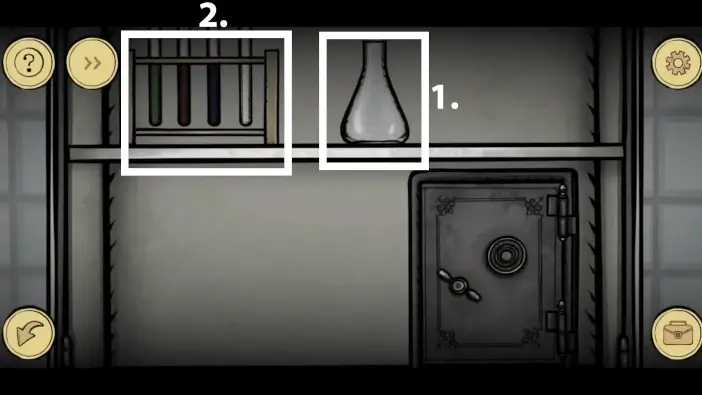
- From the same cupboard, pick up the flask.
- Approach the vials.
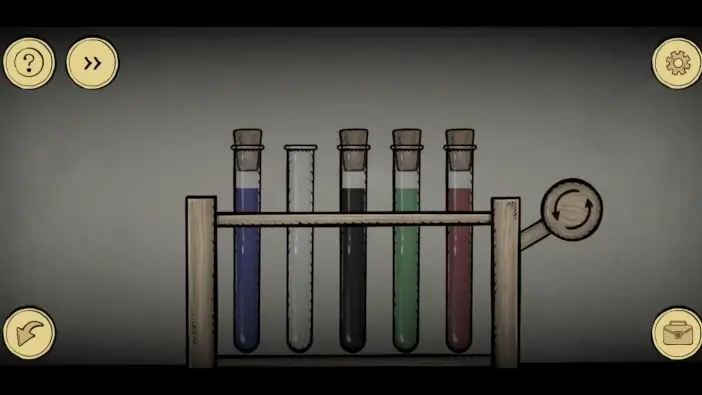
You need to redistribute the liquids in the vials to solve the next puzzle challenge. Each vial should have only one color. Once you solve this puzzle, you will get another reagent. Pick it up.
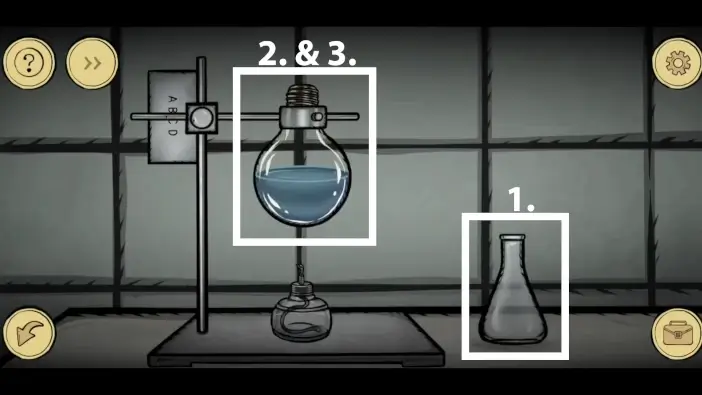
- Go back to the desk. Place the flask on the table.
- Pour the purple reagent (that you got from the safe) into the light bulb.
- Place the yellow reagent into the light bulb.
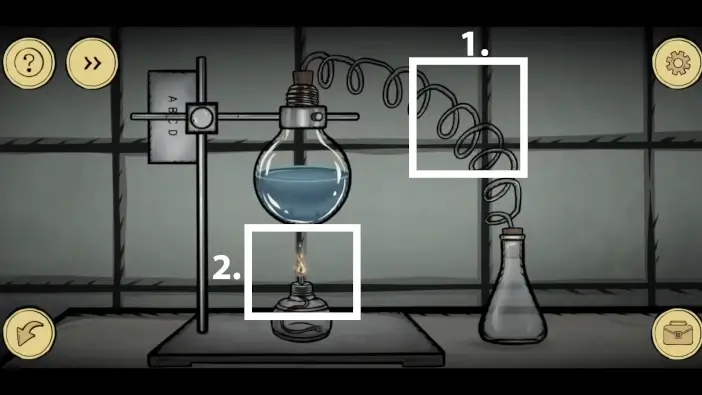
- Place the spiral tube.
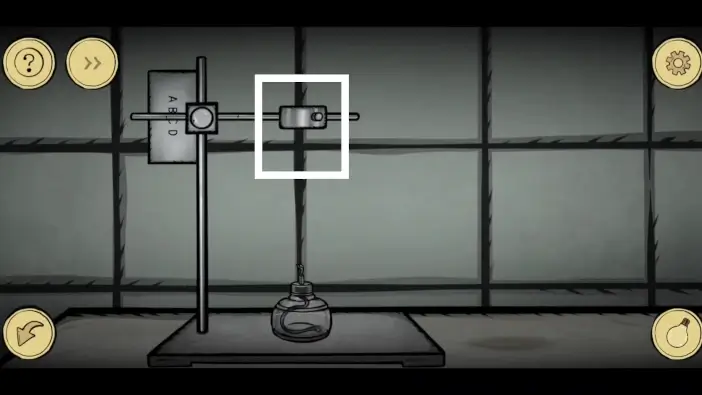
- Use matches to light the fire.
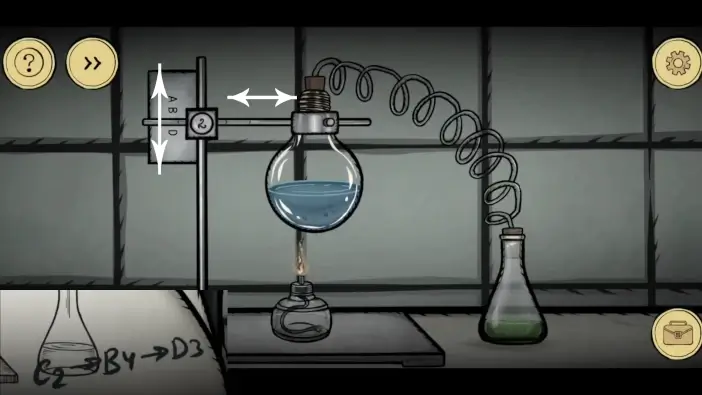
You can move the holder both vertically and horizontally. Follow the clue from the diagram to set the holder in three different positions. For example, for position C2 from the diagram, you need to vertically set the holder to the C letter and horizontally to number 2. Do the similar for positions B4 and D3.
When you finish brewing, you will get the flask of acid. Pick it up from the table.
Return to the diagram and remove the paper.
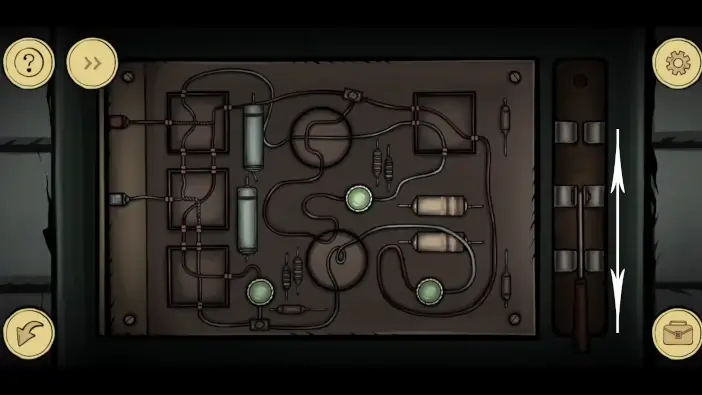
Connect all cables with the three small nodes by clicking on the squares and rotating the two circles in the middle. Once all three nodes are shining, pull the lever on the right side twice.
Once you solve the previous puzzle, the cupboard will move, revealing a hidden door. Unlock it by using the acid you just created on the lock. Go upstairs.
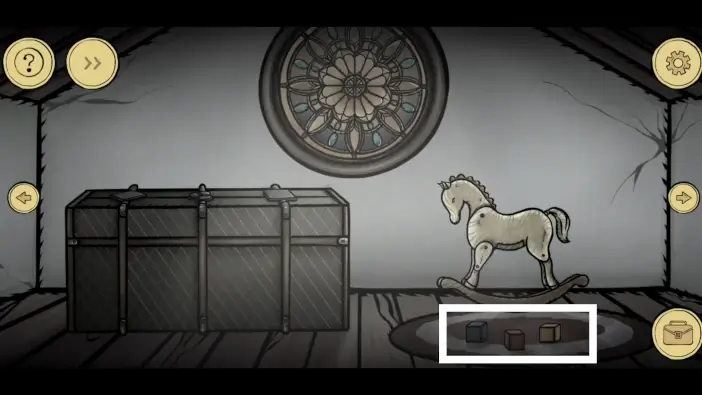
Once you reach the attic, approach the cubes.
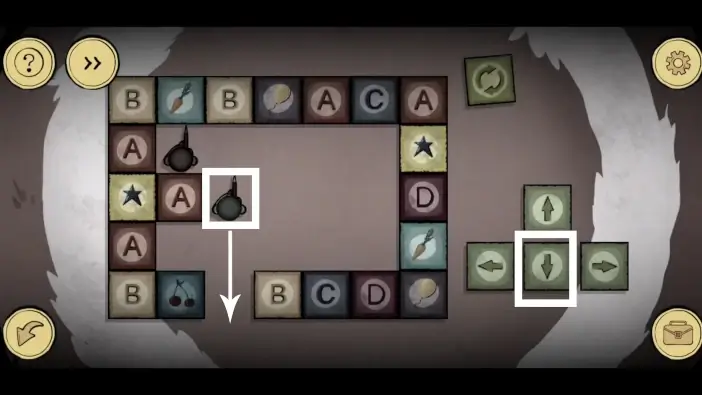
In this puzzle challenge, you need to move the sharp pencil (which looks brighter than the other pencil) using the arrows on the right.
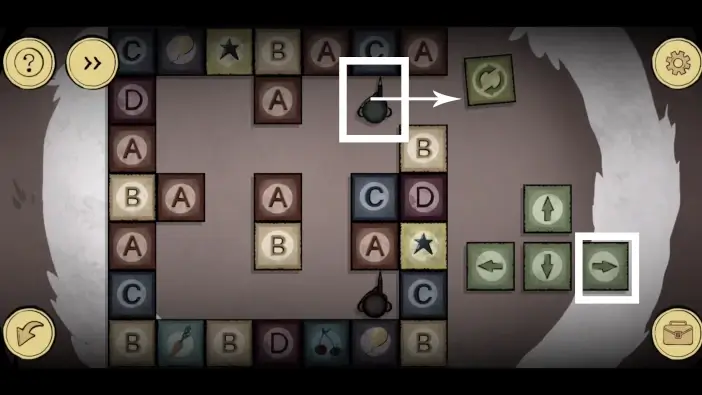
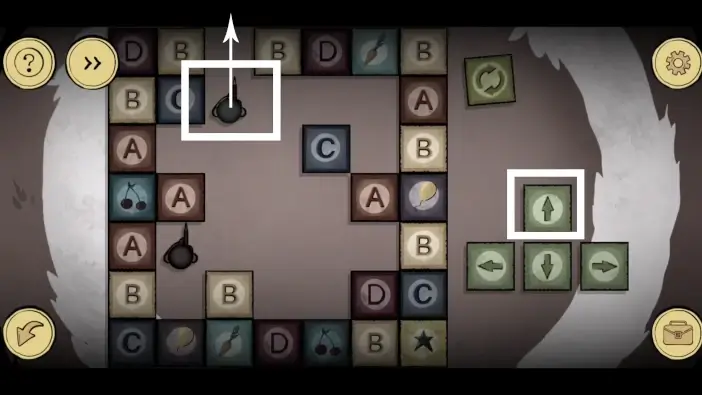
Once you solve all three puzzles of this type, pick up the toy soldier and go left from the chest area.
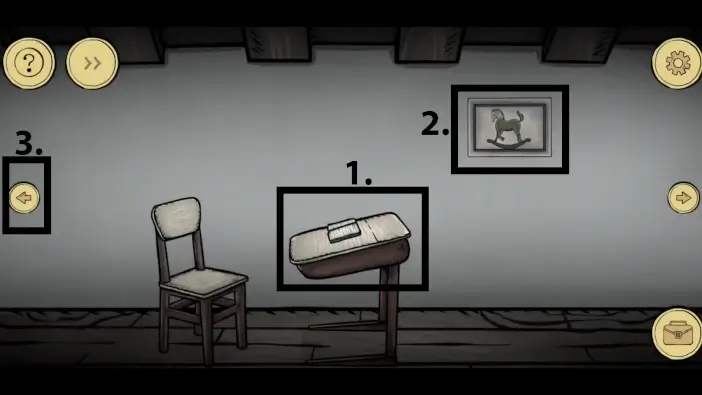
- Pick the tweezers from the table.
- Examine the picture of a horse toy.
- Go further left.
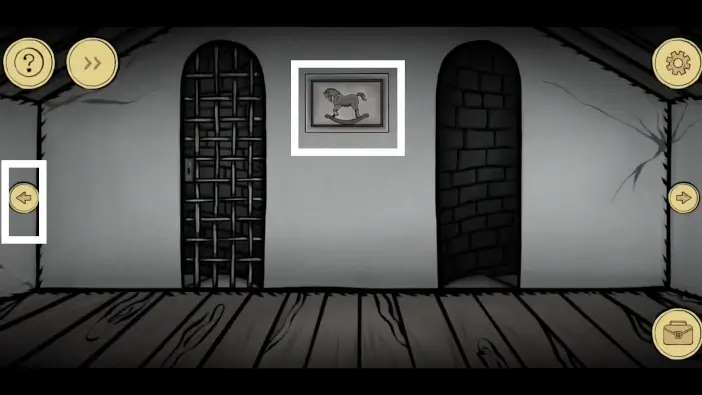
Examine the picture of a horse toy and then go further left.
Examine the third picture of a horse toy.
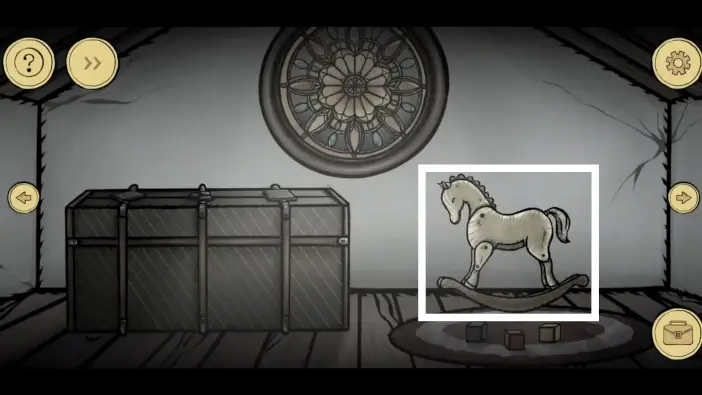
Return to the chest area and approach the horse toy.
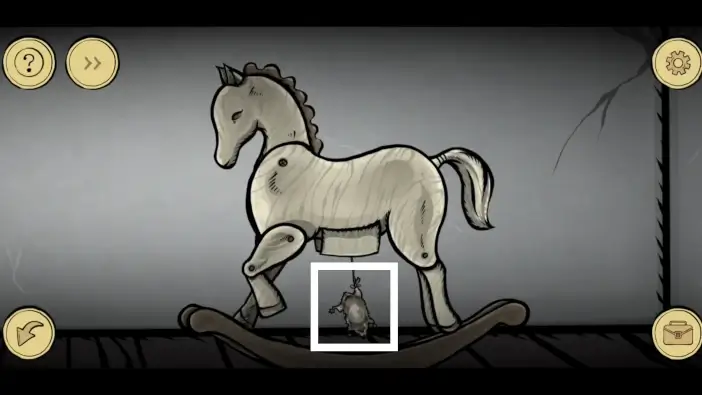
Move the horse’s head, front hoof, and tail like in the picture above and the dead hamster will drop from the horse’s hidden compartment. Take the dead hamster.
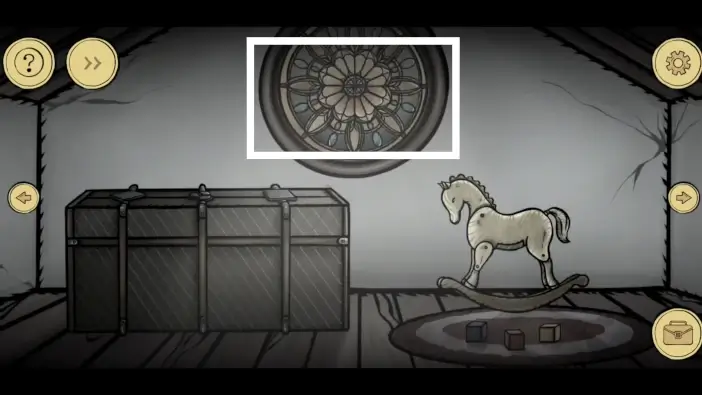
Approach the window.
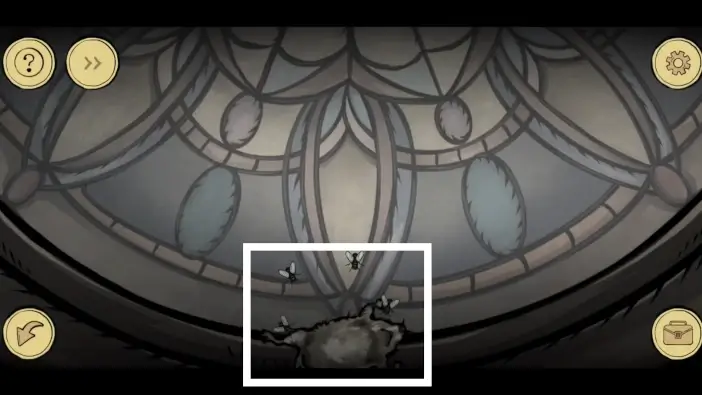
Place the dead hamster on the window and the flies will fill it with larvas. Afterward, examine the hamster.
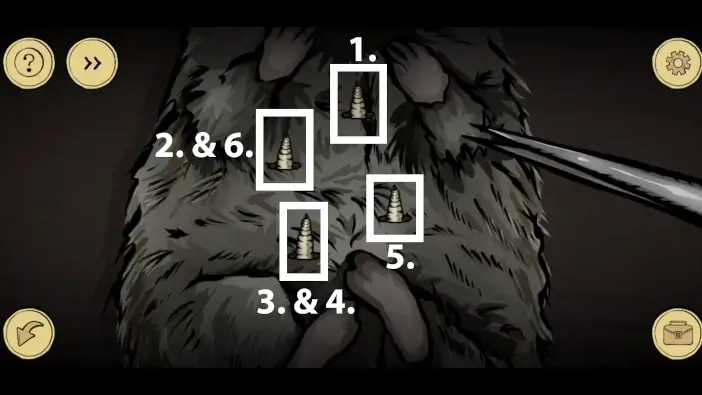
Pull the larvas from the dead hamster using the tweezers in the sequence as marked in the picture above. When you complete this action, you will get the larva in your inventory.
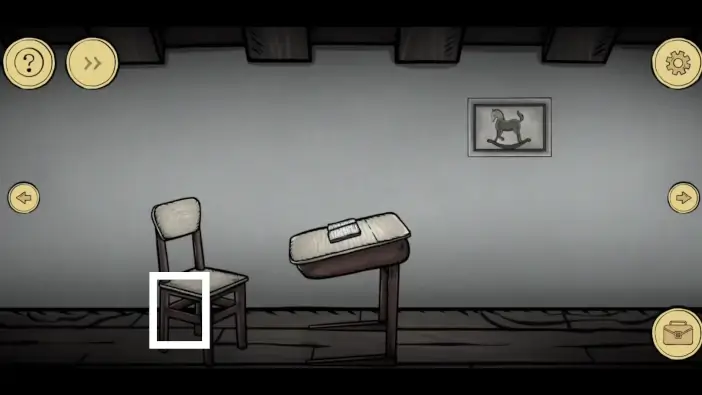
Go back to the desk area left from the chest and pick up the sticky muck from the chair.
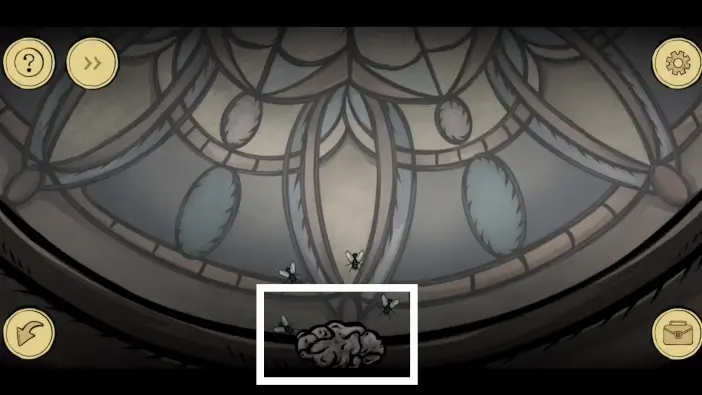
Place the sticky muck on the window above the chest. You will get one fly in your inventory.
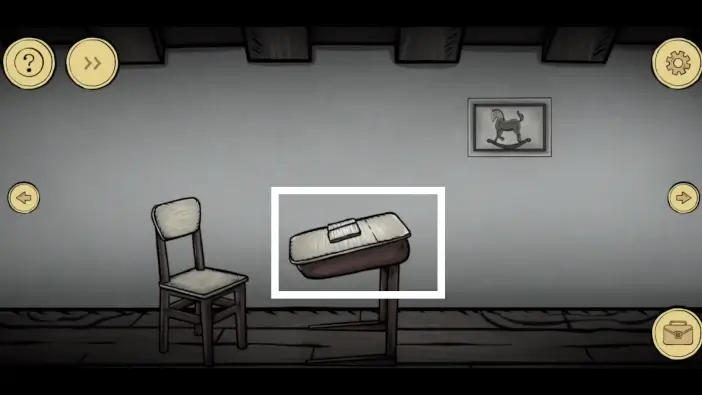
Approach the desk.
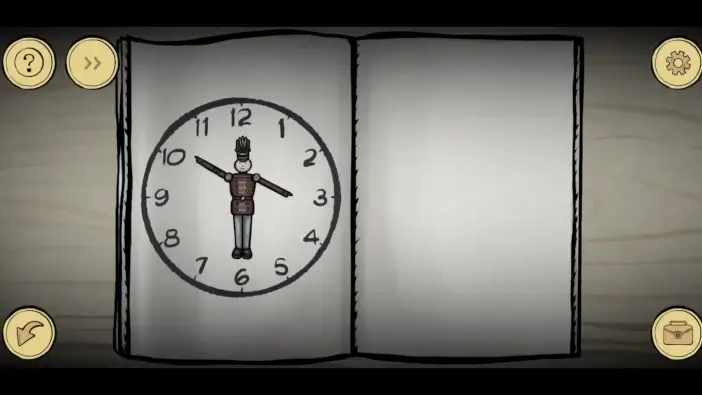
Place the toy soldier on the book. Remember the time on the clock that the toy soldier is showing with his hands.
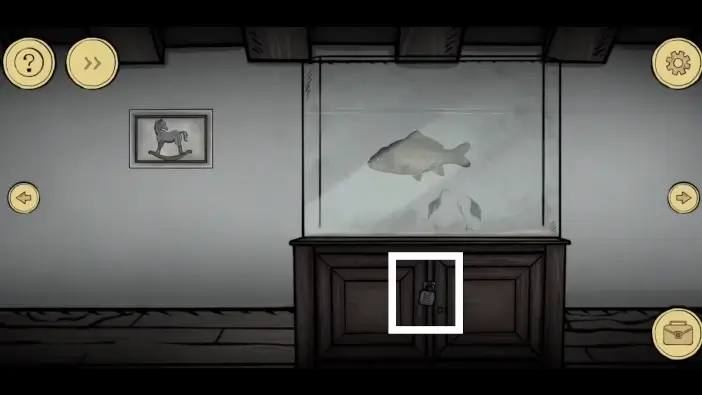
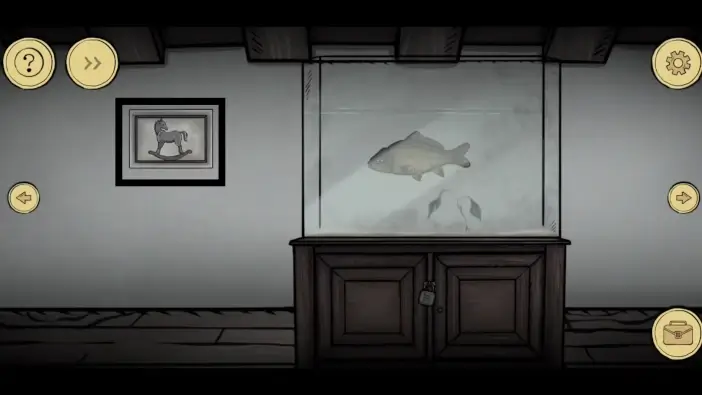
Go to the aquarium area left from the desk area. Approach the padlock.
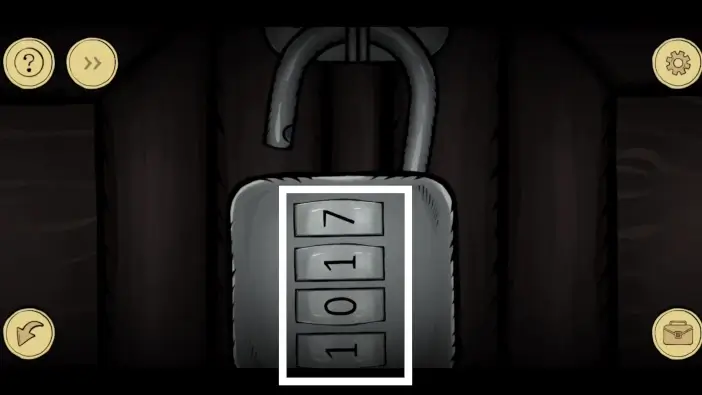
The password for the padlock is 1017 because the toy soldier was showing 10 hours and 17 minutes in the book.
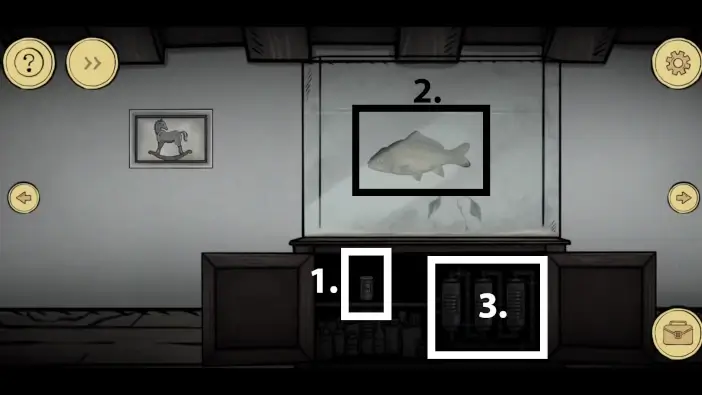
- Take the fish food.
- Feed the fish with the fly, the larva, and the fish food, all from your inventory.
- Approach the mechanism on the right
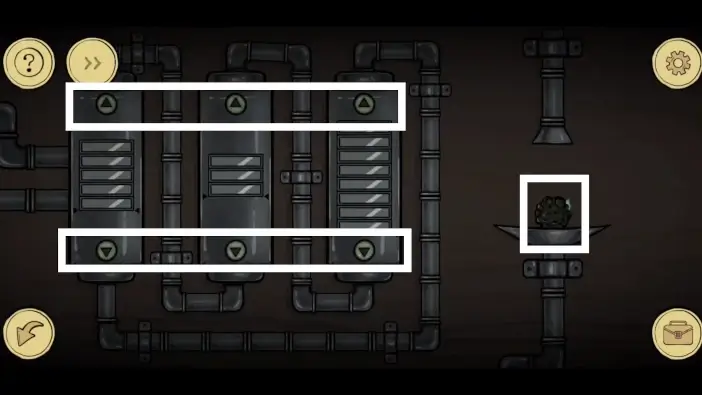
Use the arrows in such combination to turn off all the lights from the bars. Each time you succeed, a fish’s excrement will drop from the pipe. Each drop of excrement will hold one specific key for the chest you saw earlier, near the horse toy. There are three keys you need to collect this way.
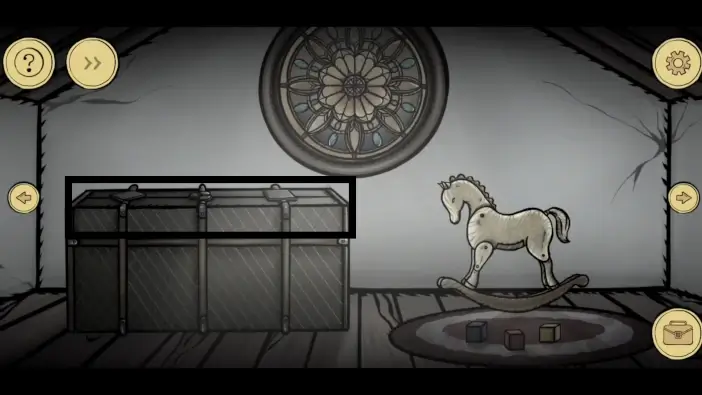
Go to the chest.
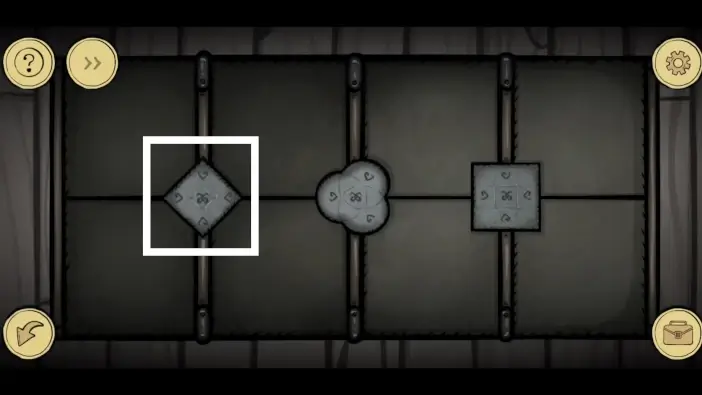
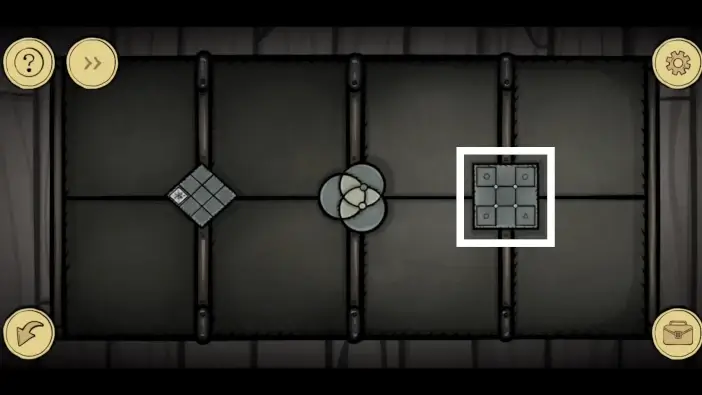
Remove the lid from the left lock.
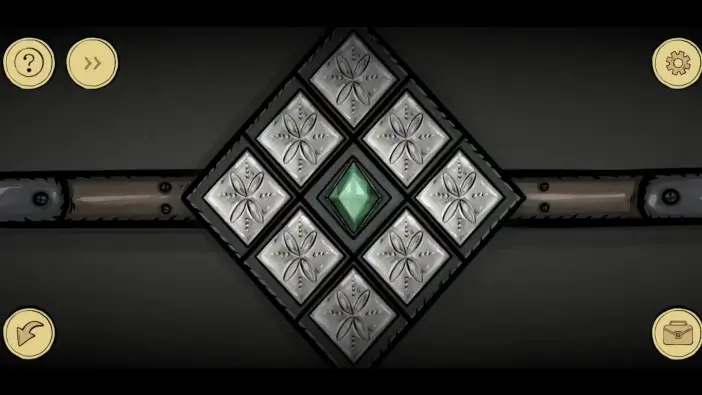
Whenever you click on an empty field, the neighboring fields will change their state. The state can be “it has a symbol” or “it’s empty”. Click on the fields in such a sequence to have only one empty field in the center, then place the rhombus-shaped key inside the central empty field.
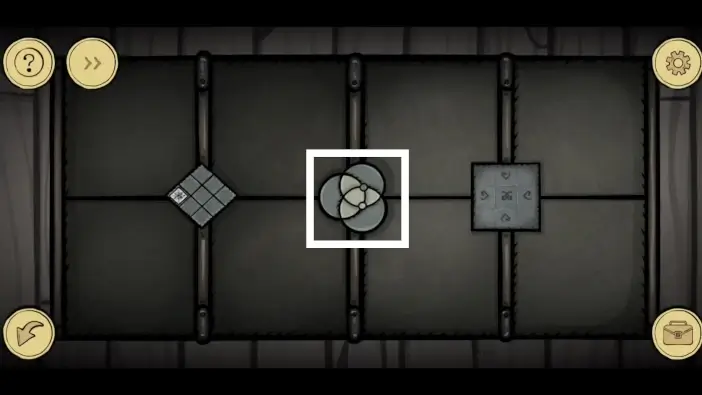
Examine the second lock.
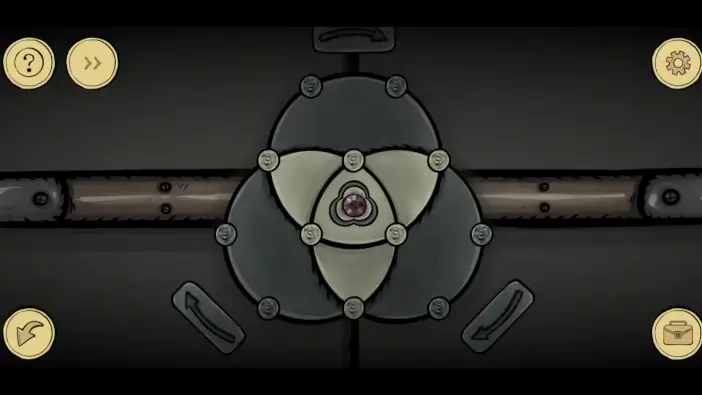
Use arrows to rotate the small nodes. All bright green nodes should be inside the green area. When you finish, place the second key you got from the aquarium inside the central slot.
Examine the third lock.
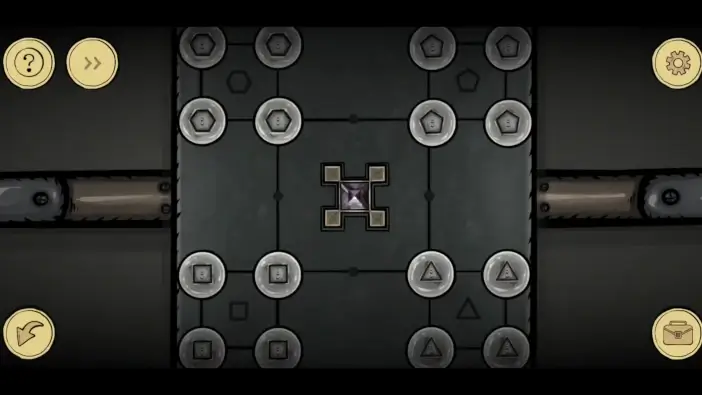
Move the nodes through the lines until you have nodes of the same type in their correct places. For example, all four triangle nodes should be around the triangle at the right-bottom side. Similar logic is for other types of nodes.
Once you complete all three puzzles, you will unlock the chest and find out that the boy was contained in it. He will wake up when you click on him. Click on him several times and he will run away with unnatural speed toward Doctor Death.
This will mark the end of part 1 of our guide for the Escape Room Strange Case 2.
Thank you for reading!