Escape Room Strange Case 2 | Part 2
Intro
Welcome to our walkthrough for Part 2 of the “Escape Room Strange Case 2” from “Labeledman”. In this part, you will escape this strange mental asylum.
Day 3
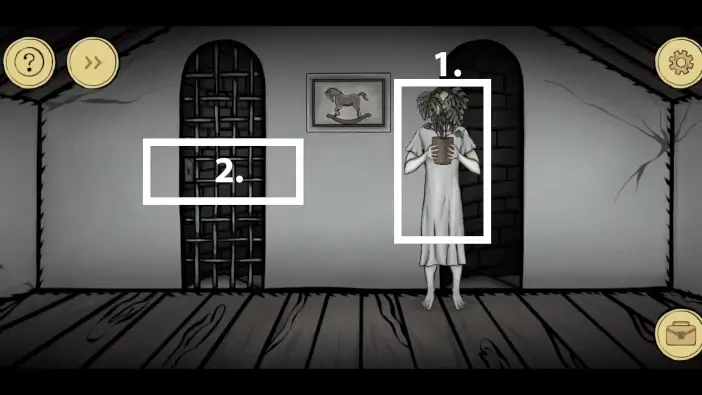
- Talk with the patient. He will give you the key to the door on the left.
- Unlock the door on the left and go there. If you choose the path on the right and continue roaming the asylum, you might get caught by Doctor Death which is an alternative bad ending of the game.
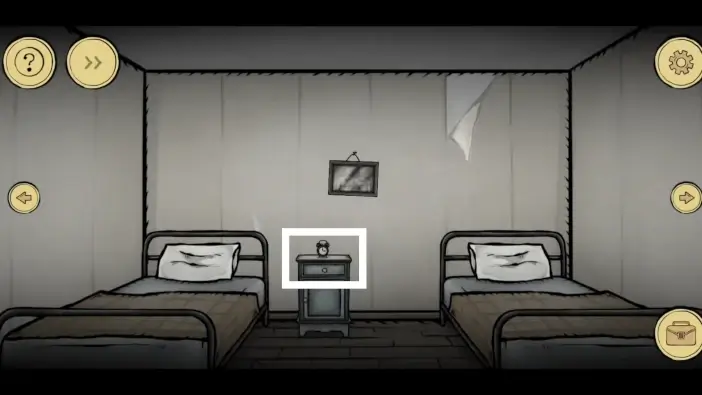
After going through the left door, you will end up in the orderlies’ bedroom. Approach the nightstand.

Take the syringe from the nightstand.
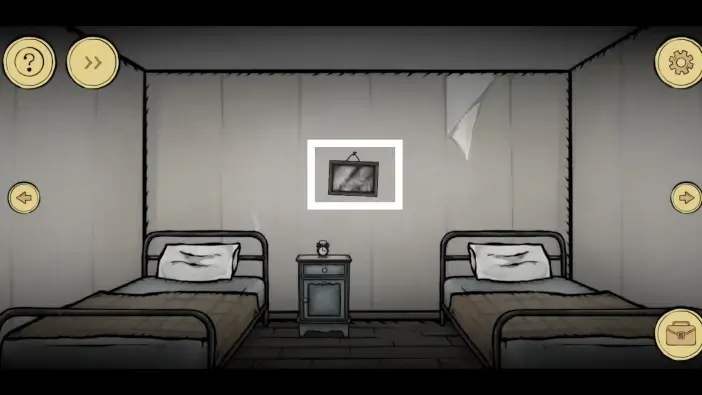
Approach the framed photo.
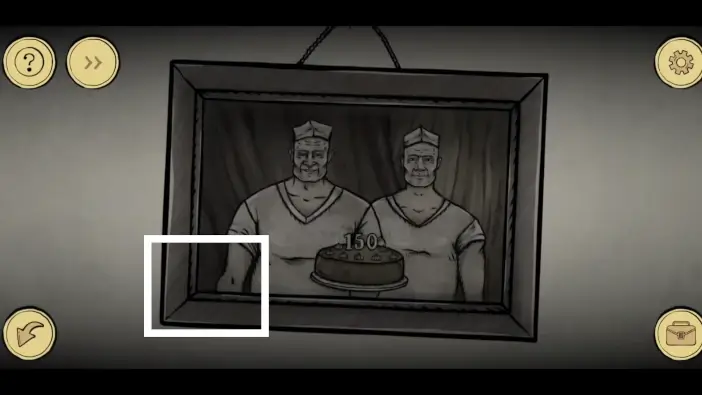
Remember the number 150 on the cake. It is one of the clues you need. Take a closer look from the other side of the image frame.
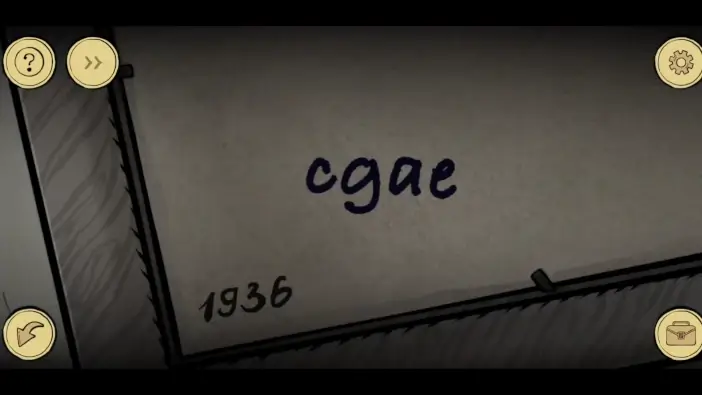
Remember these clues as well.
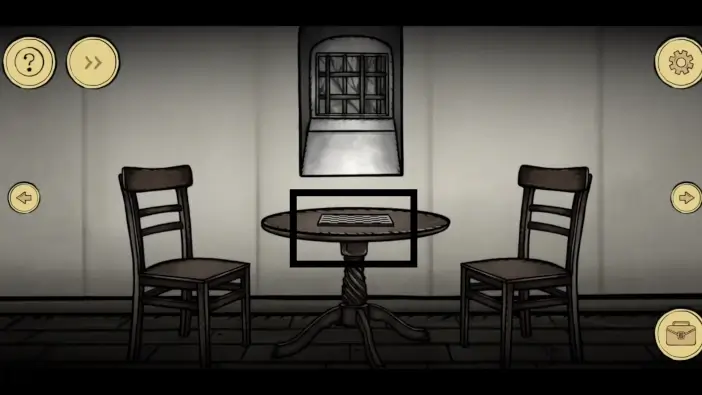
Go right from the orderlies’ bedroom and approach the table.
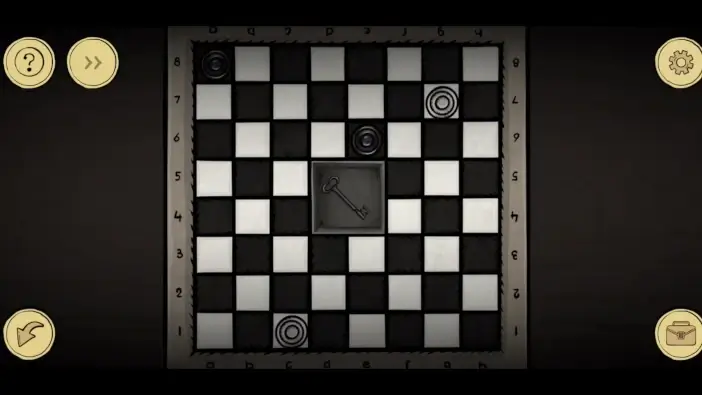
Place the figures using the clues from the picture in the bedroom (clues “1936” and “cgae”, and the “150” on the cake). 1936 – 150 = 1786. Combine the digits of 1786 with the letters of the “cgae” to get the positions of where to put the figurines. The positions are: c1, g7, a8, and e6. Once you complete this puzzle, you will get the key.
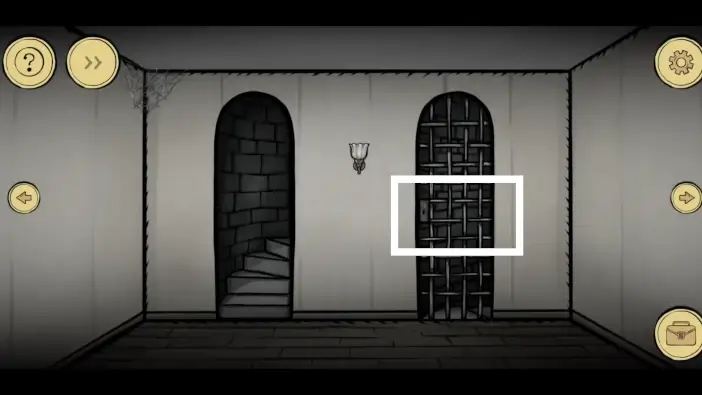
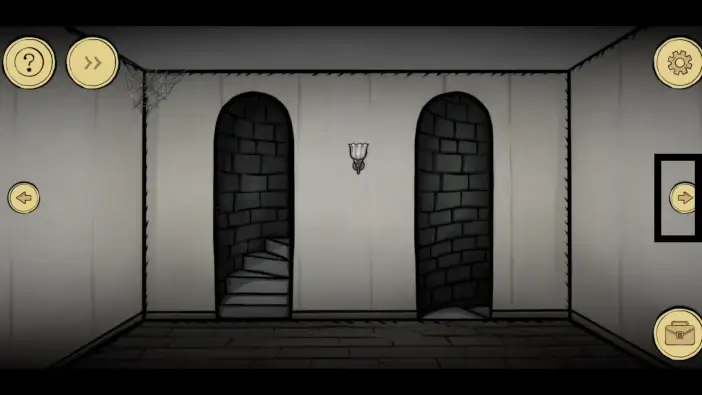
From the room with the table, go left, past the bedroom, all the way until you see two paths. Use the key you got from the chessboard to unlock the path to the basement and go there.
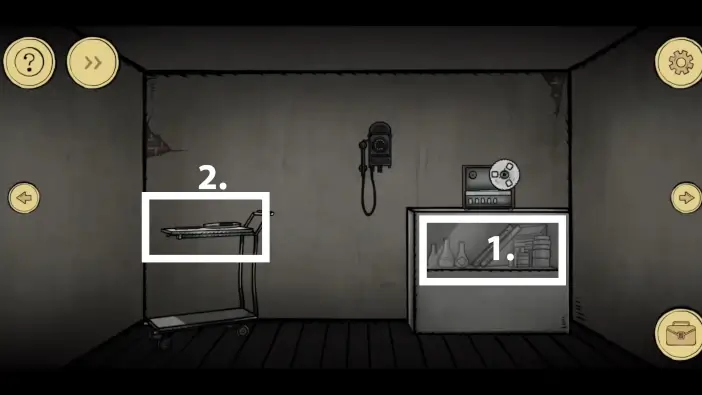
- Take the poison vial from the cabinet.
- Approach the desk on the left, pick up the screwdriver, and read the doctor’s journal to find out more about what is happening.
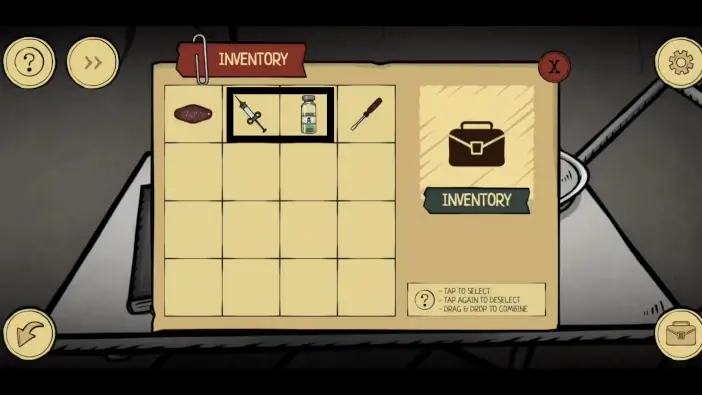
In your inventory, merge the syringe with the poison to get the “syringe with poison” item.
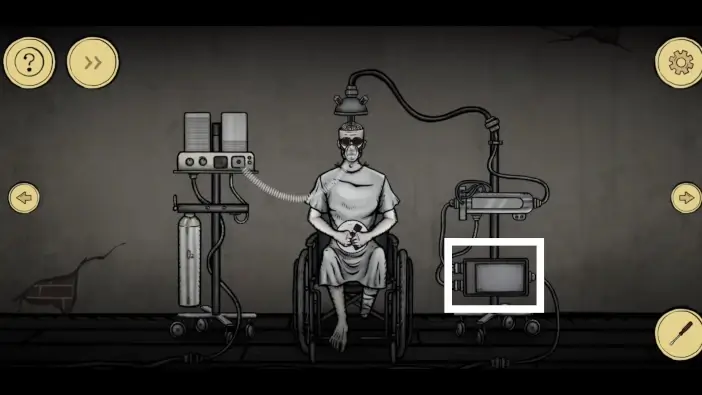
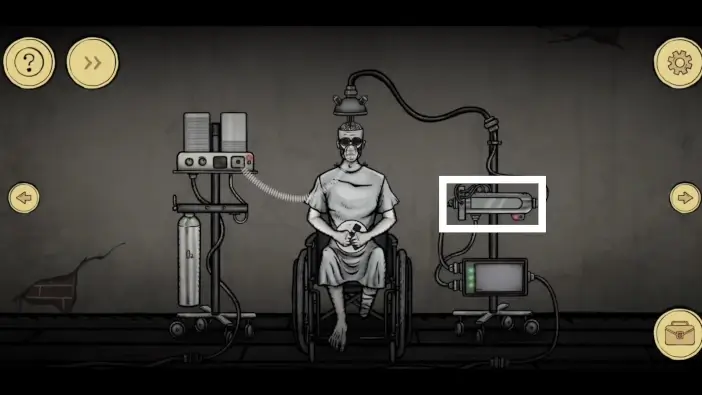
From the room you’ve previously been in, go all the way to the right until you arrive where the patient is (the same one who has been abducted on Day 1). Examine the bottom-right machine.
Use the screwdriver from your inventory to unscrew and remove the lid. Before configuring this machine, you need to start it first.
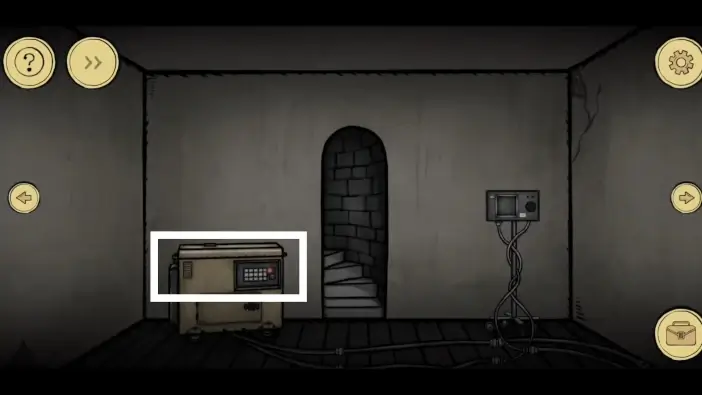
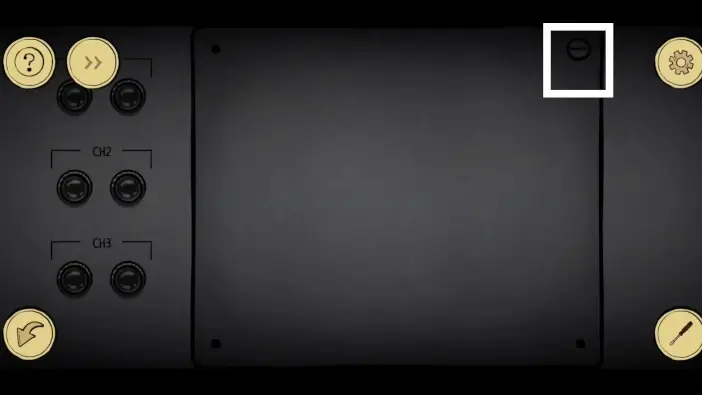
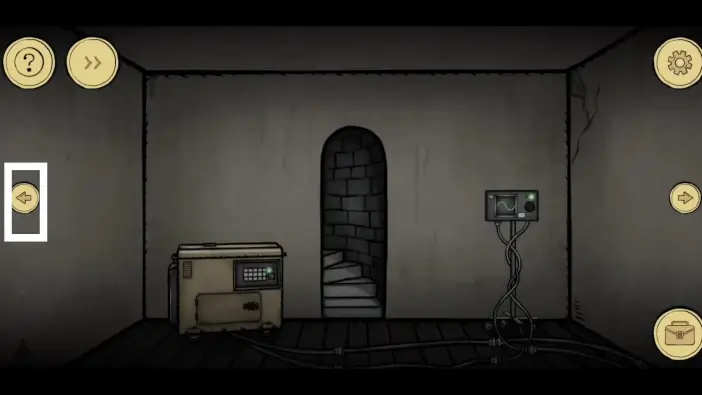
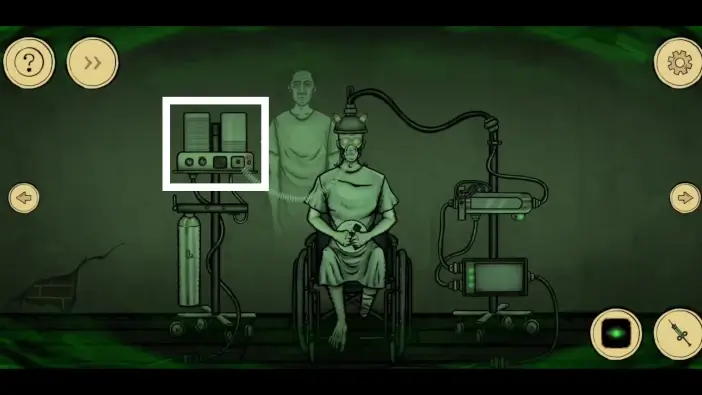
Go left to the room in the picture above. Approach the machine on the left.
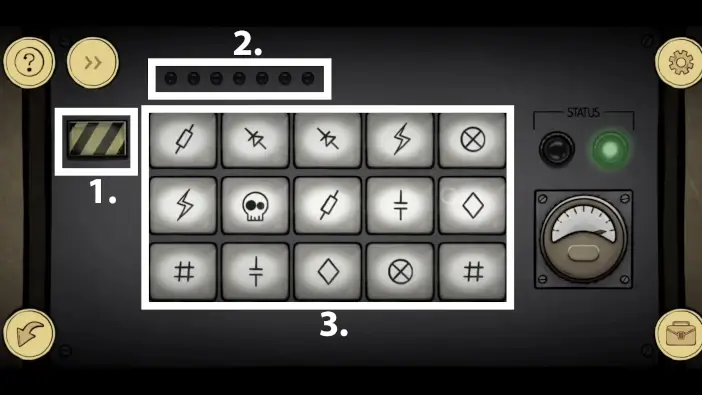
- Click on the left button to start the puzzle challenge. This challenge will be a memorizing game where you need to remember the positions of the pairs of symbols. All symbols and their positions will be shown once you click on the left button. Try to memorize them all.
- The lights above show how much time you have to memorize where the symbols are. Once they all turn off, the symbols will disappear.
- Click on the position where you think one symbol is, then click on a position where the same symbol is. Do this for every pair of symbols, and avoid clicking on the skull, to successfully configure the machine.
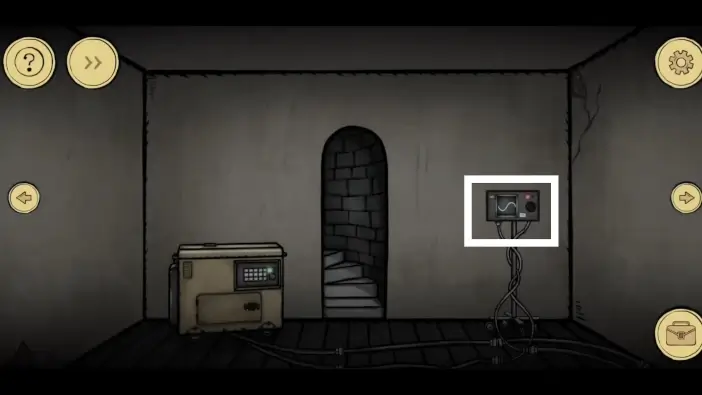
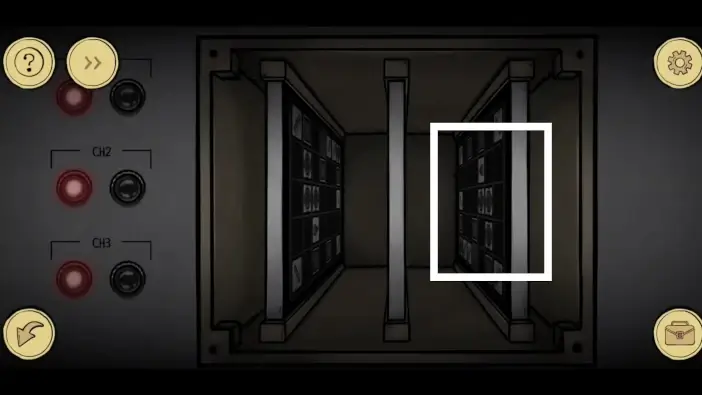
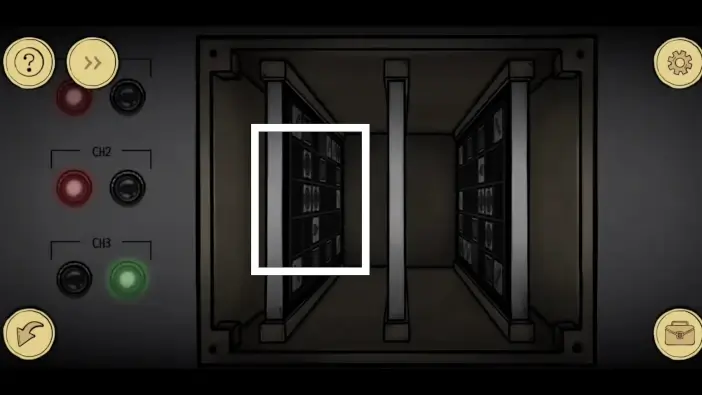
Approach the machine on the right.
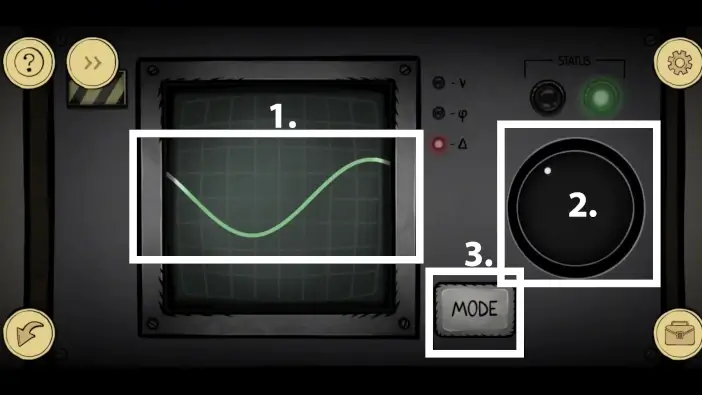
- On the left screen, you will have a green and white frequency. You need to merge them into a single frequency. Check the monitor to see your progress.
- You can change the green frequency on the right by clicking/tapping and dragging on the screen.
- The mode bottom will change which function you are modifying. You need to change the frequency in each function to get the desired result.
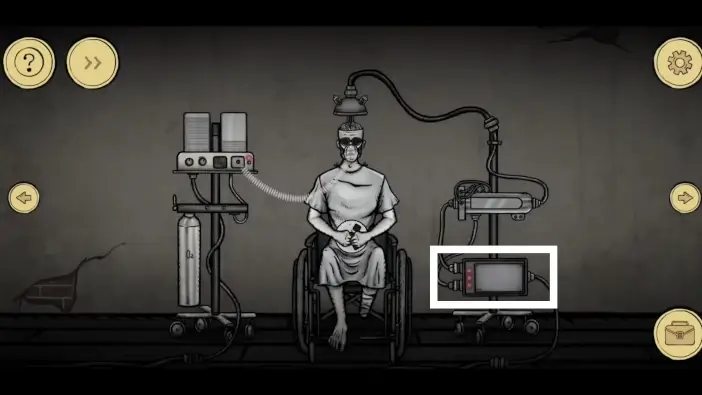
Return to the patient and approach the machine on the bottom right.
Inside the machine, you need to solve the puzzles on the three boards.
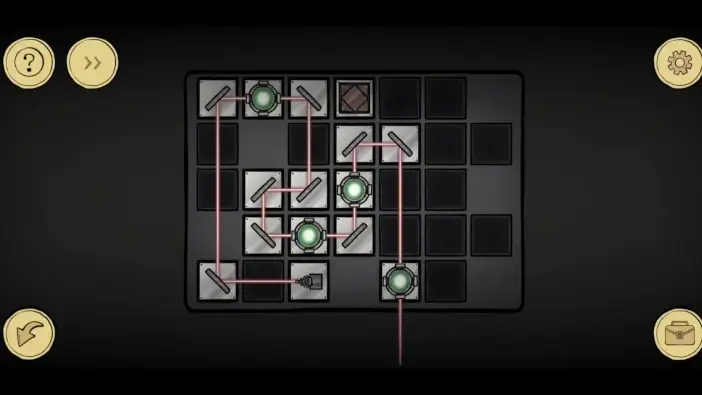
For each board, you need to place mirrors so that the laser light hits and activates all the nodes. The solution for the table on the right is in the picture above.
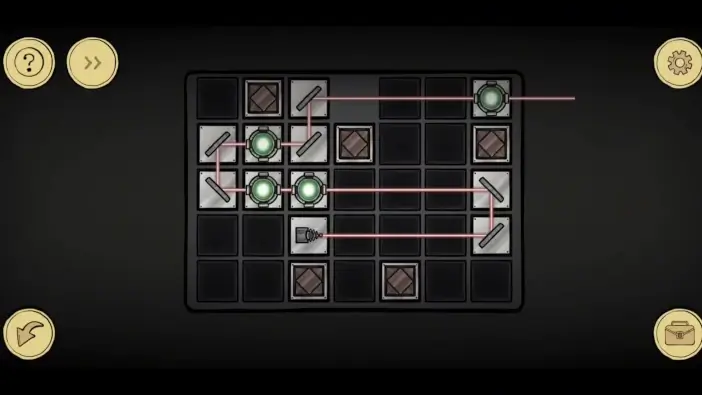
The solution for the table on the left is in the picture above.
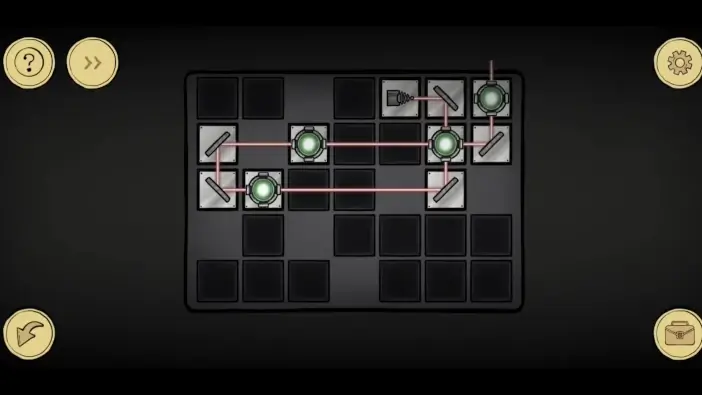
The solution for the table in the center is in the picture above.
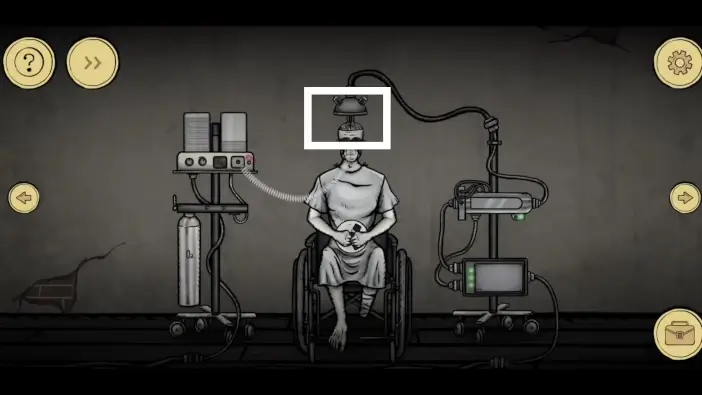
Once you configured the bottom right machine, approach the upper right one.

Rearrange the lenses like in the picture above to activate the goggles that the patient is wearing.
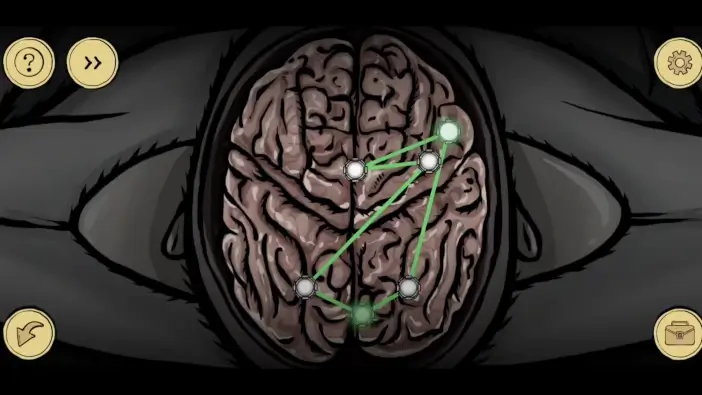
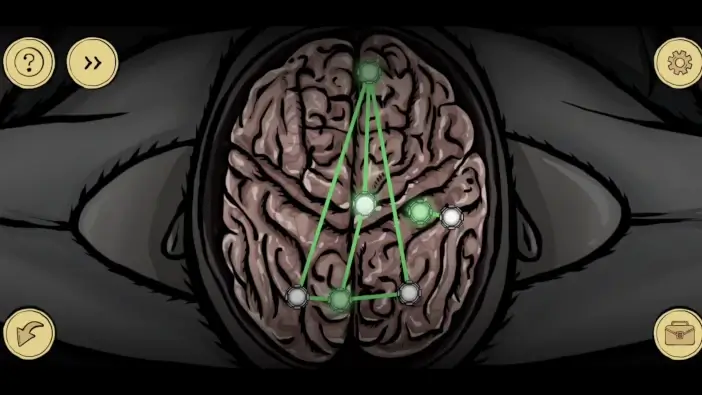
Approach the patient’s brain.
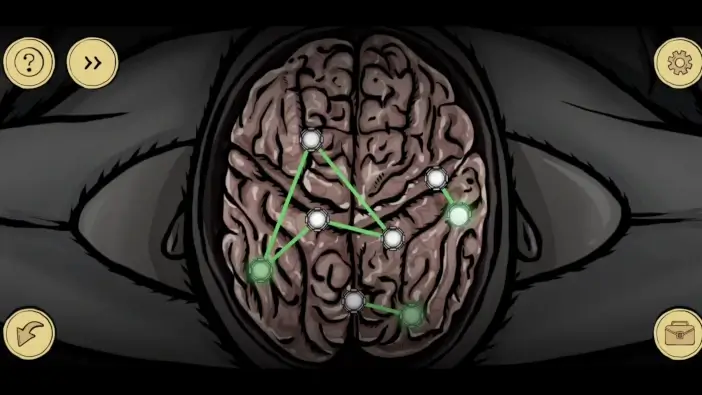
Rearrange the nodes like in the pictures in this guide. All nodes should shine in green color. This puzzle has three stages.
Go to the area left from those two machines you configured earlier.
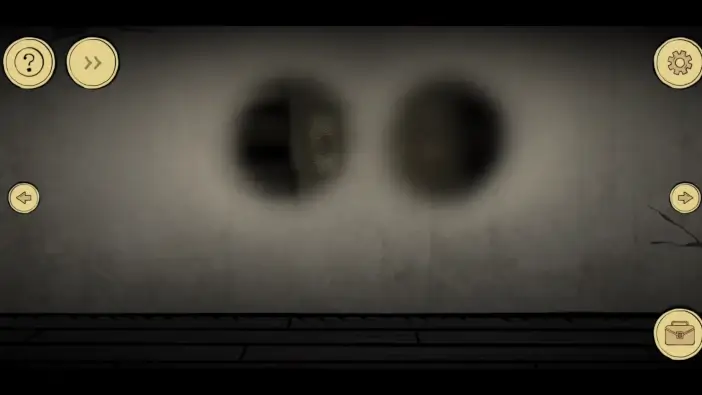
You can see the password on the wall, which is projected from the patient’s activated goggles, but the images are too blurry. You need to configure the focus of the goggles first.
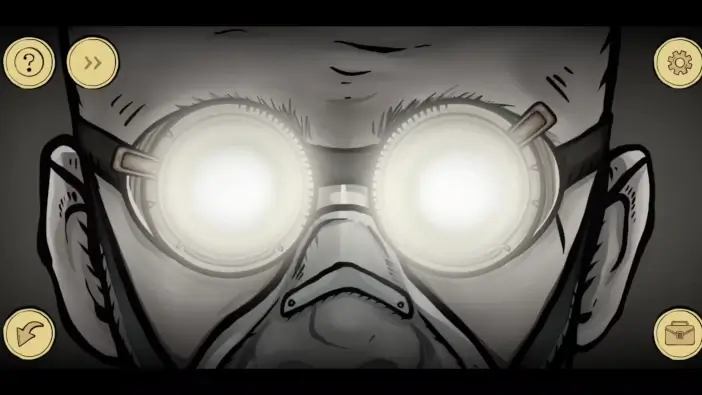
Return to the patient and configure the goggles like in the picture above.
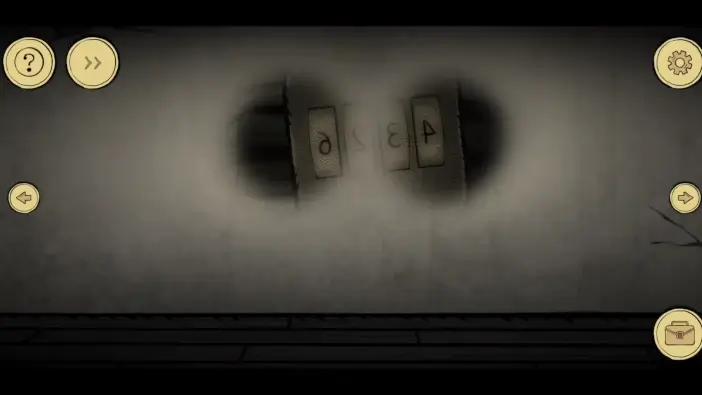
Return to the area where images are projected and memorize the password. Pay attention that the digits are in a mirrored state.
Exit the basement, go right from the orderlies’ bedroom, and go right from the table, until you see the two exits. From there, go further right.
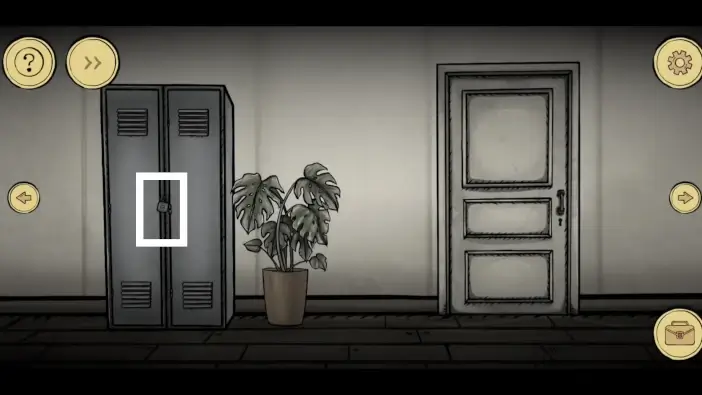
Approach the locker.

To unlock the padlock, insert the password that was projected via goggles on the wall. The password is 4326.
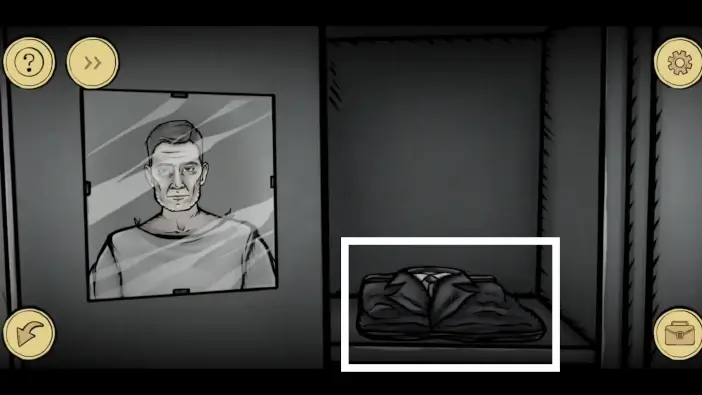
Take the clothes and the key that is beneath the clothes.

Go to the orderlies’ bedroom and use the key you just got from the locker to unlock the lower section of the nightstand. Pick up the hat.
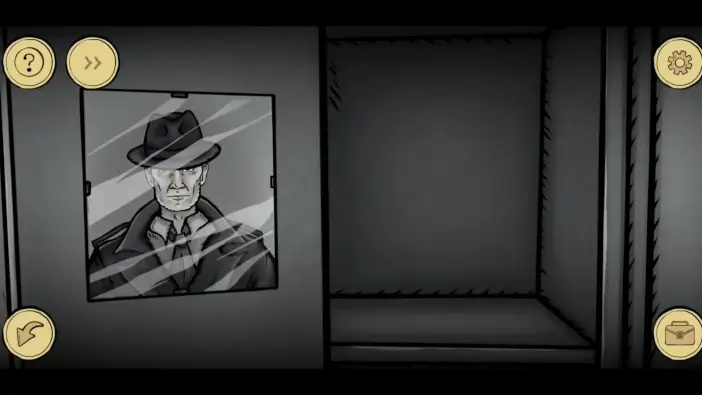
Go back to the locker and use the following items from your inventory on the mirror to dress up (first select one item in your inventory, exit the inventory, then click on the mirror): clothes, hat, and lastly, the trinket. Once you equip the trinket, a demon from the previous game will talk to you.
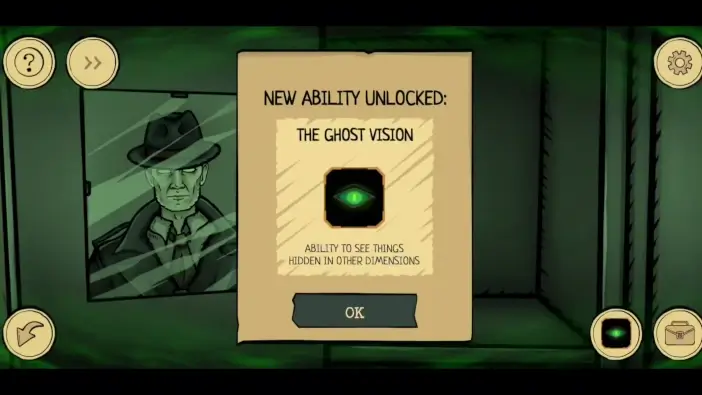
The demon will grant you a ghost vision to help you escape the mental asylum.
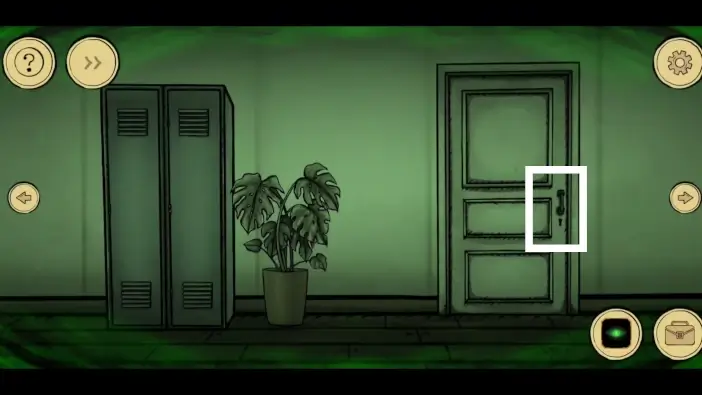
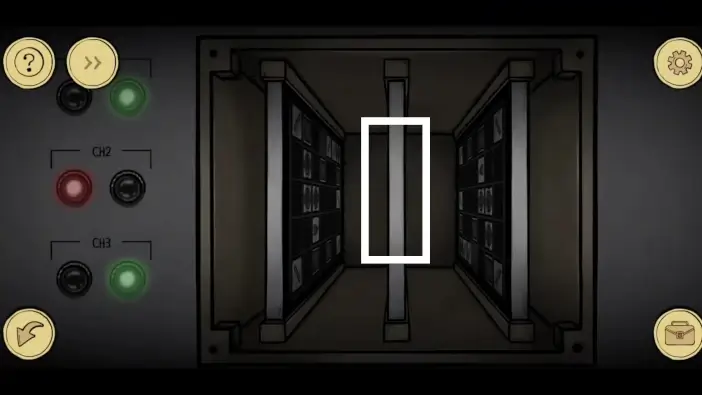
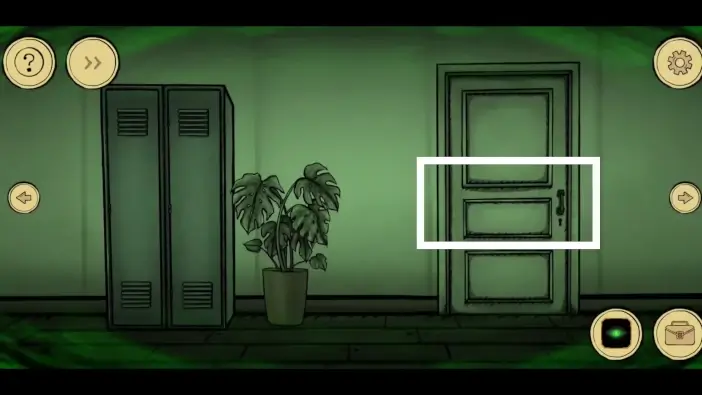
Peek through the keyhole of the door next to the locker.
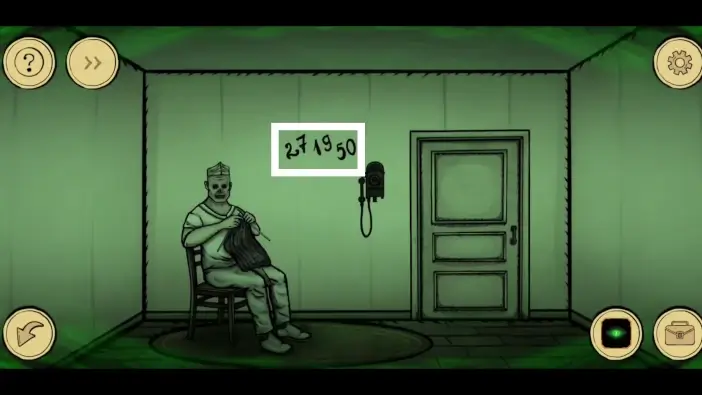
Once you peek through the keyhole, you can see the true form of the orderly because you have the ghost vision. Click on the keyhole once more to view the entire room and remember the numbers on the wall. You will need them later for a telephone. The door next to the orderly is the exit from the mental asylum but you need to distract the orderly first.
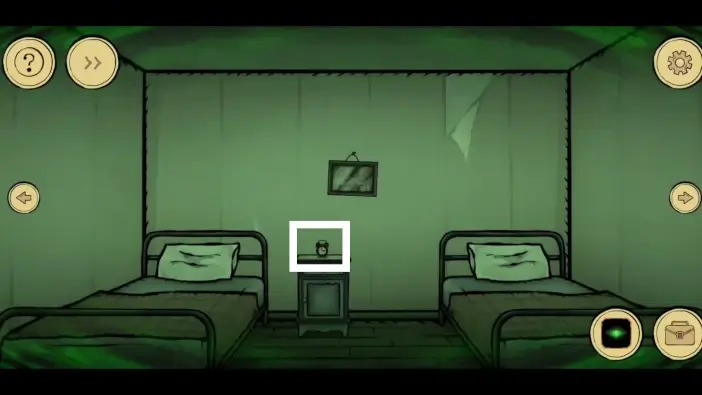
Go to the orderlies’ bedroom and take the gears from the alarm clock.
Return to the patient in the basement and approach the upper left machine.
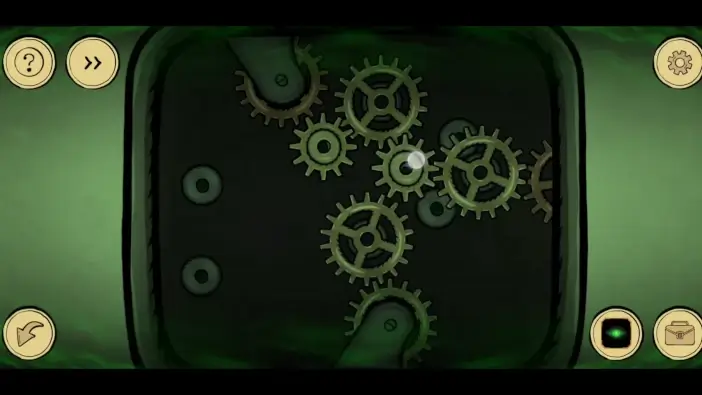
Place the gears into the machine and rearrange them so all gears are working. The solution is in the picture above. When you solve this puzzle, the patient will be able to breathe again.
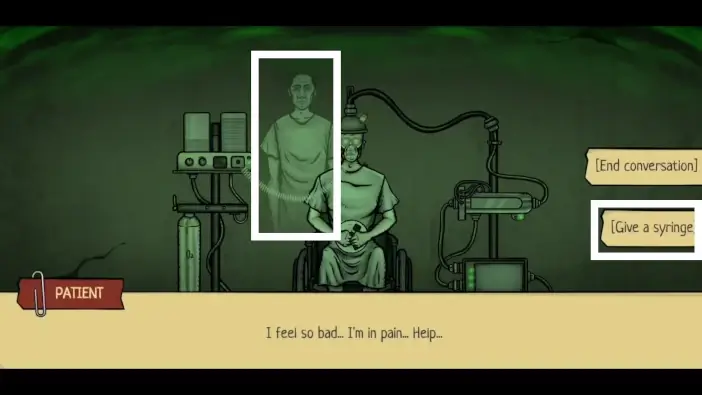
Start the conversation with the spirit of the patient and give him the syringe filled with poison. The patient will release the reel from his grip. Take the reel.
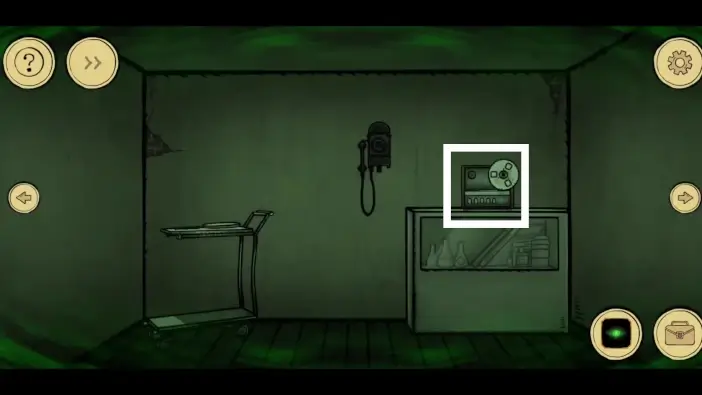
Go back to the first room of the basement and approach the audio machine on the cabinet.
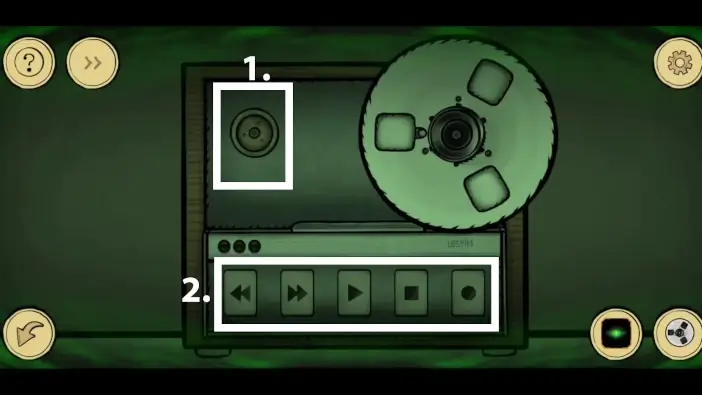
- Place the reel on the machine
- The controls will shine in a certain order. You need to memorize the order in which they were activated and click on the buttons in the same order. This memory challenge will have three phases and each new phase will have more steps to memorize and repeat.
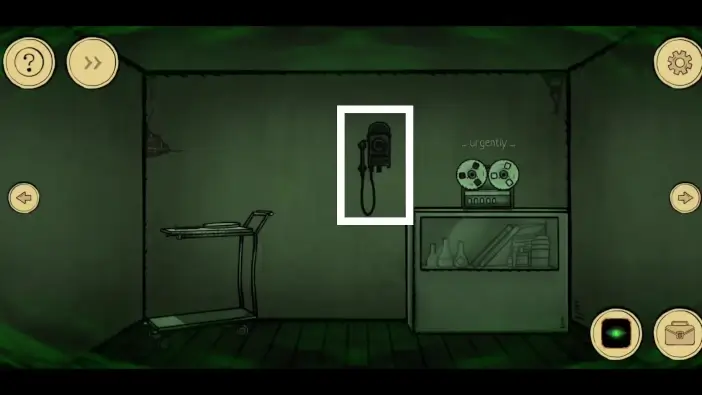
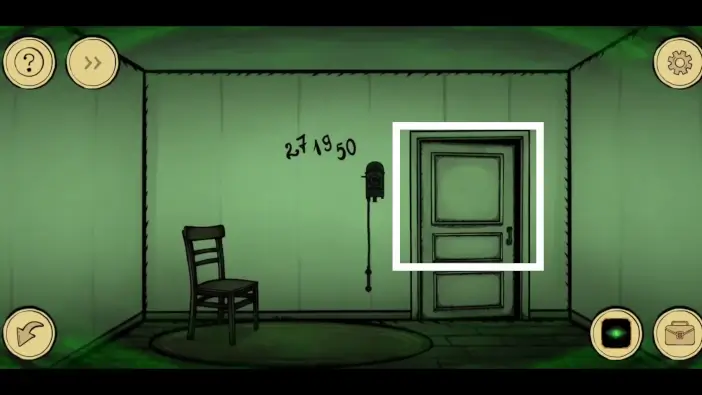
Once you complete the challenge, the audio machine will keep playing the reel, and on the reel is recorded how Doctor Death is calling orderlies to go immediately to the operation room. Approach the telephone.
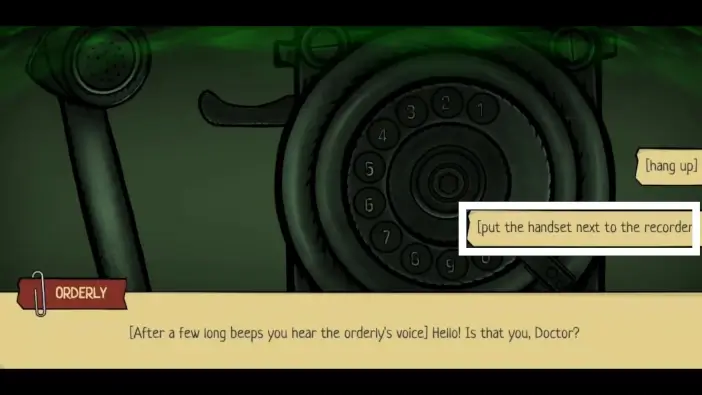
Call the number you saw on the wall with your ghost vision earlier. The number is 27-19-50. Choose the option to put the handset next to the recorder. This will distract the orderly who is guarding the exit door.
Go to the room where the orderly was.
Exit the mental asylum.
This will mark the end of our guide for the Escape Room Strange Case 2. You are finally free but with the demon inside you. What he will want from you and what new powers you will have?
Thank you for reading!