Lost Lands 10 – Bonus Chapter | Part 3
Intro
Welcome to our walkthrough for Part 3 of the Bonus Chapter of “Lost Lands 10” from “FIVE-BN GAMES”. In the previous part, Kiana entered the observation post and she will meet with the resident of that place.
Walkthrough
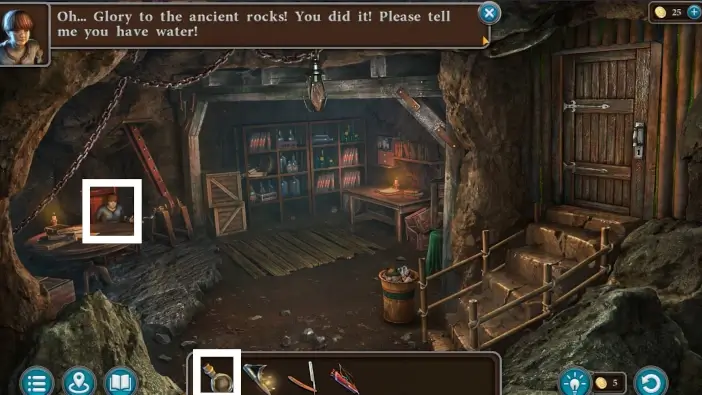
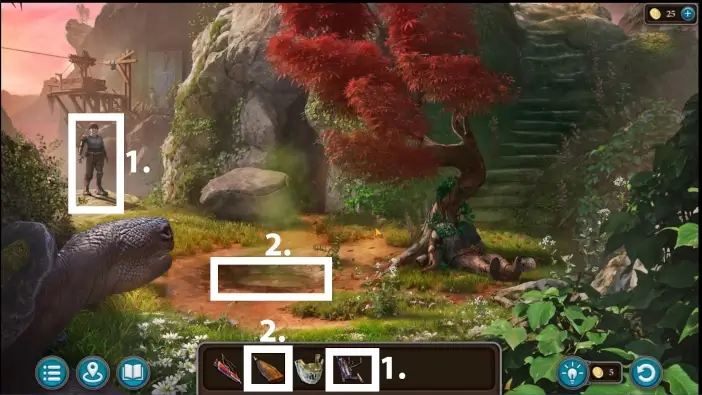
Give a bottle of water to Mora. A new cutscene will begin.
She will explain that her brother Folnur locked her in this room. Mora will explain where the temple is but you need to help her by building the prosthetics for her and building the “Rockect carrier”.
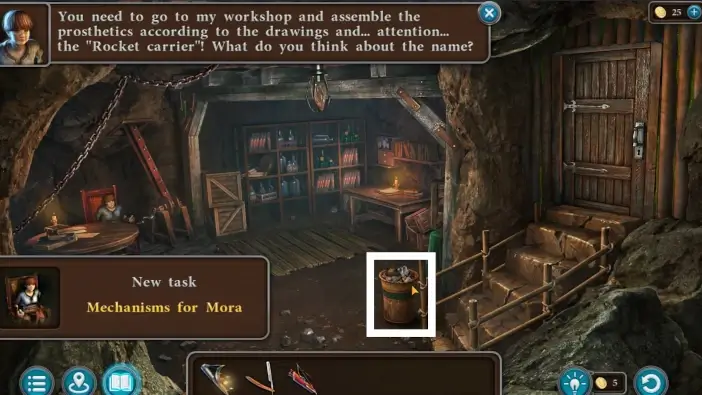
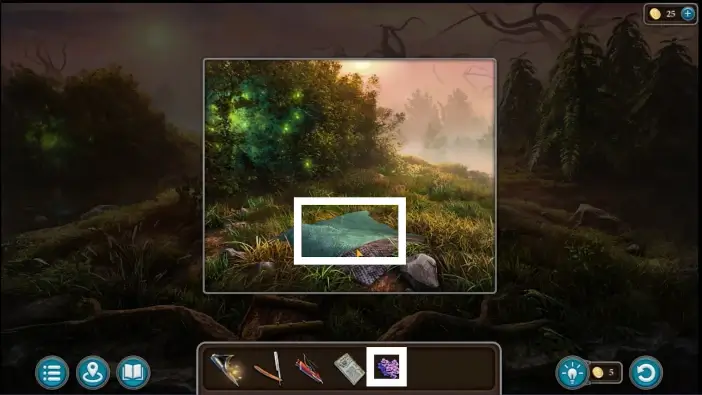
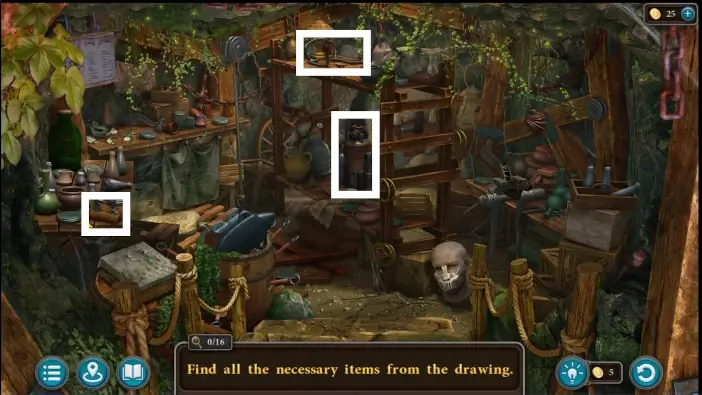
Empty the trash bin.
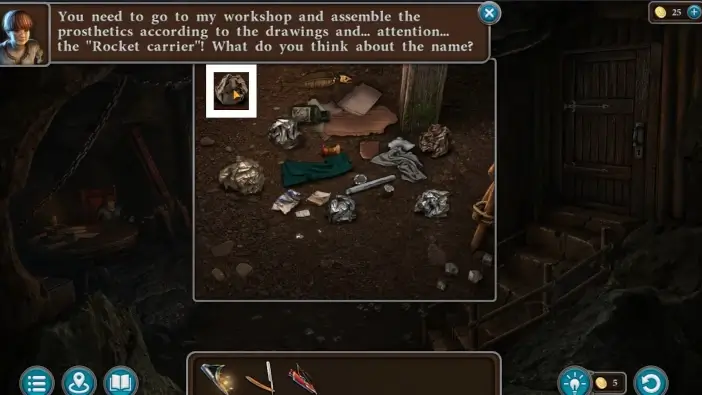
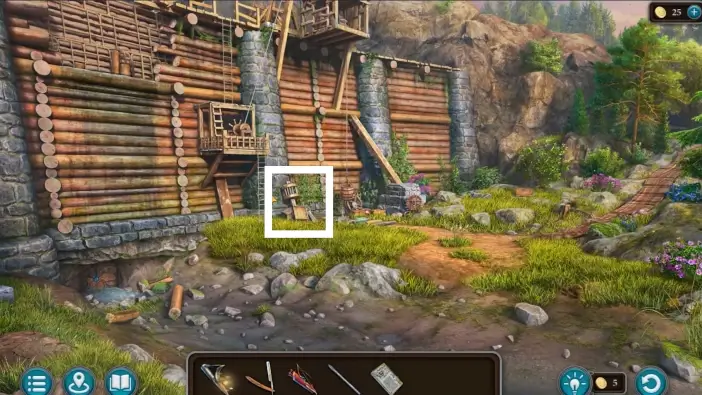
Pick up the crumpled paper in the upper-left corner.
The “drawing of a leg prosthesis” will be added to your inventory.
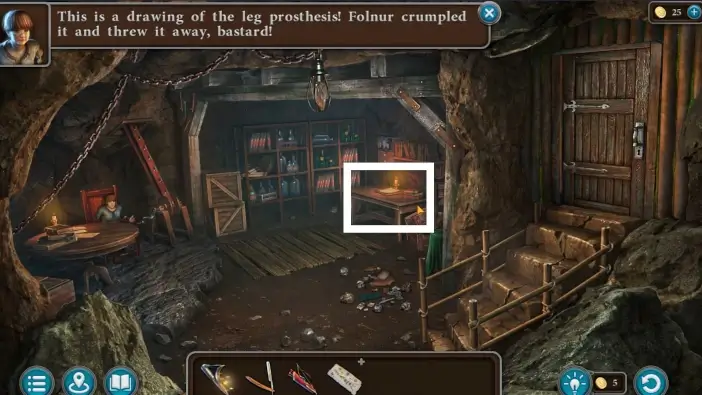
Approach the table on the right.
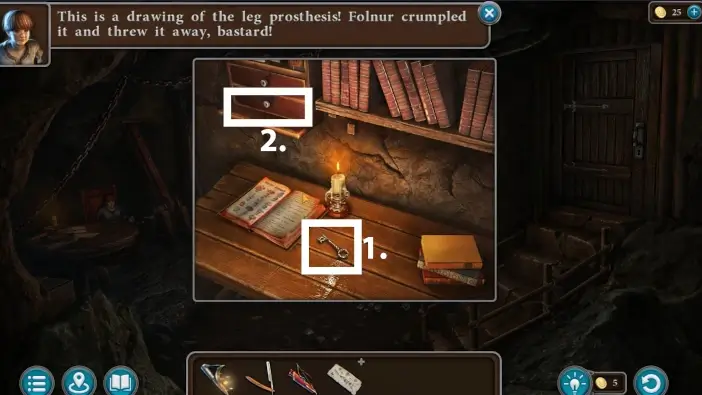
- Take the key to Mora’s workshop.
- Open the drawer and place the blunt pencil on the table.
Optionally, you can read the book on the table about the plants of the Lost Lands.
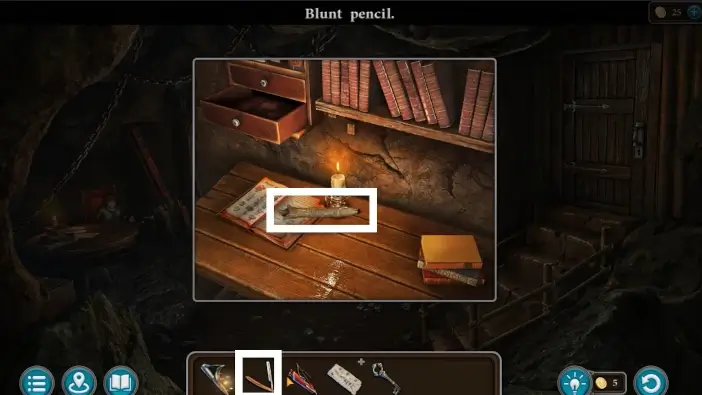
Use a straight razor on the blunt pencil to get a proper pencil.
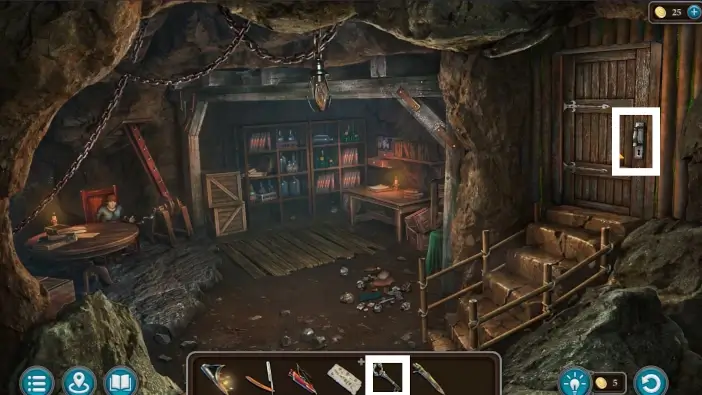
Use the workshop key to enter the workshop.
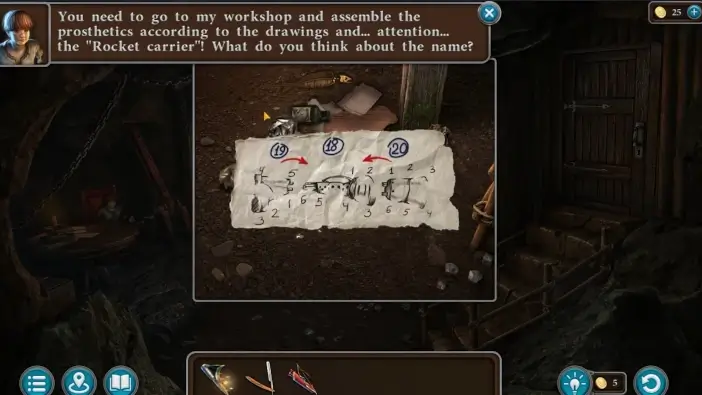
- Click on the “drawing of a leg prosthesis” in your inventory to examine it closely.
- Use a pencil on the drawing to start a new puzzle challenge. You just need to connect all the dots to get the full sketch of the prosthetic leg. Once you finish, the “drawing of a prosthetic leg” will be added to your inventory.
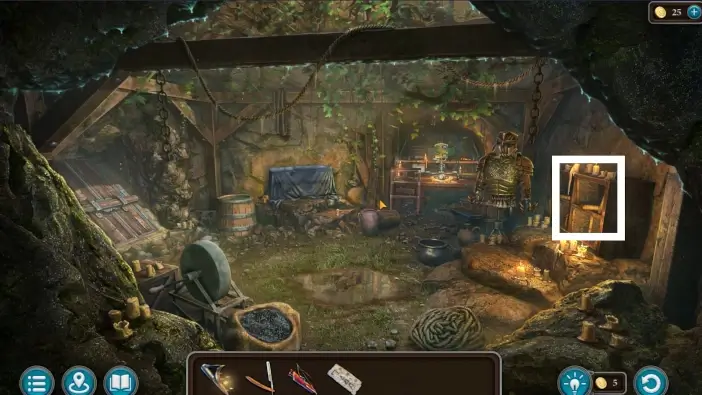
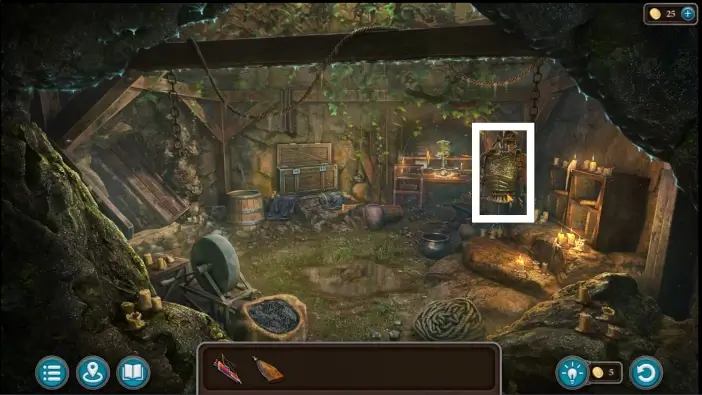
In the workshop, approach the bookshelves on the right.
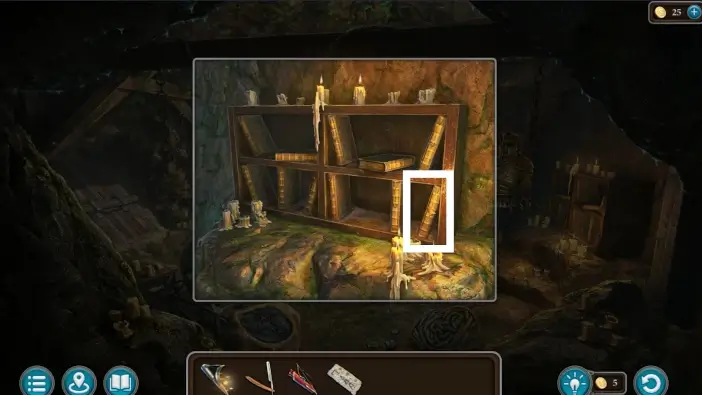
Pick up the bottom right book. The drawing of a prosthetic arm will drop from it. Pick it up.
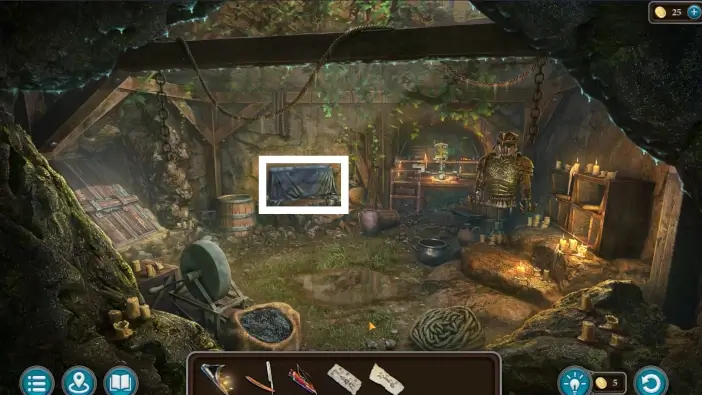
Approach the chest and remove the fabric from it.
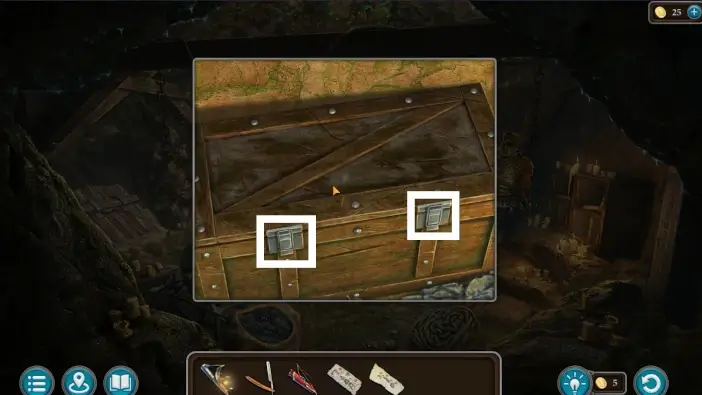
Open the chest.
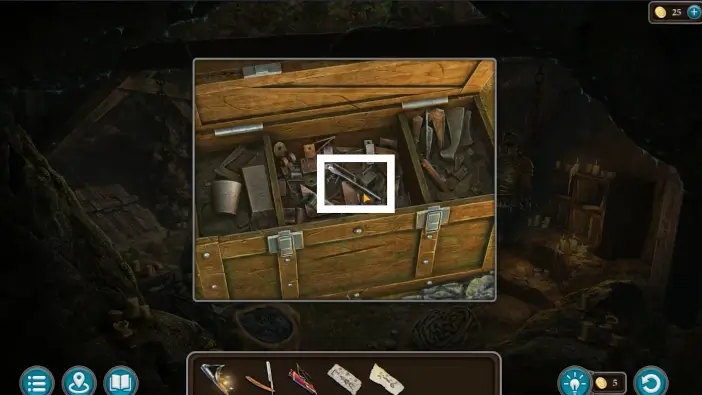
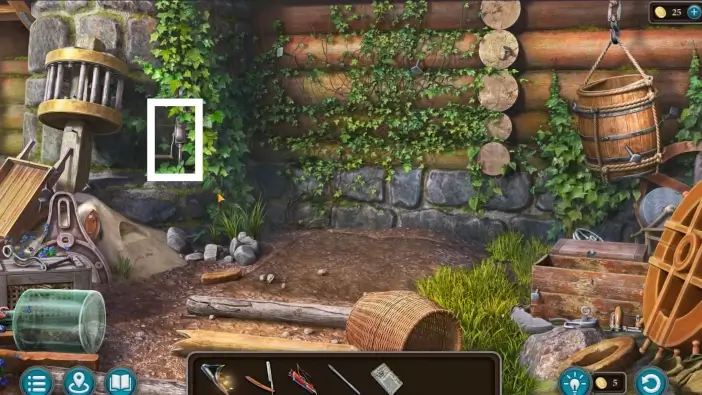
Take the screwdriver stem. You will need it for a hand drill.
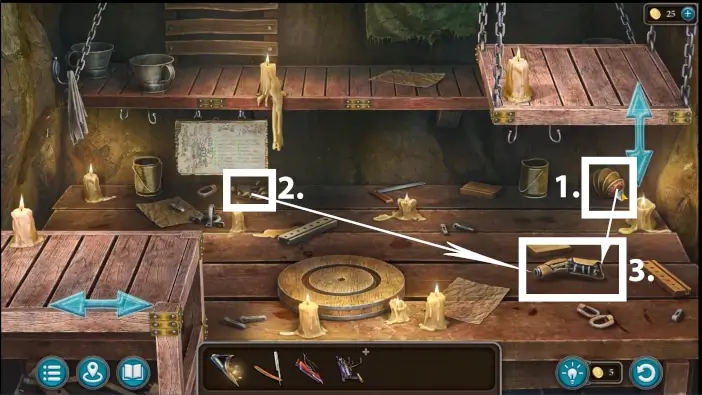
Approach the work table.

Take a closer look at the drawing of the “Rockect carrier”. Place the drawings of the prosthetic leg and arm to complete the paper.
You need to collect all items for all three devices. Only four items are already present at the work table. The “drawing of a rocket carrier” will be added to your inventory.
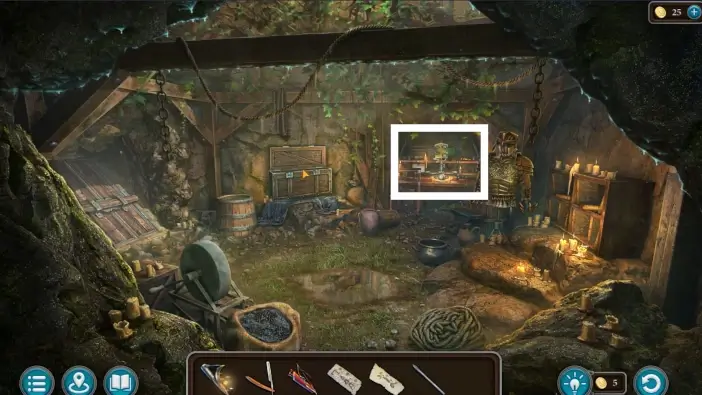
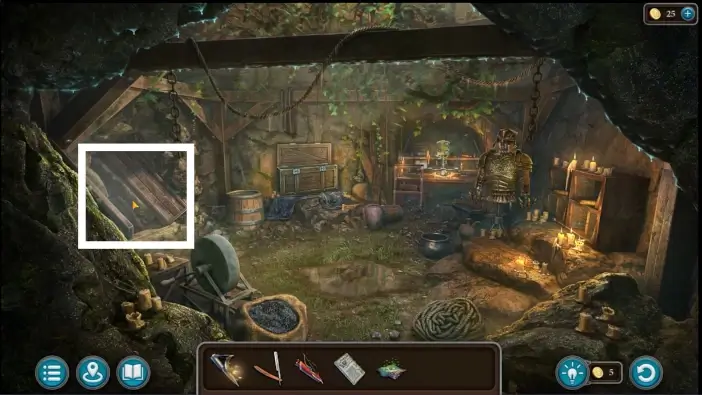
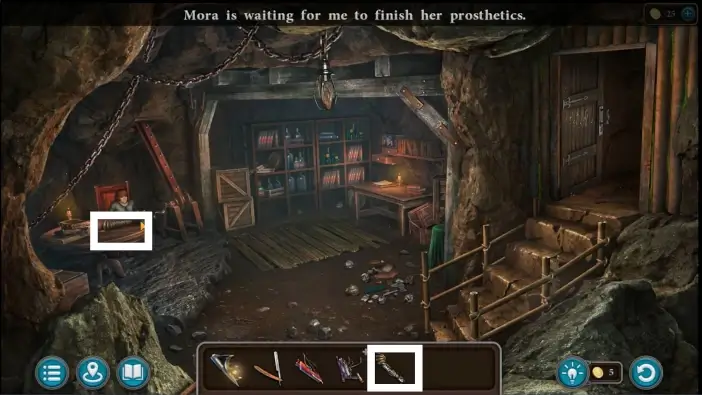
Go to the dam and approach the wall.
Take the hand drill.
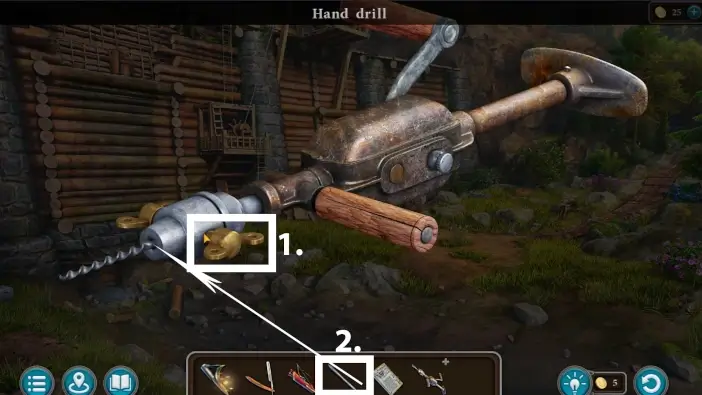
- Click on a drill in your inventory to examine it. Rotate the valves to take out the old screwdriver stem.
- Place the screwdriver stem on the hand drill. The “hand drill with a screwdriver” will be added to your inventory.
Return to the Mora’s workshop and use the drill on the door on the left. A new puzzle challenge will begin.
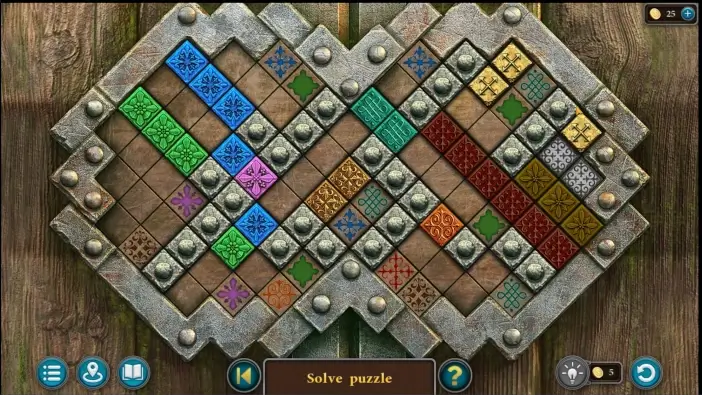
In this puzzle, you move the golden chips with crosses on them. You need to bring one such chip into the highlighted shining squares at the top-right corner. You can use the other two chips to bring them to the colored squares. If you place a chip, for example, on the green sigil square, all green walls will be deactivated and you can move the chip through it.
Once you finish this puzzle, the door to the warehouse will be unlocked but it is too dark to seek the components you need for Mora’s inventions. You’ll need to illuminate the warehouse.
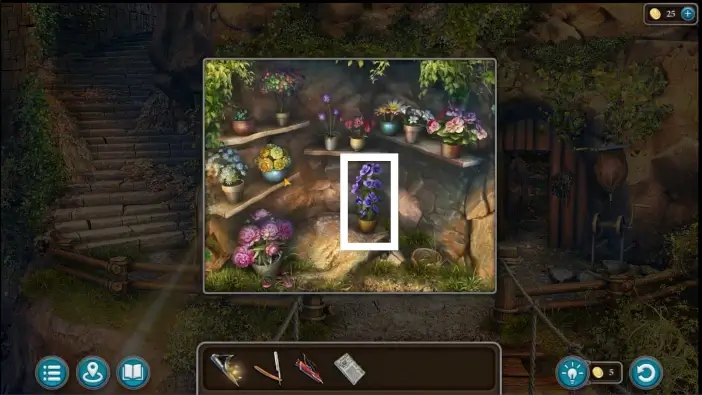
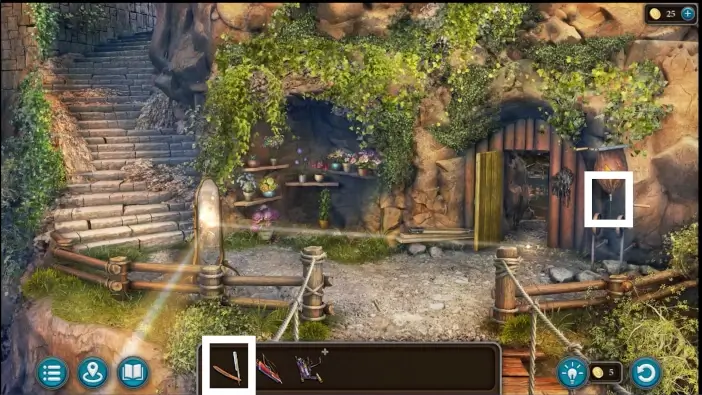
In the observation post’s courtyard, approach the flowers and take the firefly violets.
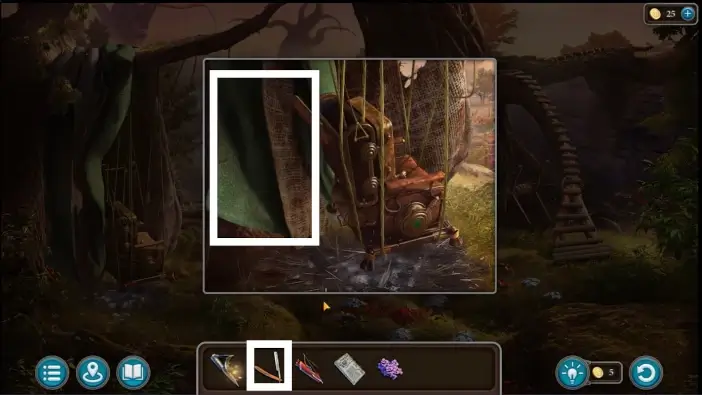
Go outside of Uri’s house, approach the parachute on the left, and use a straight razor to get the parachute fabric.
Go to the memorial sign area, approach the fireflies, and place the parachute fabric on the ground.
Place the firefly violets on the parachute fabric. The fireflies will be lured to the flowers. Click on the fabric to catch them and you will get the fireflies in your inventory.
Return to the Mora’s workshop and enter the warehouse.
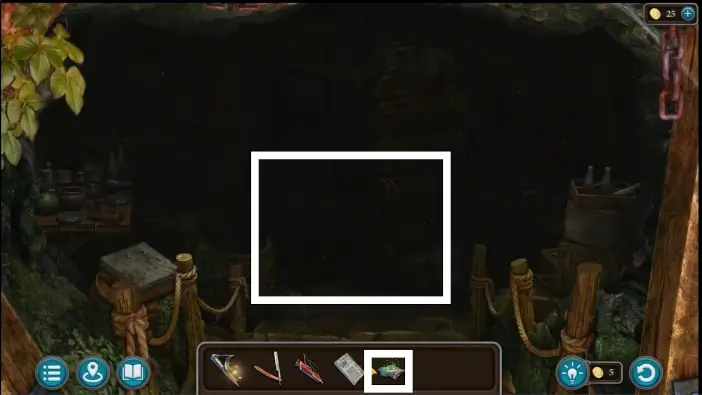
Use fireflies to illuminate the room.
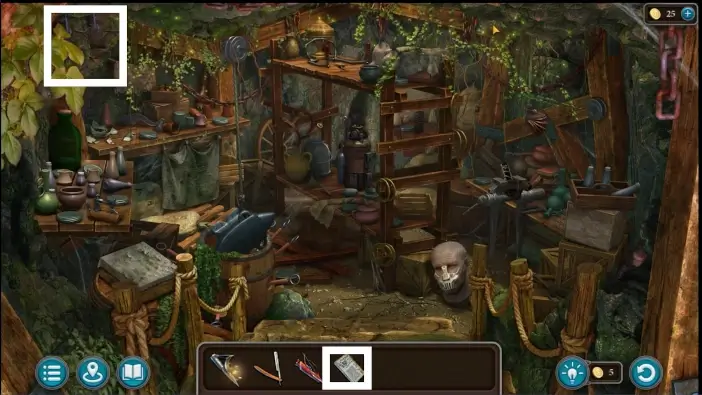
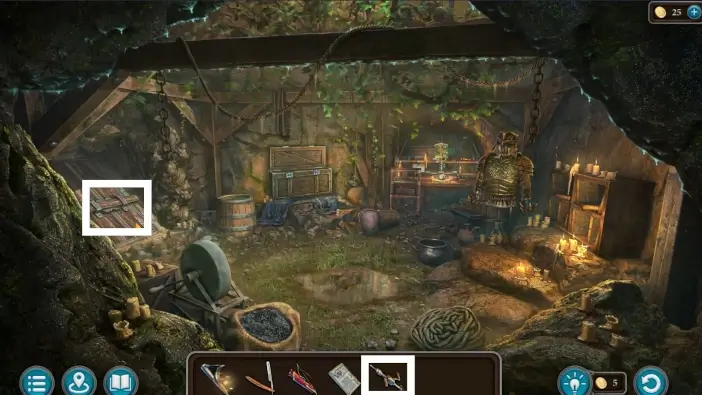
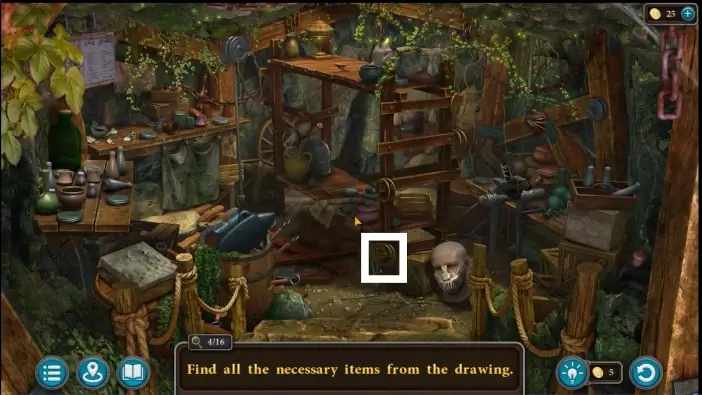
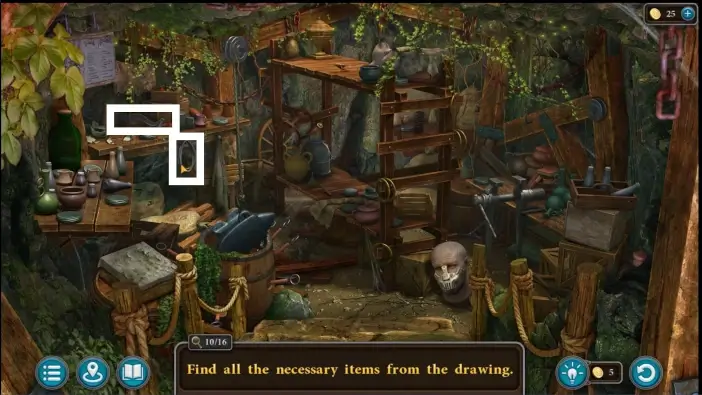
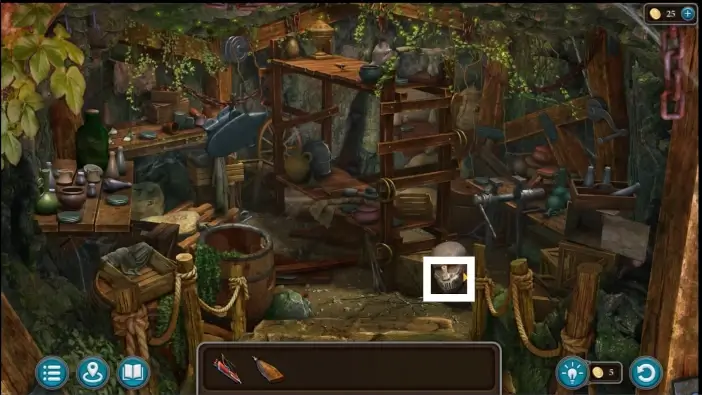
Place the drawing of a rocket carrier on the wall. A new challenge will begin where you need to find all sixteen items listed in the drawing.
Follow the pictures to find all the items. In the picture above, after you take the item in the center of the warehouse, there will be a crack in the wall. Pick one more item from there.

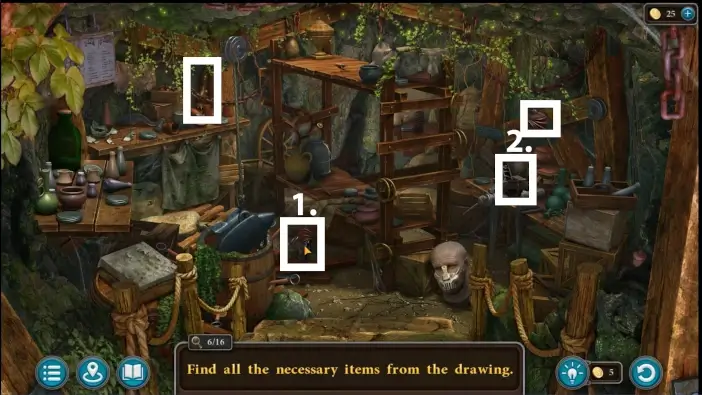
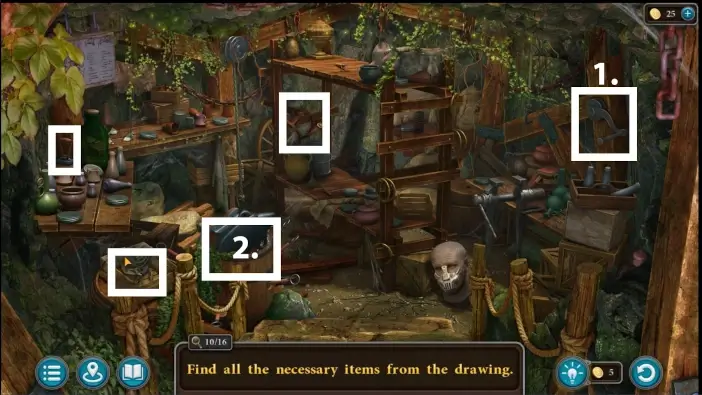
In the picture above, use a lever on the right side to raise the anvil from the barrel, then check the barrel for more components.
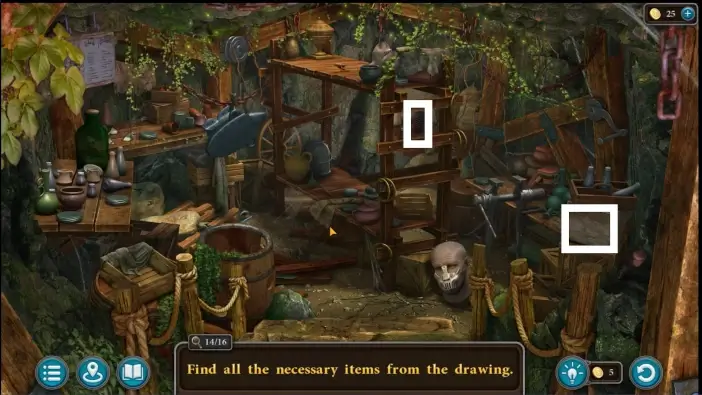
When you complete the challenge, you will get the “set of parts” in your inventory.
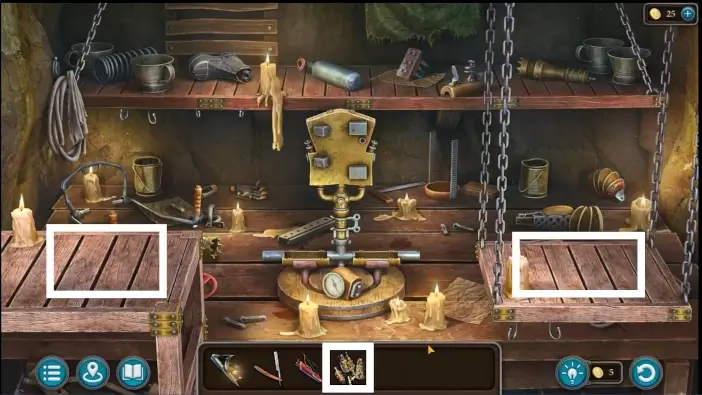
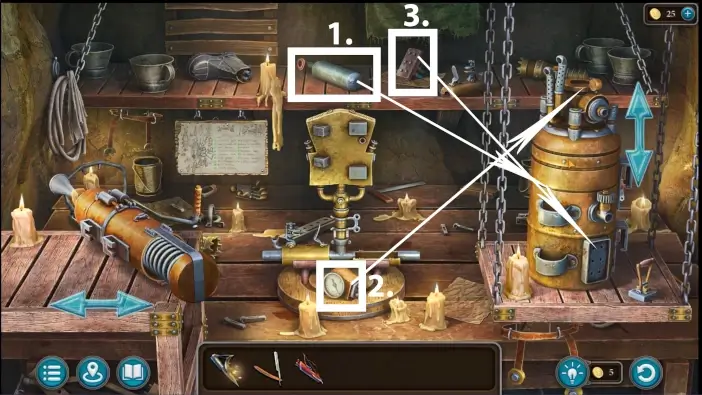
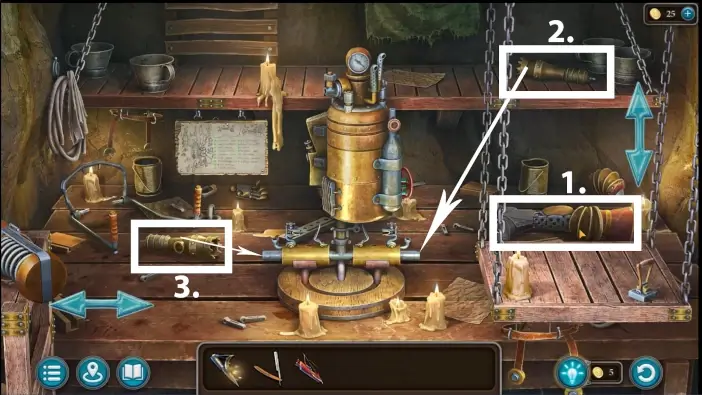
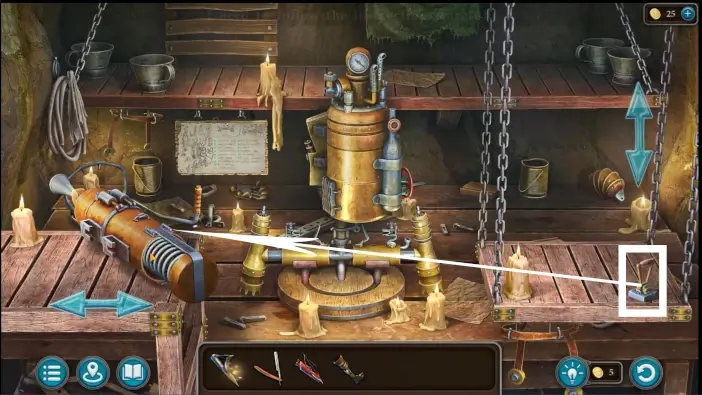
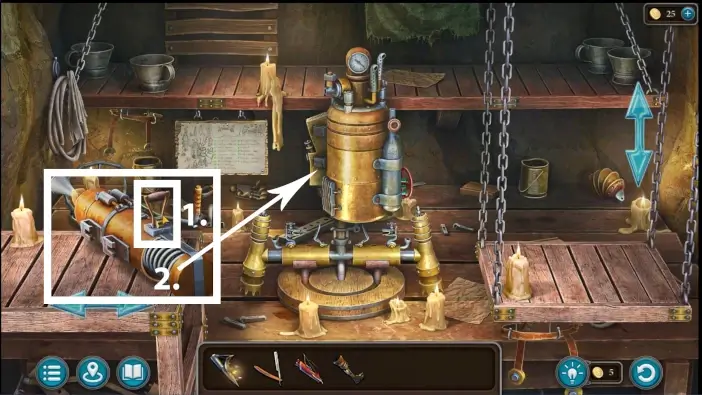
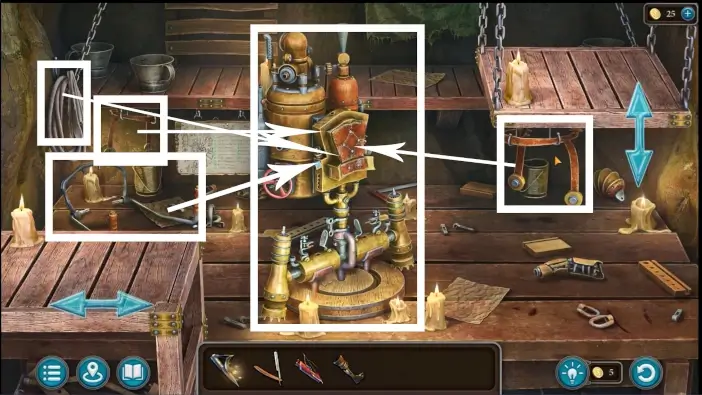
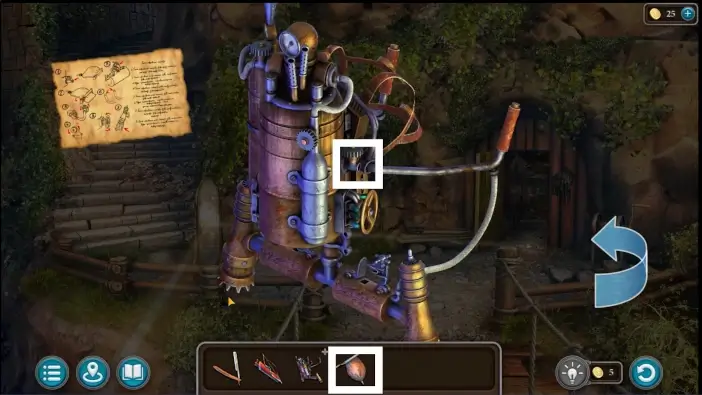
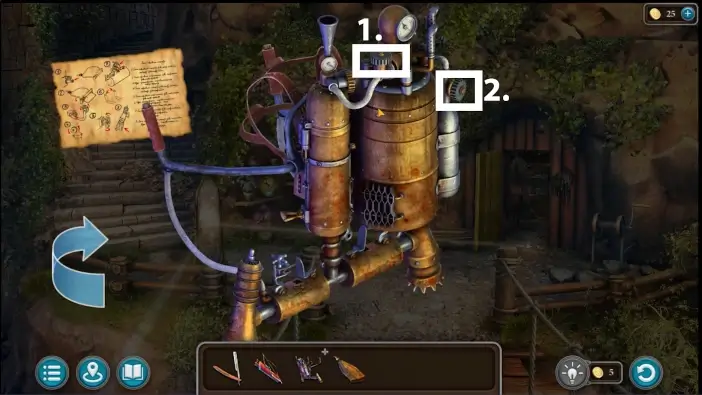
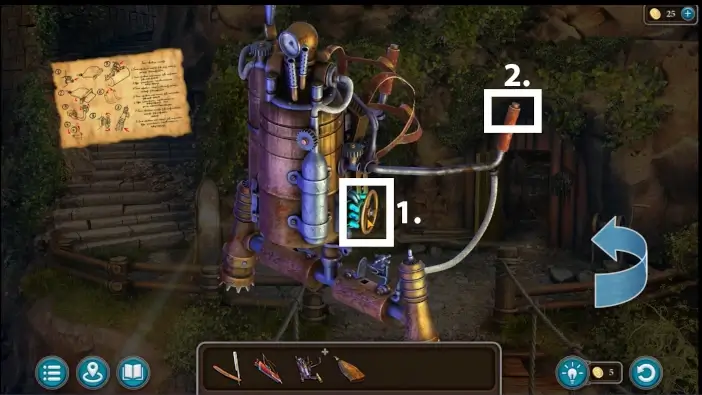
Return to the Mora’s workshop and approach the work table. Place the set of parts on the table.
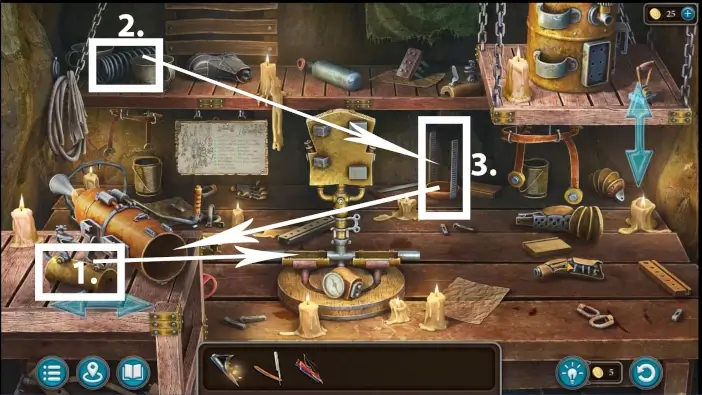
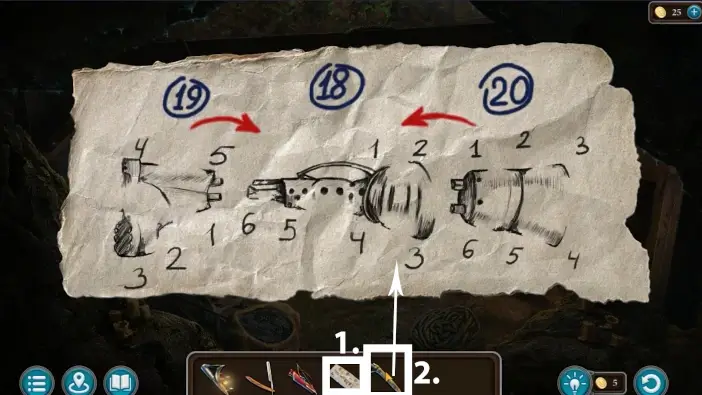
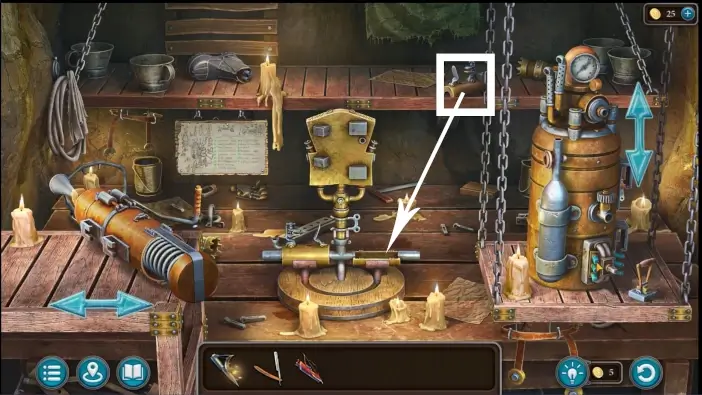
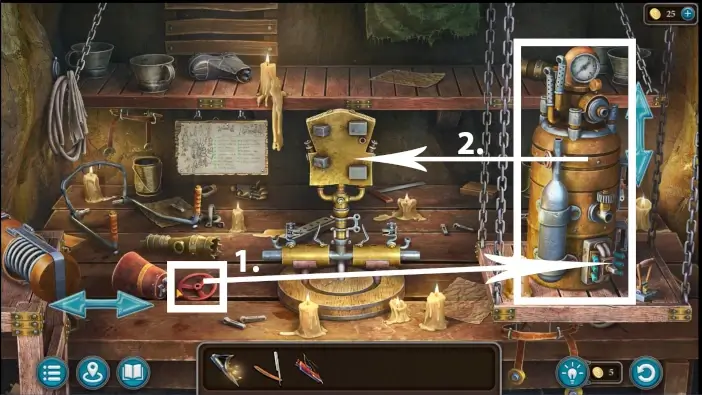
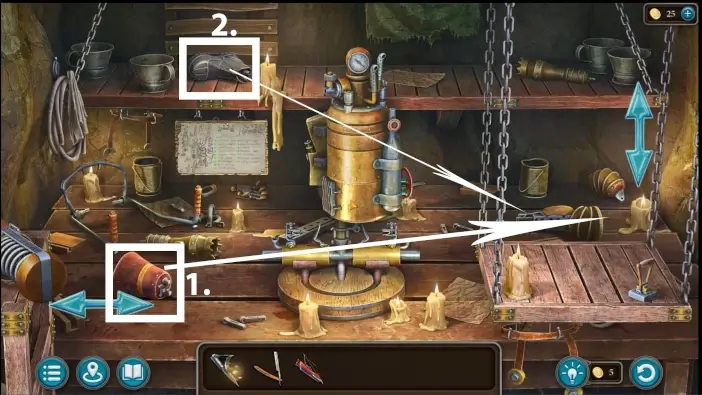
Create a prosthetic leg and the rocket carrier by following the drawing on the wall and/or following the numbers, markers, and arrows in the pictures in this guide. Whenever you see an arrow, that means that you need to select the first item and then select another item, the first item will interact with the second one. Without arrows, you just need to click on the item and things will happen. You can move platforms on the left and right by clicking on the arrows.

Give a prosthetic leg to Mora.
Return to the workshop and create a prosthetic arm.
Give a prosthetic arm to Mora. She will give you a machine setup guide for the rocket carrier.

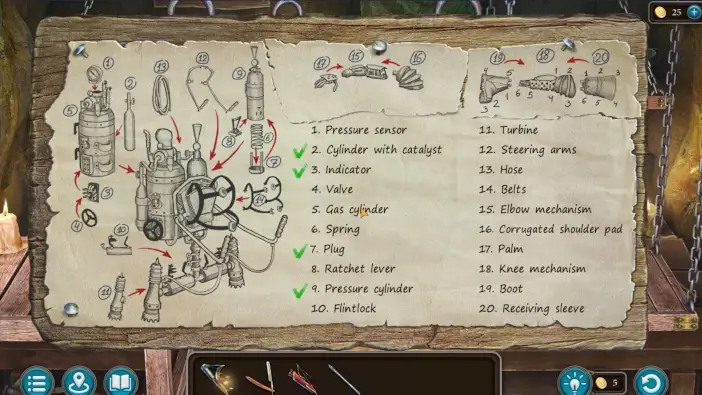
Read the machine setup guide.
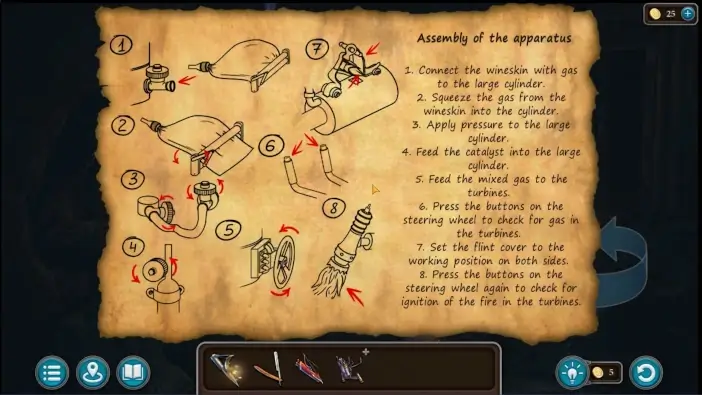
You need to prepare the rocket carrier for flying by following the instructions.
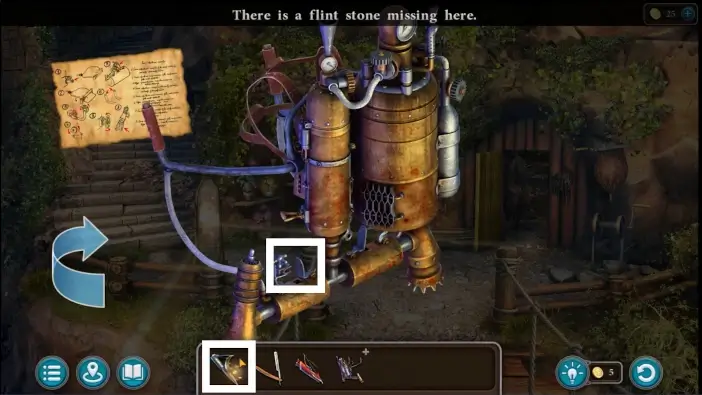
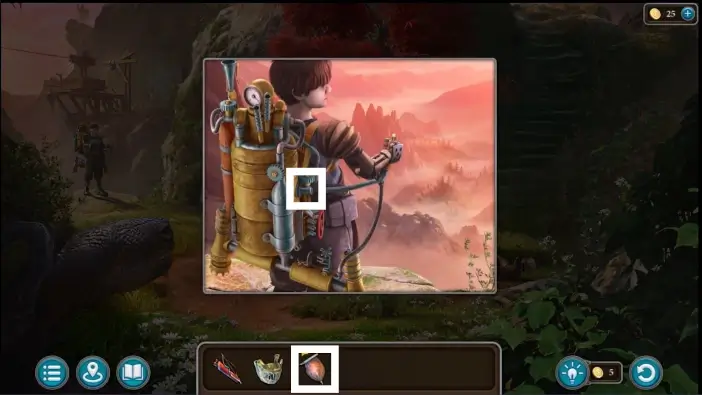
Click on the rocket carrier in your inventory to examine it and place the flint stone in the location marked in the picture. You can rotate the rocket carrier.
Outside Mora’s house, use the straight razor to cut the rope and get the wineskin filled with gas.
Fill the rocket carrier with gas from the wineskin. An empty wineskin will be added to your inventory.
Do some more adjustments according to Mora’s setup guide.
When you finish with all the adjustments you will get a fully functional rocket carrier.
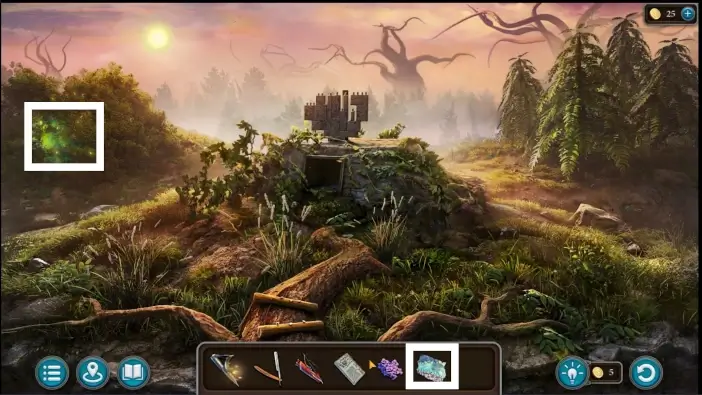
Go to the oasis and use the rocket carrier to reach the temple.
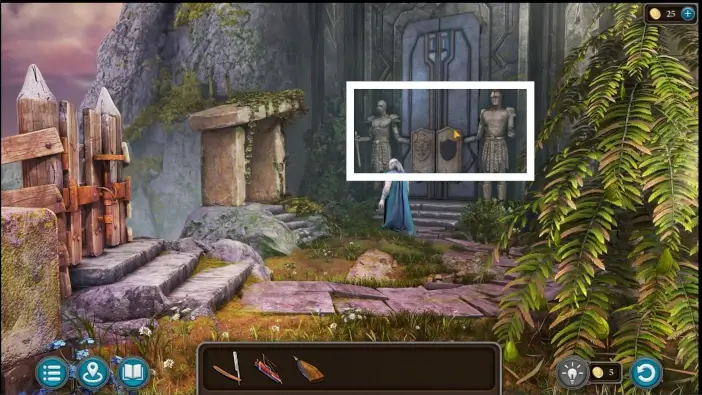
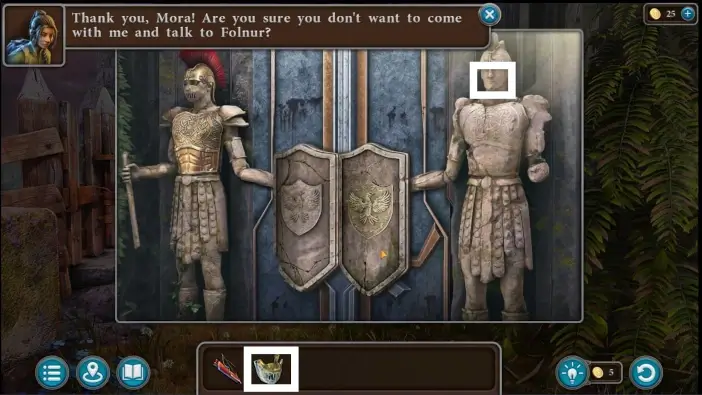
Buldan will appear and enter the temple. He will open the door via magic while you must find a different way. You need to make sure that the two statues in front of the gate have all the same equipment.

Return to the oasis and take the helmet from the warrior’s corpse.
Place the helmet on the left statue.
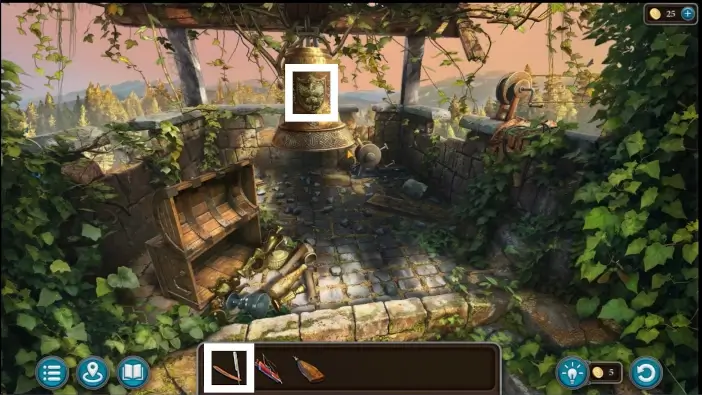
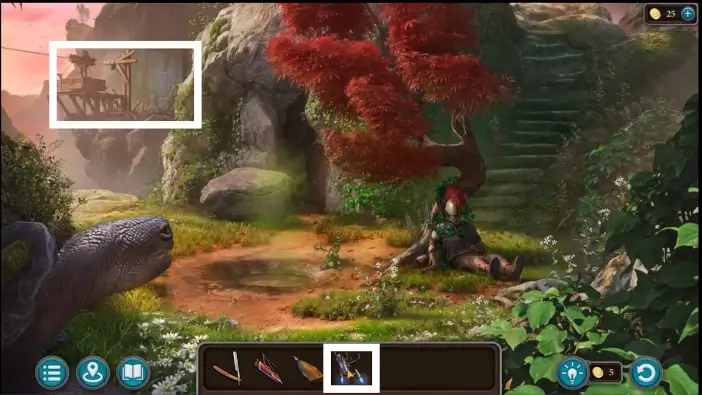
Go to the tower of the observation post and take the heraldry from the bell using your straight razor.
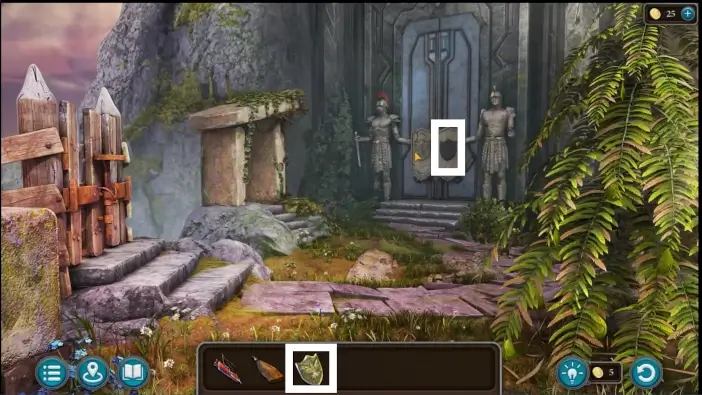
Place the heraldry on the right shield.
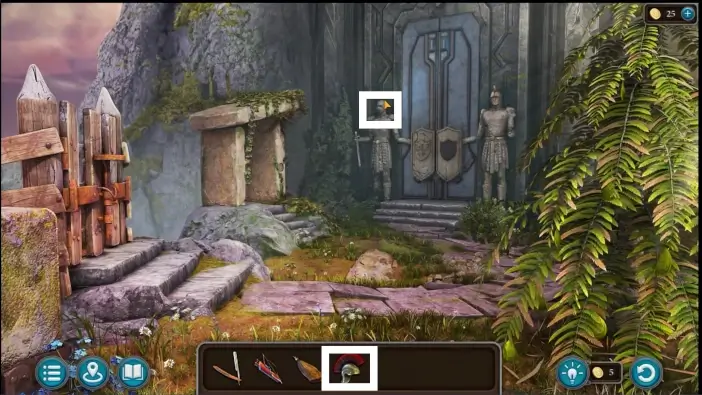
In Mora’s workshop, take the armor cuirass.
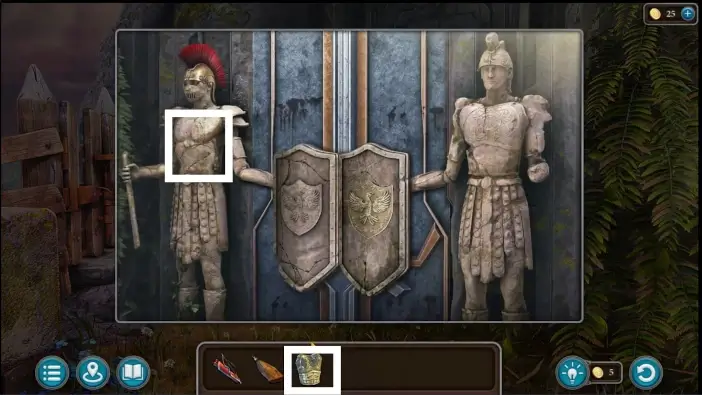
Place the armor cuirass on the left statue.
Go to the Mora’s warehouse and take the visor.
- Go to the oasis and give the rocket carrier to Mora. Unfortunately, the rocket carrier will run out of gas fuel.
- Use an empty wineskin to take gas from the acidic lake.
Approach Mora and fill the rocket carrier with gas from the wineskin.
Kiana will part with Mora. Next, place the visor on the statue on the right. The new puzzle challenge will appear between the shields.
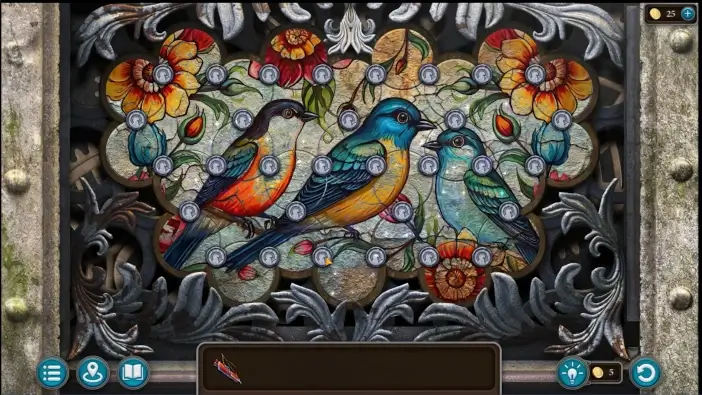
Rotate the segments of the image so you get the correct version of the image of the birds, like in the picture above. If you complete this puzzle in less than 75 moves, you will get the “Gifted” achievement. Once you solve the puzzle, the temple will open and Kiana will stop Buldan from hurting Susan and Maaron.
This will mark the end of our guide for the Bonus Chapter of the Lost Lands 10. You can check our guides for the Main Chapter here and the list of collectibles here.