Lost Lands 10 – Main Chapter | Part 2
Intro
Welcome to our walkthrough for Part 2 of the Main Chapter of “Lost Lands 10” from “FIVE-BN GAMES”. Susan and Kiana found out that Folnur murdered Maaron many years ago but he regret his evil deed. Folnur provided Susan with the Hexagon of Time if she ever revisited the Lost Lands. In the previous part, Susan and Kiana managed to return to the past when both Falnur and Maaron were alive.
Walkthrough
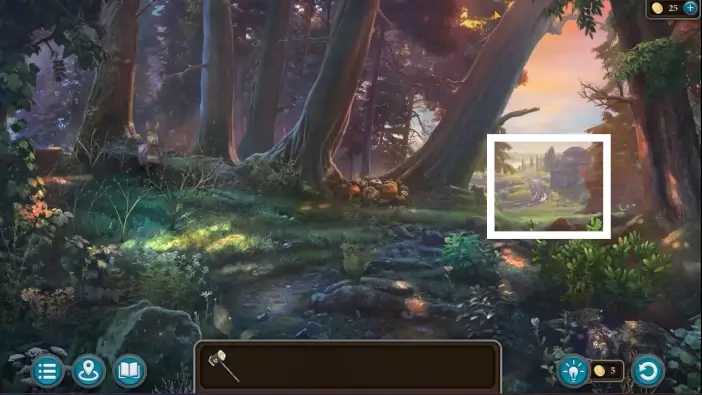
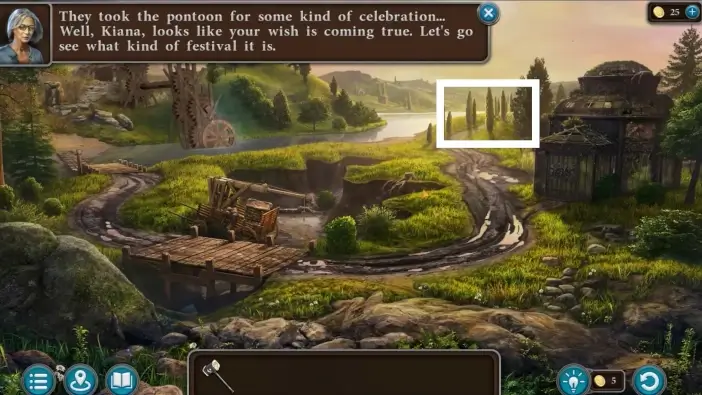
Exit the forest.
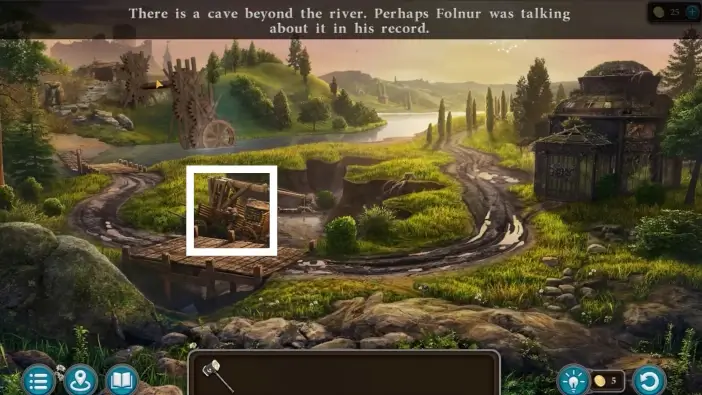
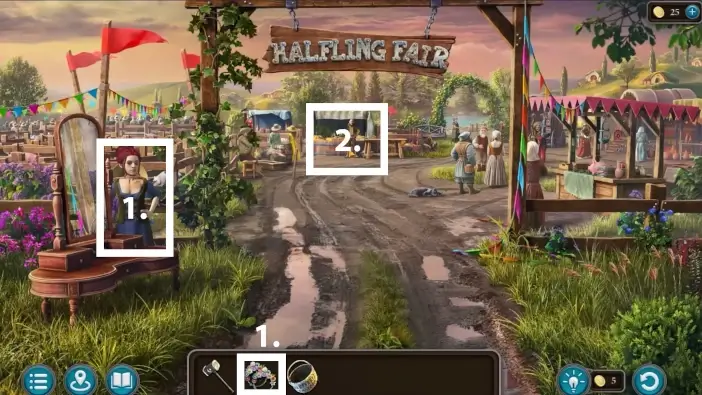
The mine where you want to go is on the left, but you can’t cross the river. The only way is to go to the fair. First, approach the cart.
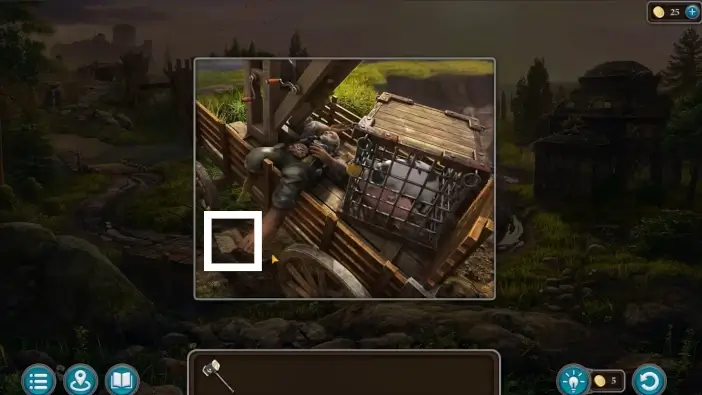
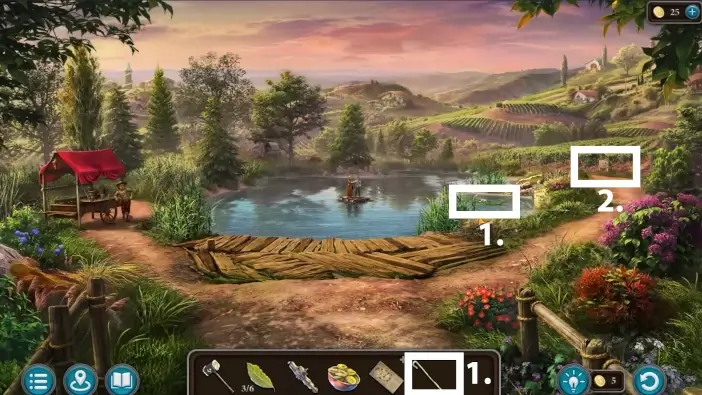
Take the announcement excerpt.
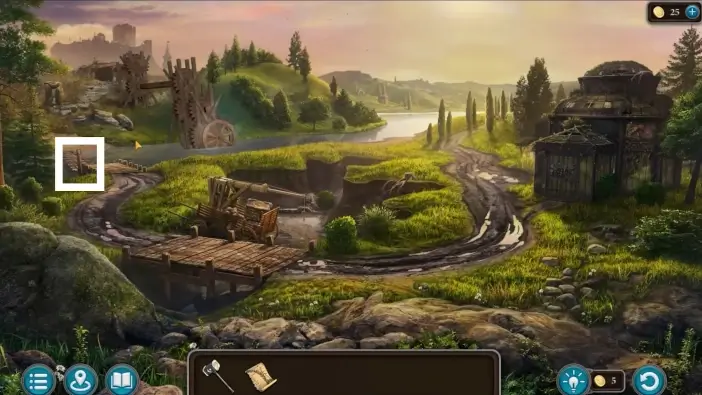
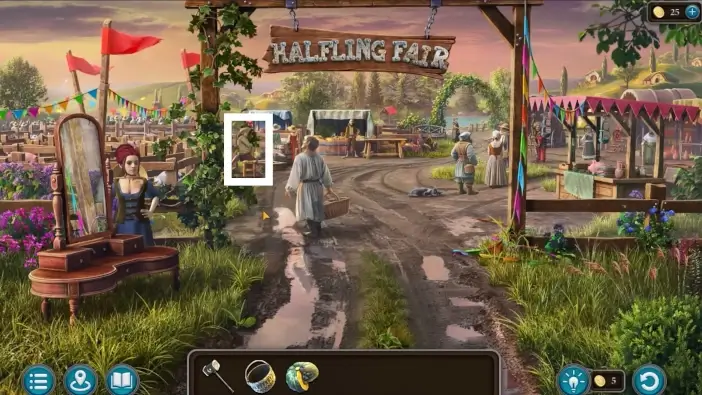
Approach the notice board near the river.
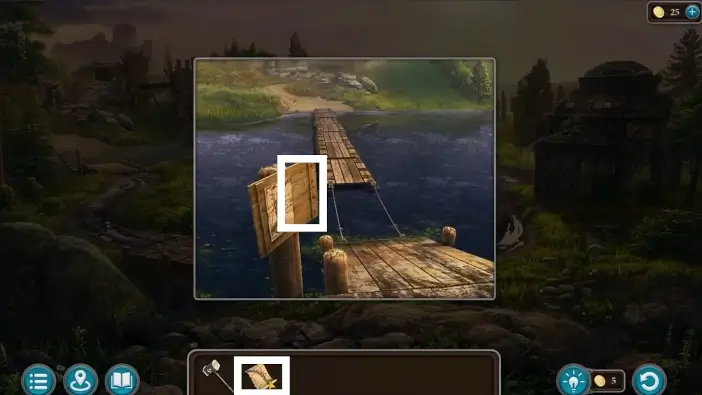
Place the announcement excerpt on the notice board to get the full announcement and read it. You will find out that the halflings took one pontoon to the fair. You must get the pontoon to cross the river and go to the mine.
Go to the halflings farming fair.
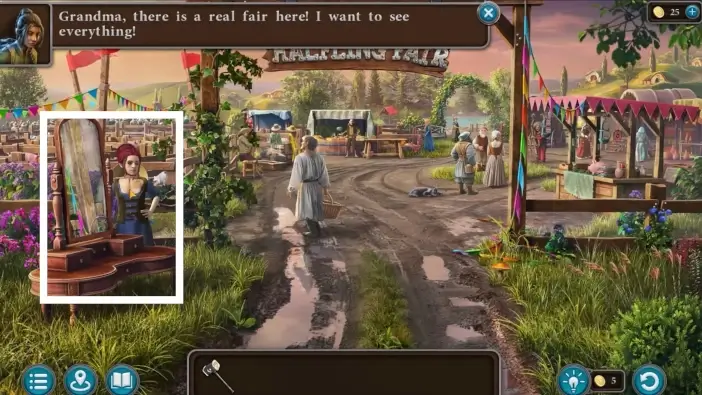
Speak with the hostess. She will inform you that you can enter the fair only if you wear wreaths made from non-repeating flowers. She will give you a hint to go to the greenhouse to gather flowers but she will ask for a favor: to collect her bay leaves. She will give you the key to the greenhouse.
Go to the greenhouse.
Use the key the hostess of the fair gave you. You will start a new puzzle challenge.
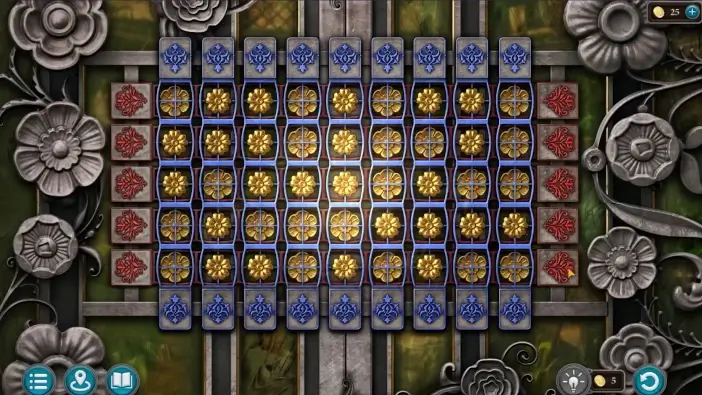
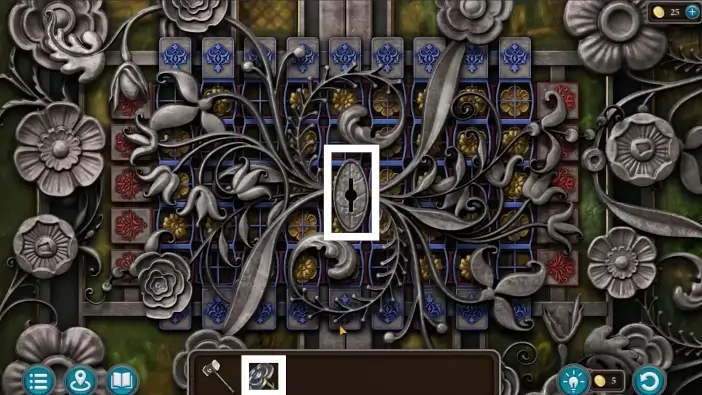
Once you start the puzzle, there will be empty cells and some flowers overlap each other. Move the rows and columns so that in the end there are no empty cells.
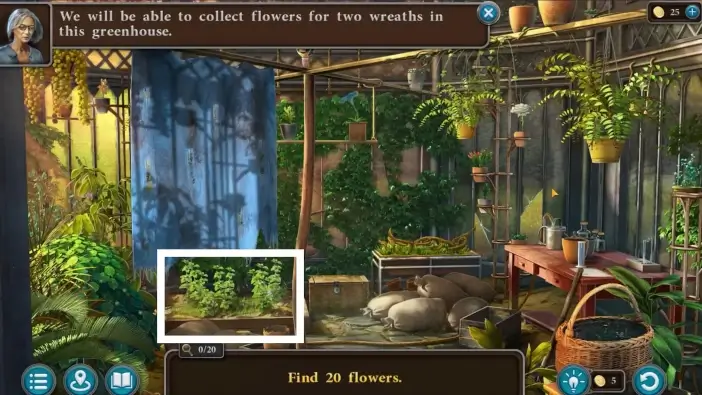
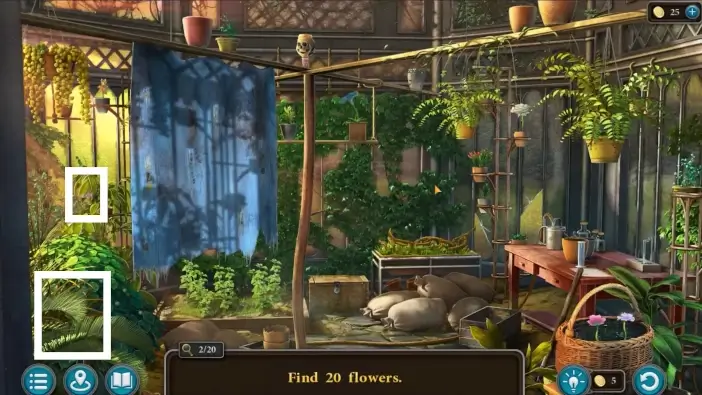
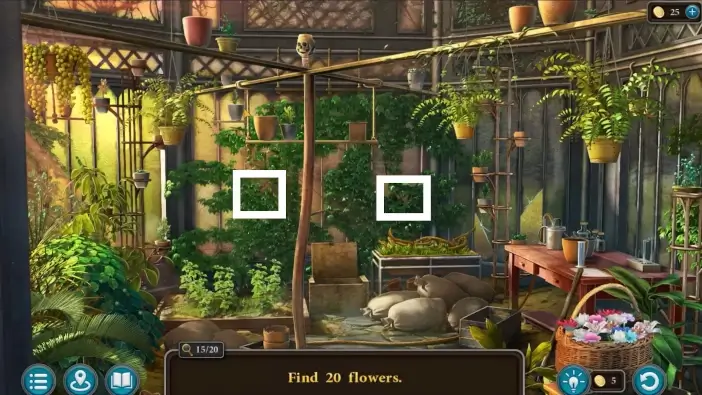
When you enter the greenhouse, you need to collect twenty flowers for wreaths for both Susan and Kiana. Approach the plants below the curtain.
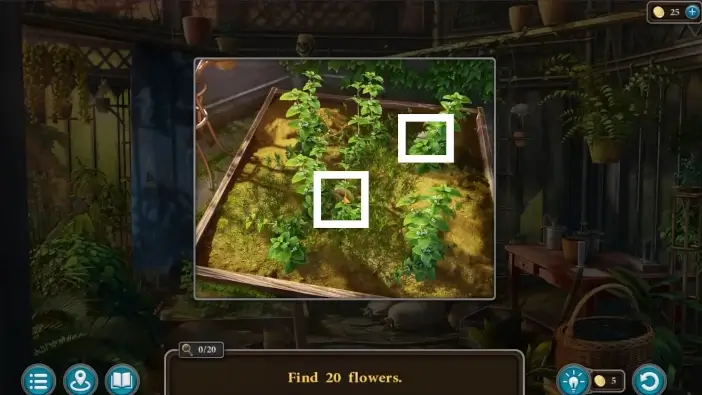
Pick two flowers.
Pick a flower left from the curtain and then approach the bush.
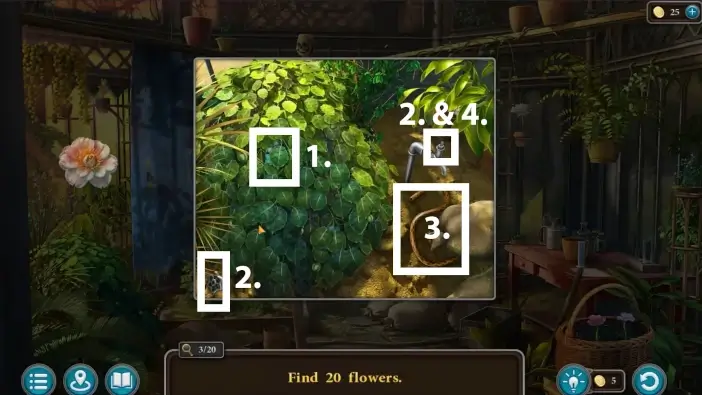
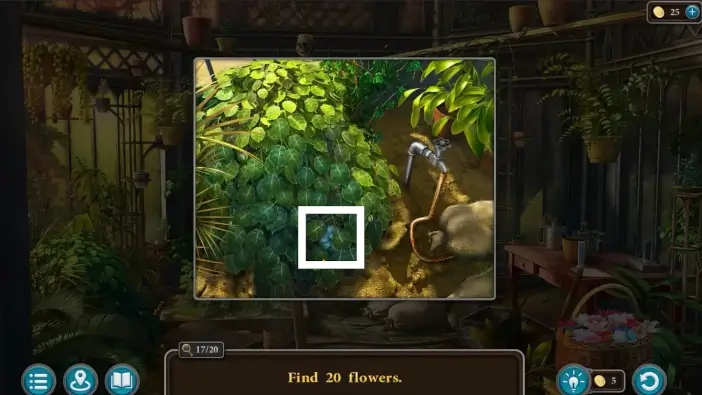
- Pick the flower in the bush.
- Click on the valve to select it and then click on the faucet to place the valve on it.
- Click on the hose to connect it to the faucet.
- Rotate the valve to turn on the faucet. This will fill the watering can that is on the table.
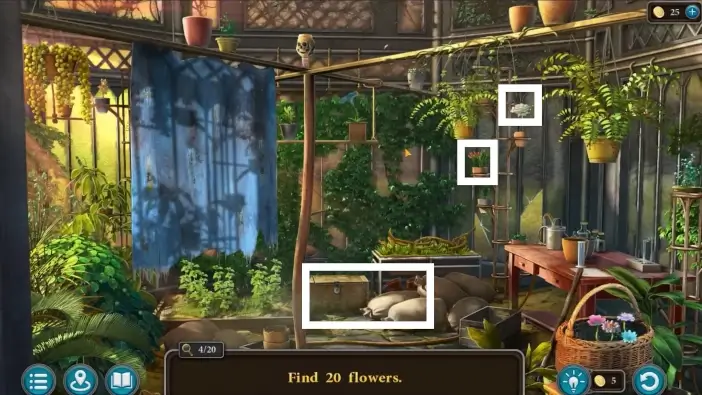
Pick two flowers from the hanging flowerpots and then approach the chest.
Click on the key which is inside the shoe then click on the padlock to unlock the chest.
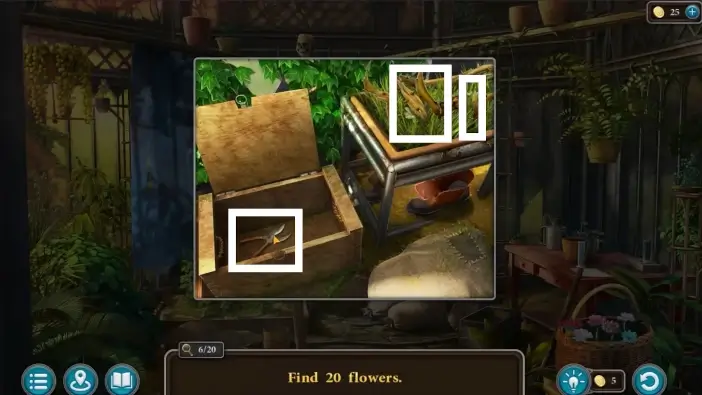
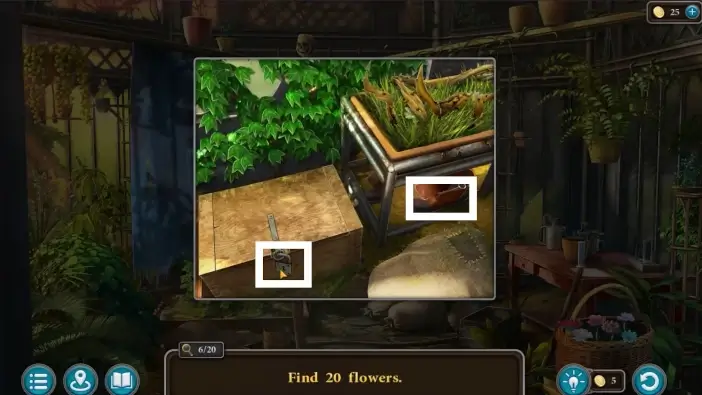
Use the garden scissors from the chest to cut the weeds on the table on the right. After you cut the weeds, you can get the next two flowers.
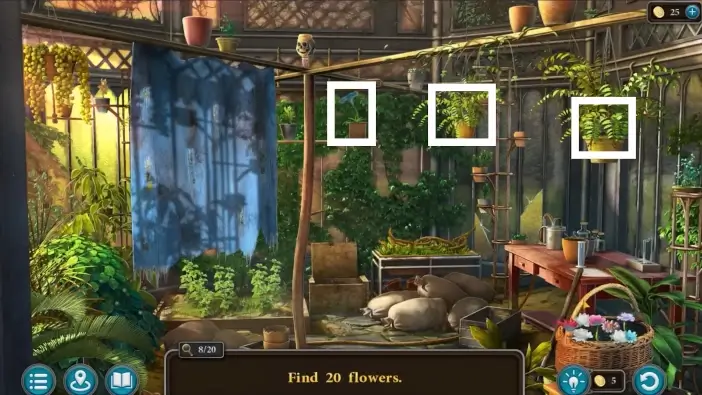
Pick three flowers from the hanging flowerpots.
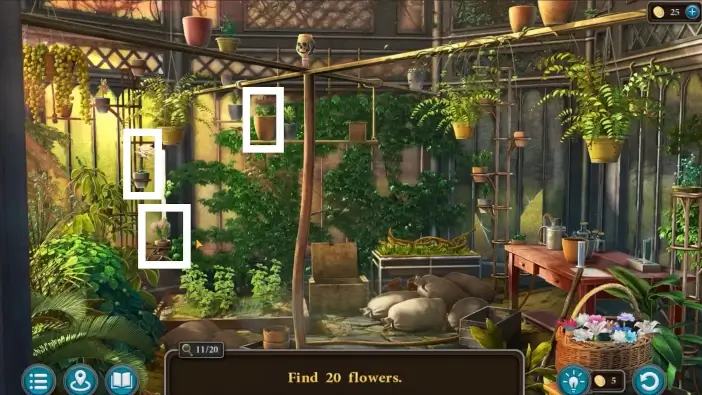
Remove the curtain on the left and pick up the next three flowers from the hanging flowerpots.
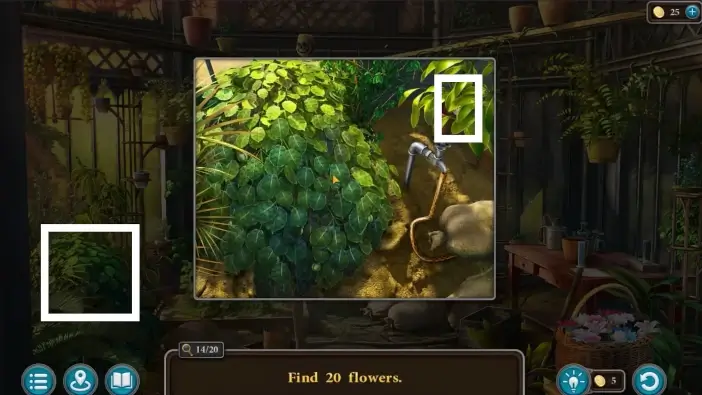
There is one flower near the bush, behind the leaves, above the faucet.
Two flowers are behind the creeper plants.
One more flower is inside the bush near the faucet.
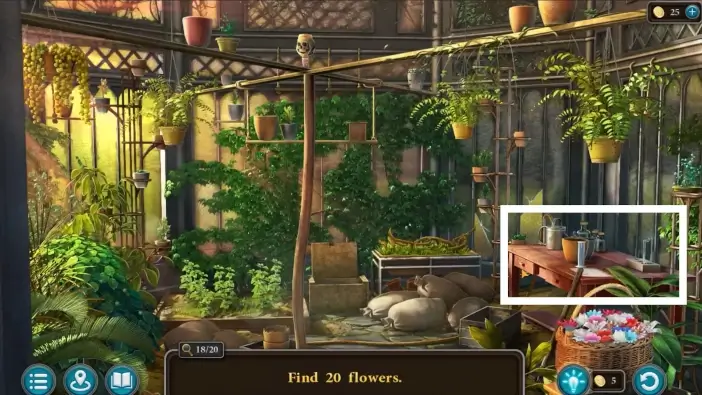
Approach the table on the right.
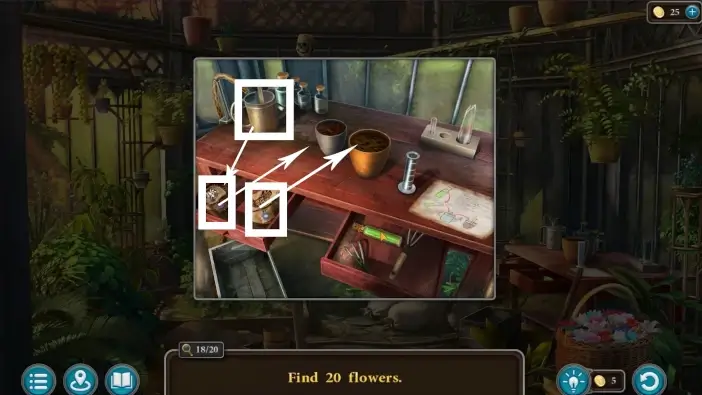
Open the left drawer. Use the watering can to water the seeds on the left inside the drawer. Plant both types of seeds into the flower pots.
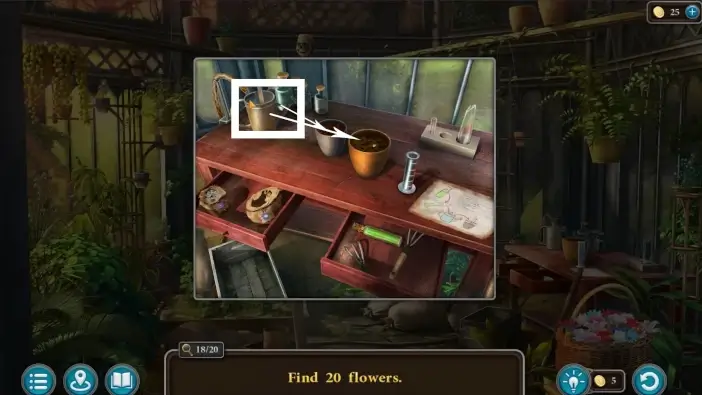
Use a watering can to water the seeds again.
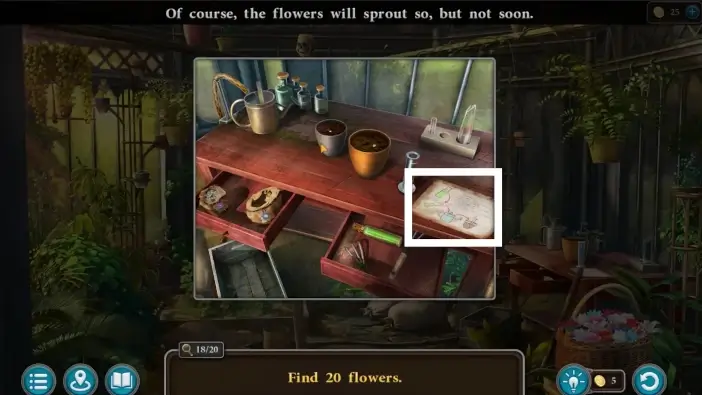
Read about the rapid growth potion.
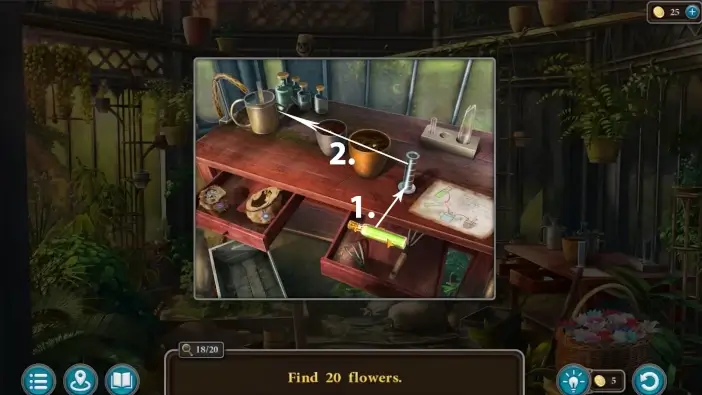
Open the right drawer. Pour the rapid-growth potion into the graduated cylinder. Pour the potion from the cylinder into the watering can.

Use the watering can to water the plants and now they will instantly grow. Pick the two flowers. You will get the “Flowers for Wreaths” item in your inventory.
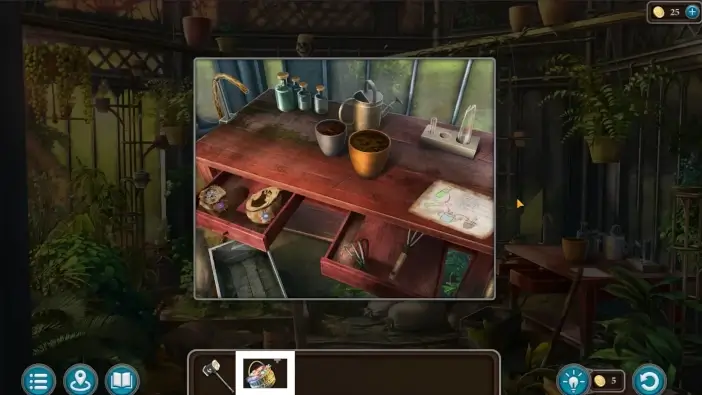
Click on the “Flowers for Wreaths” in your inventory.
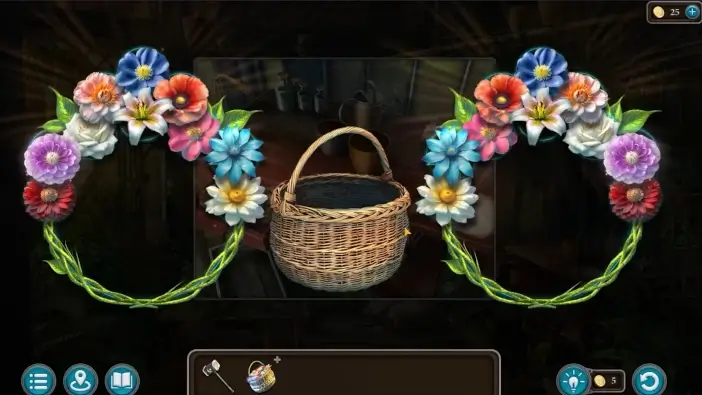
Place the flowers from the basket into one of the two wreaths. Never repeat the same type of flower for one wreath. Once you finish, you will get the “Festive Wreaths” item and the “Empty Basket” item in your inventory.
- Go back to the halfling fair and show the festive wreaths to the hostess.
- Approach the halfling that organizes the pumpkin game.
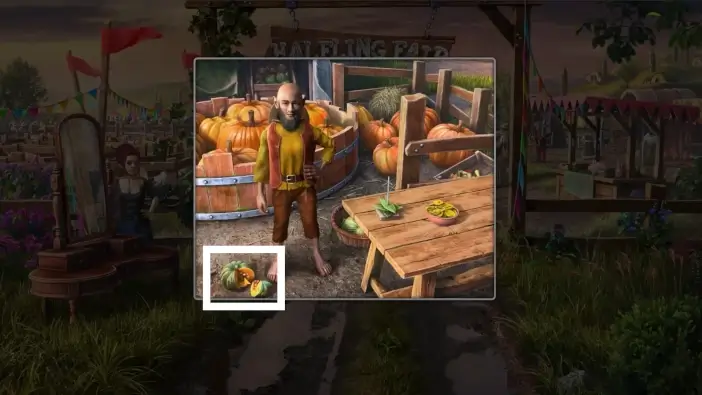
The halfling will mention that if you win at his game he will give you pumpkin-flavored sugar candies, which will be useful later on multiple occasions. During the conversation, he will drop the pumpkin. He will task you for retrieving a new one for a special reward and you will get the opportunity to play his game. First, pick up the broken pumpkin. You will use it to search for a similar-size pumpkin in the forest.
Approach another halfling on the left.
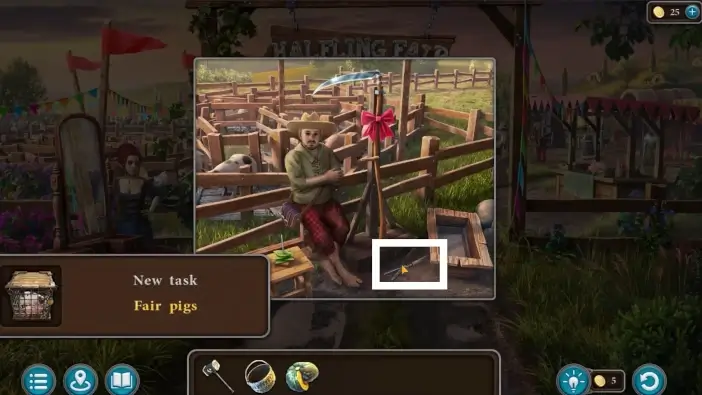
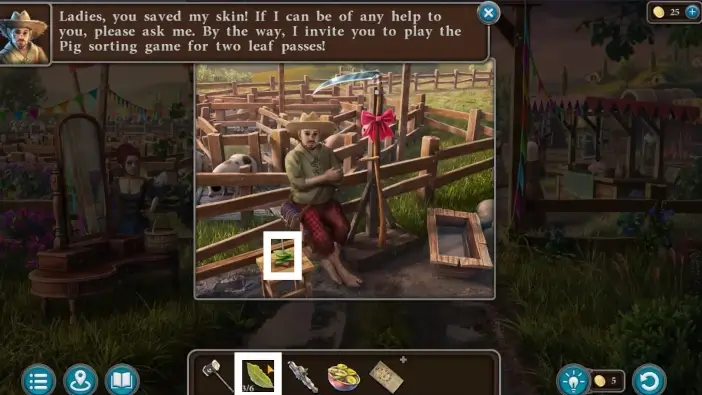
This halfling organizes a pig sorting game but he didn’t receive the final two pigs. He will give you a task to find them for a special reward. After the conversation, pick the secateurs. You will need it to cut the overgrowth in front of the donkey in the forest and to get a new pumpkin.
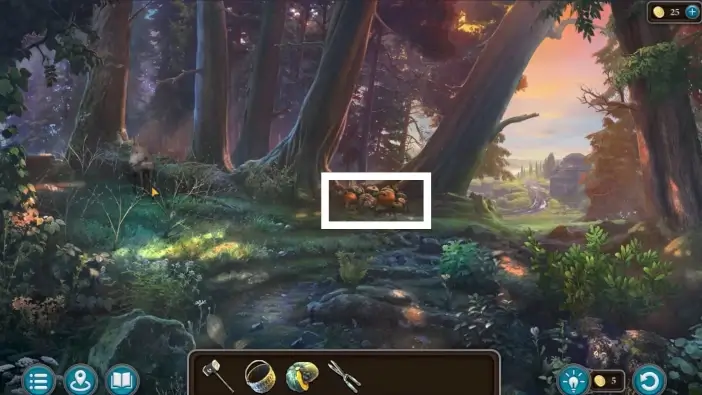
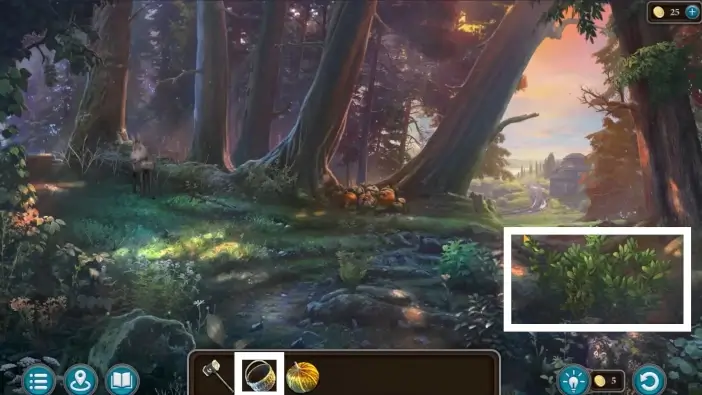
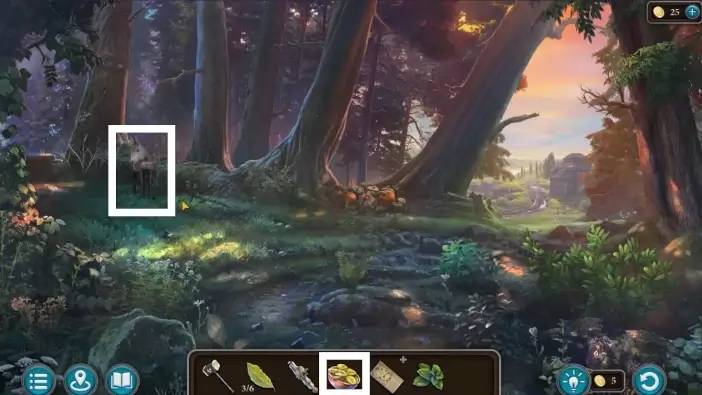
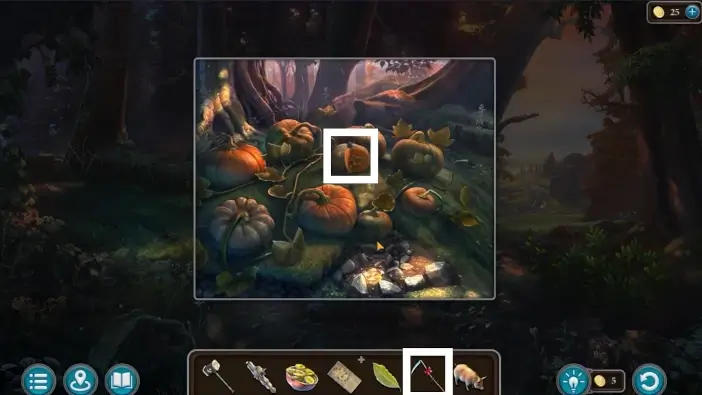
Go to the forest and approach the pumpkins.
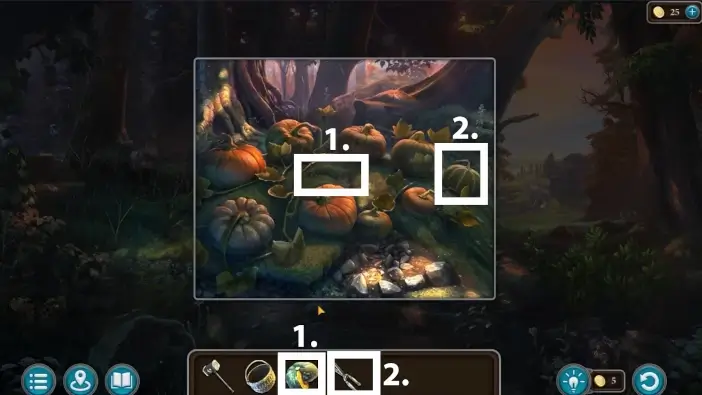
- Place the broken pumpkin on the ground to help Susan understand the desired size of a new pumpkin.
- Use the secateurs to take the wild pumpkin on the right. You will give this pumpkin to the halfling that organizes the pumpkin game.
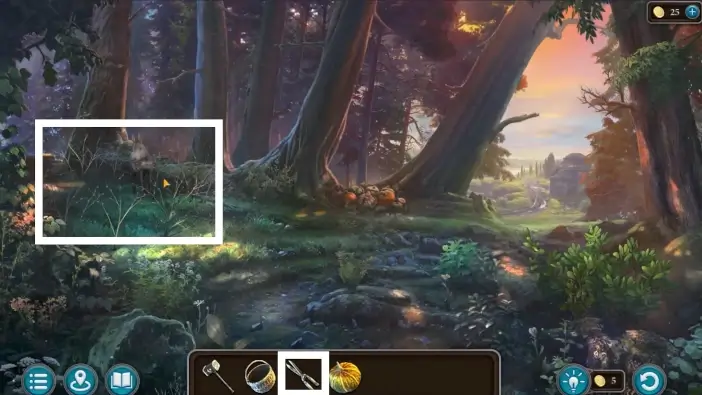
Use the secateurs to cut the overgrowth that is blocking the lost donkey. The donkey will still be scared to go toward the cart where the pigs are. You’ll need the pumpkin-flavored sugar candies to make him move.
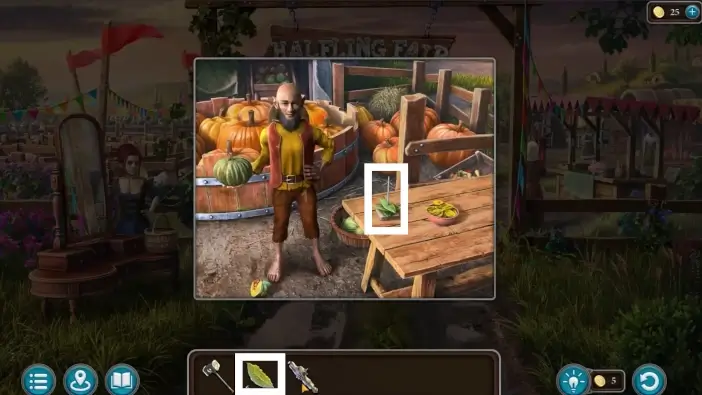
Approach the bushes on the right side and place the empty basket, then harvest the bay leaves.

- Bring the bay leaves to the fair hostess. She will give you six bay leaves-passes. You can use them to pay to participate in the games.
- Give the wild pumpkin to the halfling who is organizing the pumpkin game. As a reward, he will give you a dog whistle. It will be useful later for the Folnur’s dog.
Place one leaf-pass on the table to pay for the pumpkin game. Click one more time on the screen to start the game.
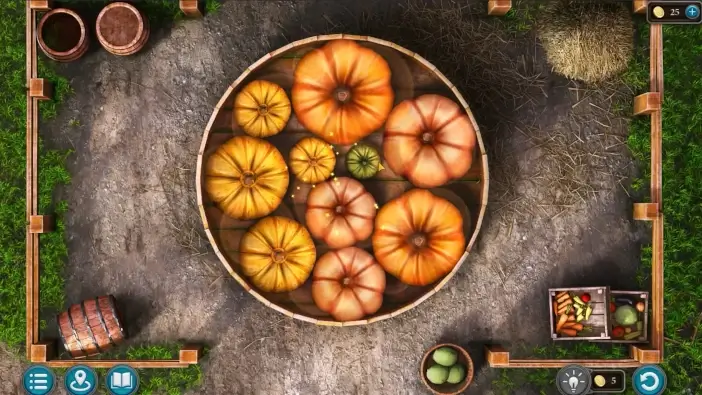
Place all the pumpkins in the bucket. You will need to place them so that they all fit inside.
As a reward, you can take the sugar lollipops.
Approach the female halfling on the far end of the fairground. She offers access to the Lake of Love.
To pay for the access to the lake you need to give her both sugar lollipops and two leaf-passes.
Once you pay, go to the lake area.

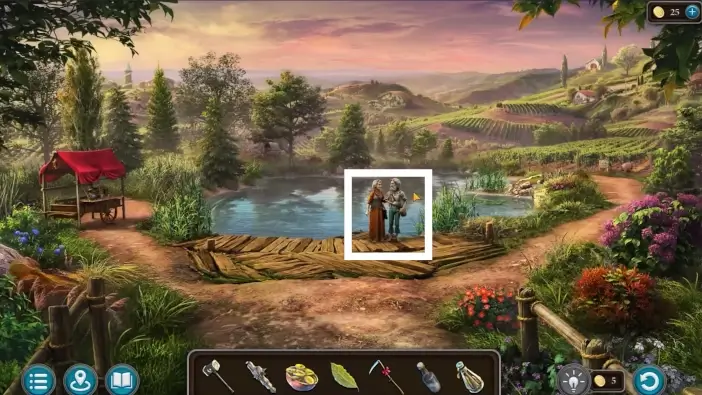
- Speak with the pair that are using the pontoon in the lake which is the same pontoon you need to cross the river and go to the mine to seek Folnur. They will tell you that they will stop using the pontoon if you bring them the halfling aroma.
- Approach Susan’s and Kiana’s old friend Joko.

Joko will give you the perfume recipe. First, you need to find all the ingredients for it.
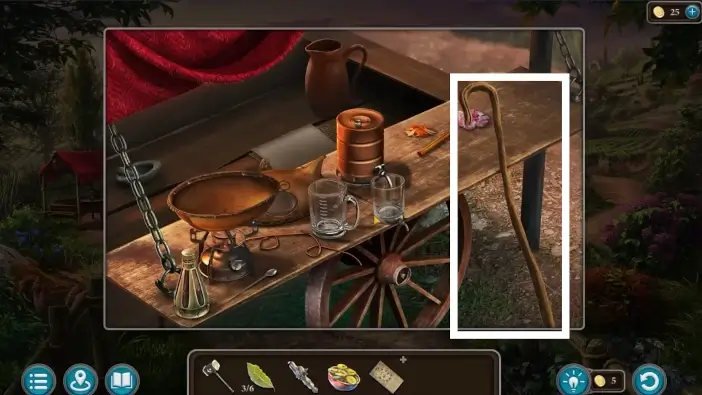
Approach Joko’s table and take his staff.
- Use Joko’s staff to take the lotus flower, which is one of the ingredients for the halfling aroma.
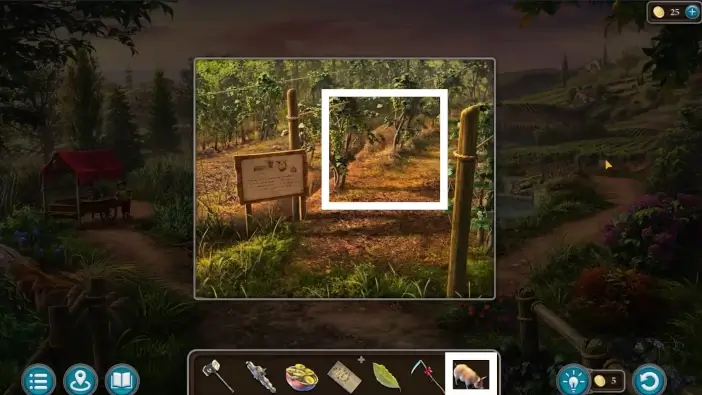
- Approach the vineyard.
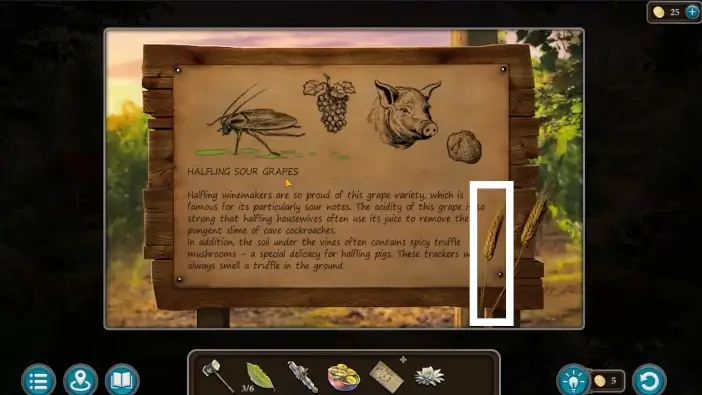
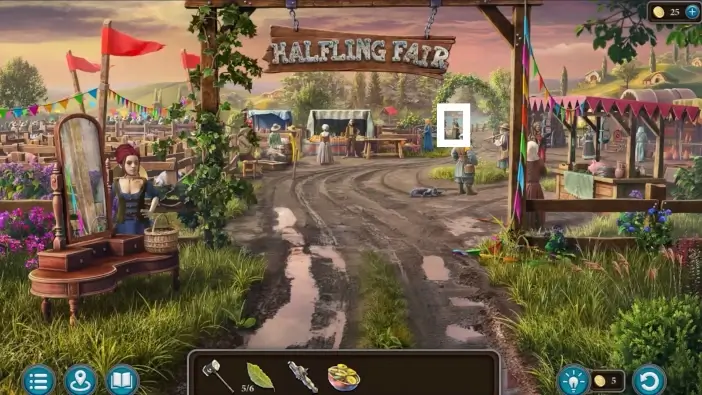
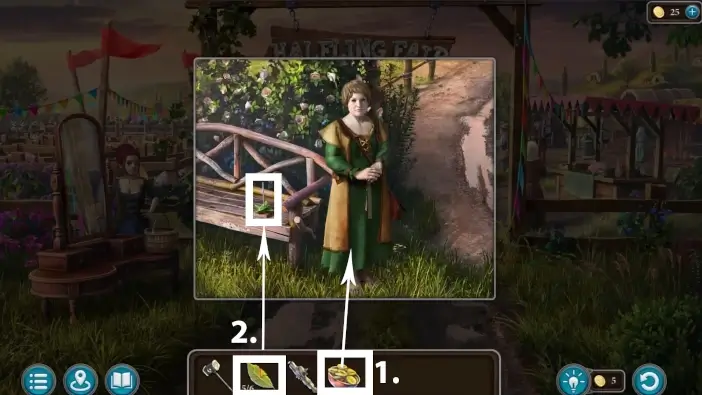
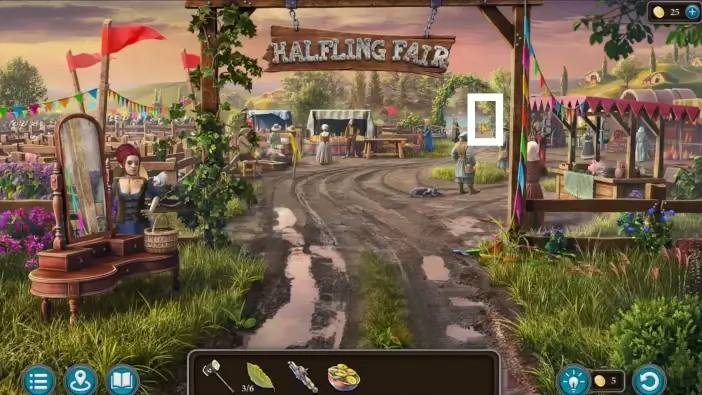
Approach the notice board and take the wheat ear, which is another ingredient for the halfling aroma.
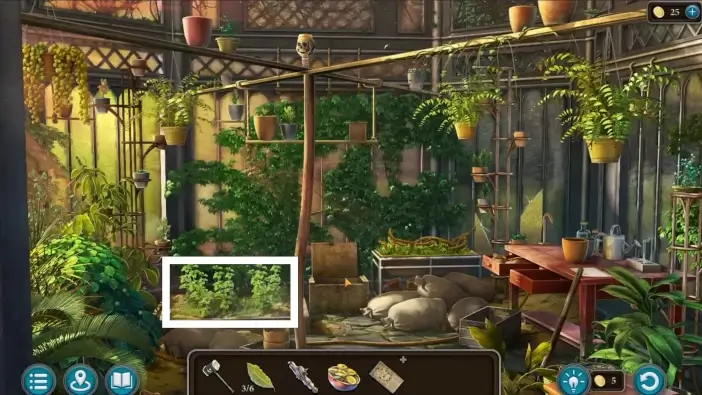
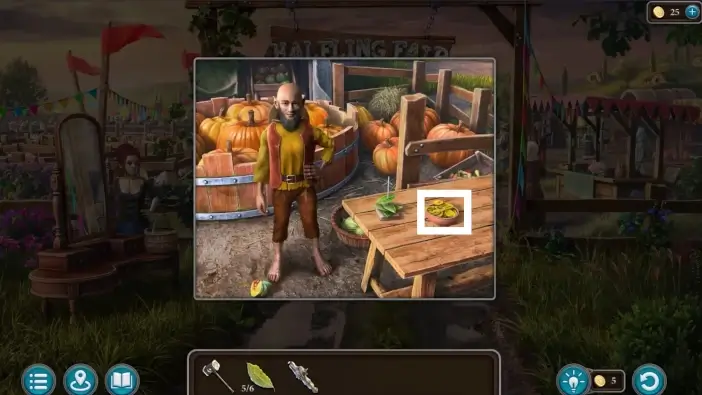
Go to the greenhouse and approach the plants left from the chest.
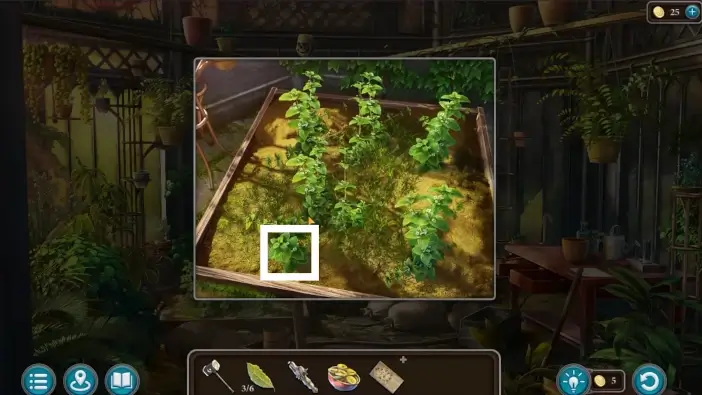
Take the melissa, an ingredient for the halfling aroma.
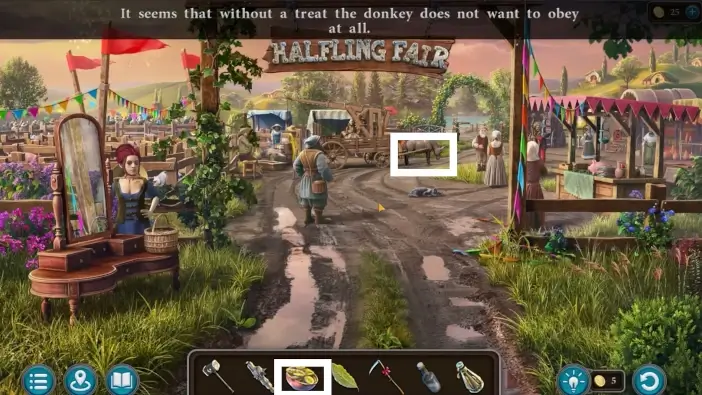
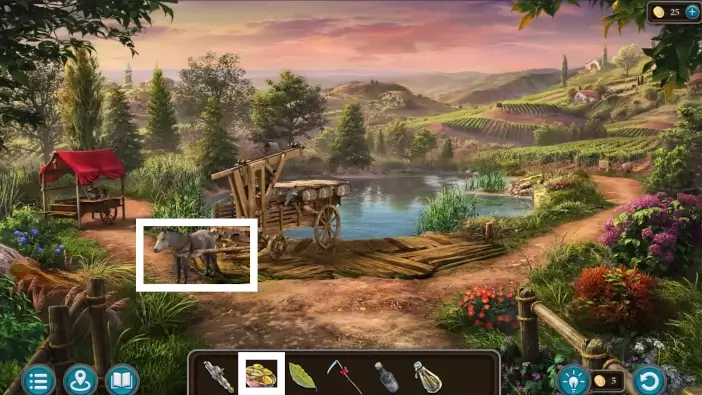
Go to the forest and use the sugar lollipops to lure the donkey.
The donkey will return to its cart. Use the sugar lollipops again to lure the donkey to go to the fair and deliver the two pigs to the halfling that organizes the pig sorting game.
Find the halfling that organizes the pig sorting game, and pay with two leaf passes to start sorting the pigs.
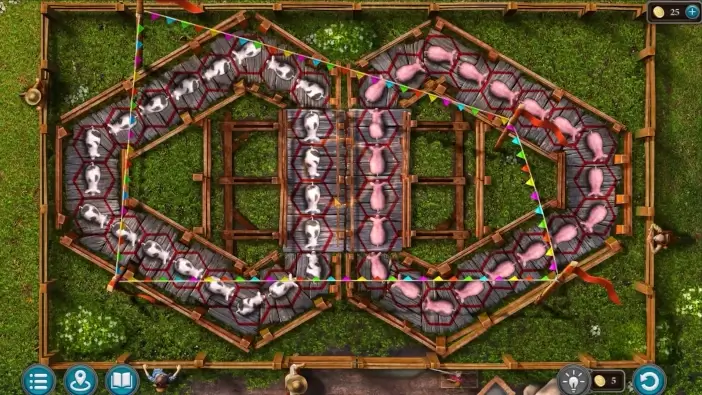
You can move the pigs forward and you can move the central platform left and right. You need to sort all pigs of the same color on one side and pigs of another color on the other side. When you win the game, you will get a scythe as a reward. Also, one of the pigs will help you in the vineyard to search for the truffle mushroom (the pig will be added to your inventory).
Go to the forest and use the scythe on the broken pumpkin to get the pumpkin seeds, which is an ingredient for the halfling aroma.
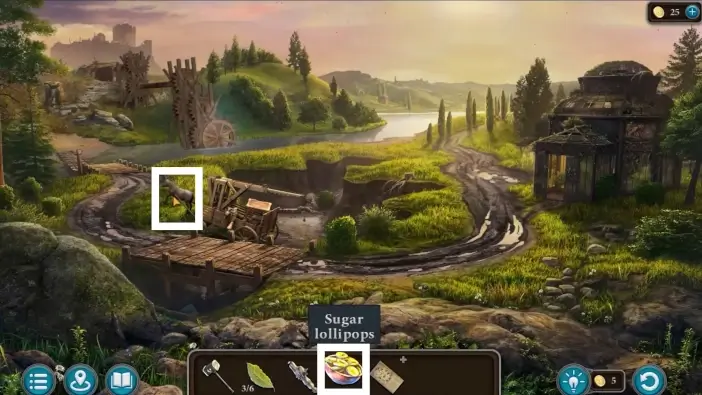
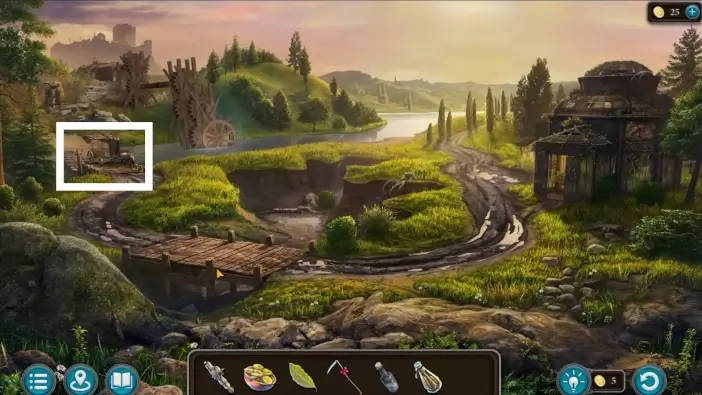
Go to the area where the cart was and pick up the bottle of alcohol. It is the next ingredient for the halfling aroma.
Go to the vineyard near the lake and send the pig to seek the truffle mushrooms. Check one of the holes the pig made and pick a truffle mushroom.
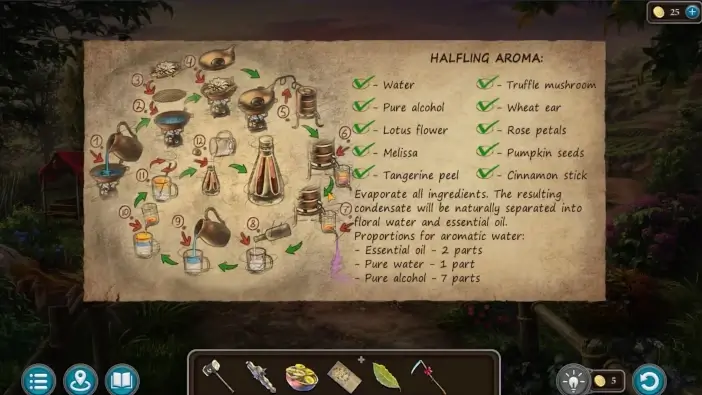
Once you collected all the ingredients, click on the perfume recipe in your inventory. To tick the entire list you need to click on one ingredient then click on the recipe, then repeat for every ingredient in your inventory until the entire list is ticked. You will get a “Perfume Set” item in your inventory.
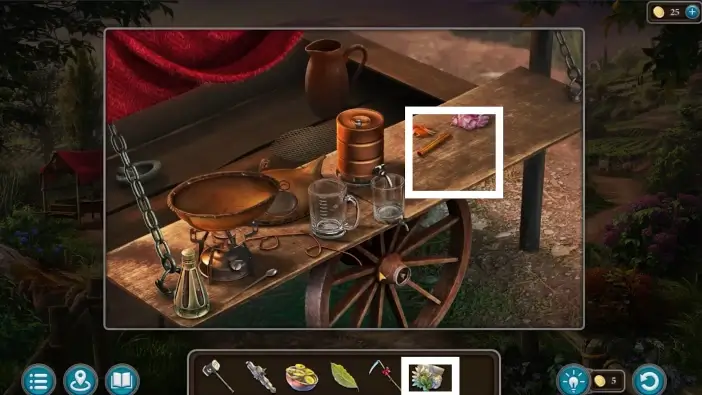
Go to Joko’s table and place the perfume set on the table.
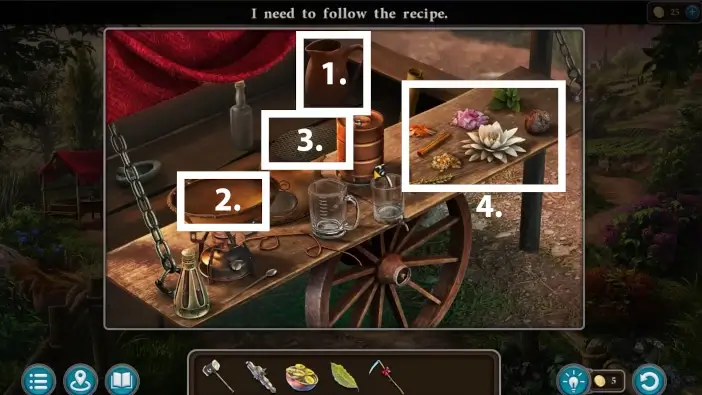
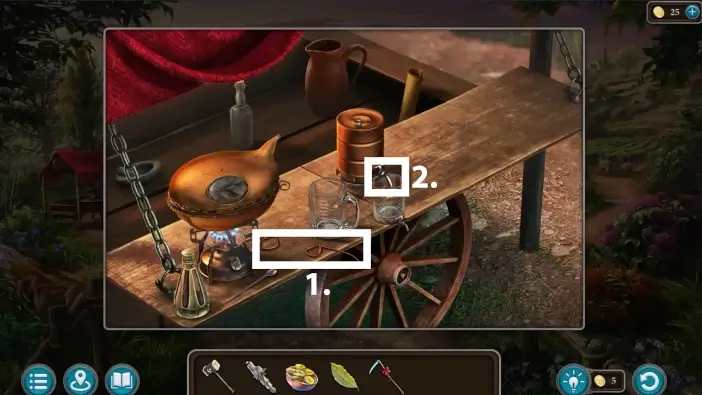
Follow the instructions from the perfume recipe. You can follow the instructions on the pictures in this guide. Just click on the items in the order numbered in the pictures.
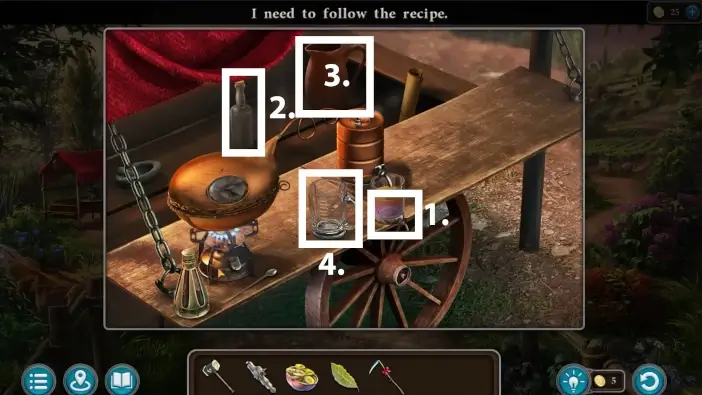
After the second step of the picture above, you will get the “Remaining Alcohol” item that will be useful much later.
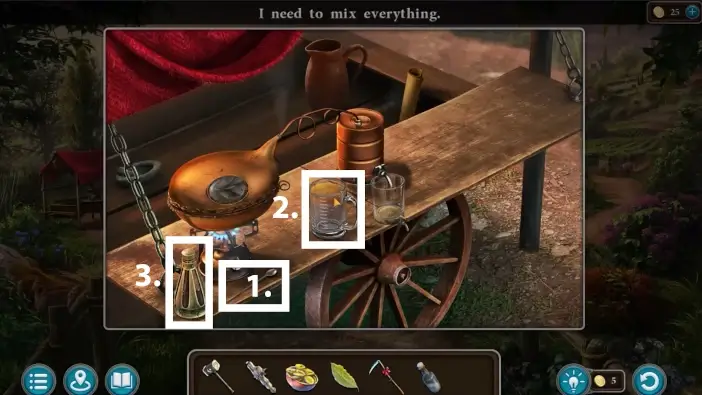
After the third step of the picture above you will get the perfume halfling scent.
Go and speak to the pair that were using the pontoon earlier. They will admit that they no longer need the perfume and you can take the pontoon. Luckily, you will still have use of the perfume because Joko mentioned that it is good against the cave roaches which will come in handy later.
You need to get the pontoon but you’ll need help from a donkey and its cart.
Find the donkey on the fairground. Use the sugar lollipops to lure the donkey to the lake.
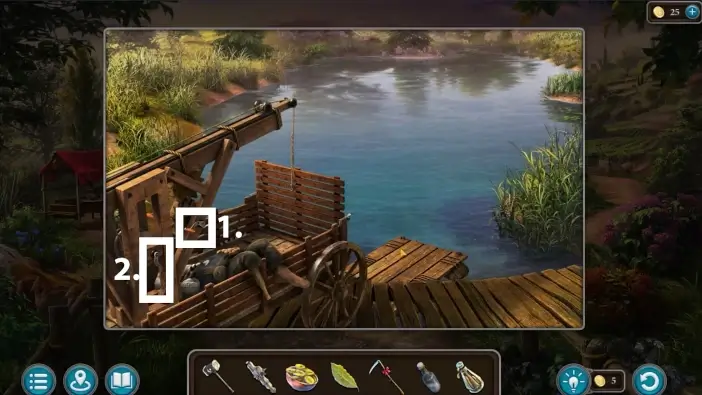
The cart will be parked near the lake. Use the handles in the order shown in the picture above to connect the crane to the pontoon.
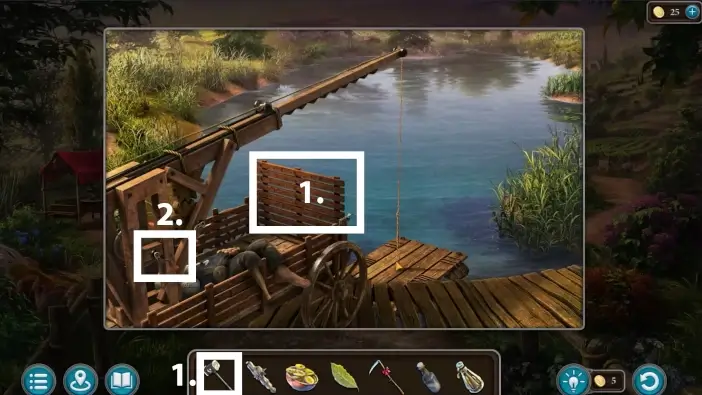
- The cart’s shatter won’t open. Use the Folnur’s hammer to lower it down.
- Use the handle again to pull up the pontoon with a crane.
Use the sugar lollipops to lure the donkey to the river.
Approach the cart. Kiana will drop the pontoon. Cross the river.
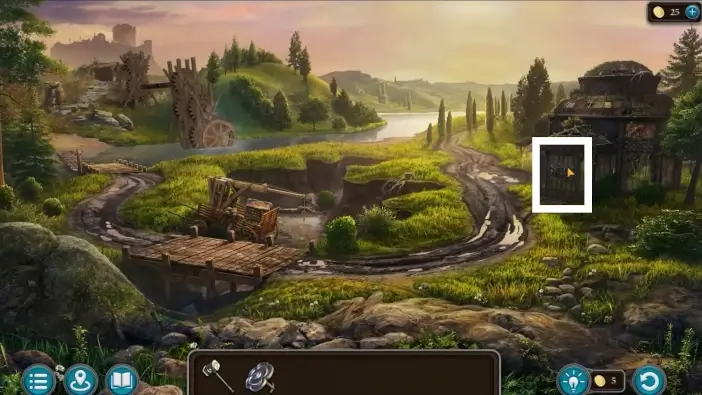
- Enter the mine. Joko will mention that you can get the elevator by loading the counterweight with something heavy. He mentioned the hidden stash in the overgrown field where Joko and his friends were collecting heavy objects.
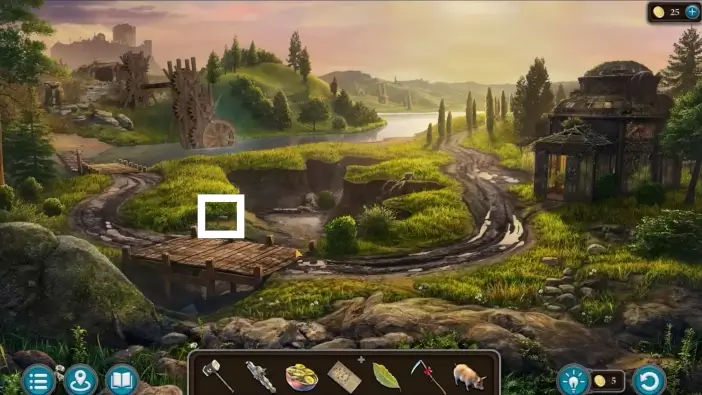
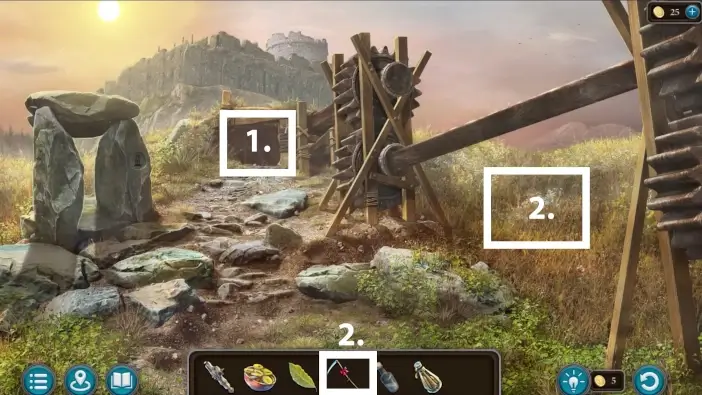
- Use the scythe on the grassfield to start a new puzzle challenge.
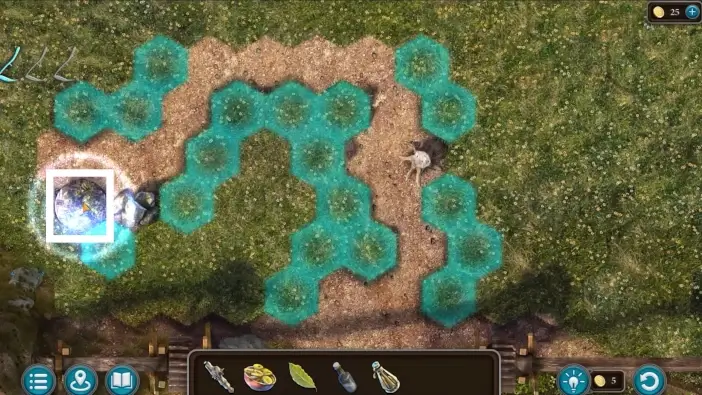
You need to harvest through the field of grass but you must avoid stumps and rocks. Whenever you hit these obstacles one of the scythes will break. You will have three scythes.
Open the stash. Susan will realize that you need something to carry the objects from the stash.
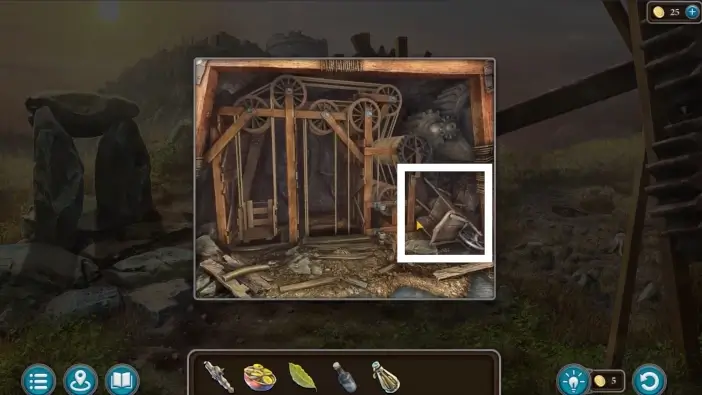
Return to the mine and take the miner’s wheelbarrow.

Return to the stash.
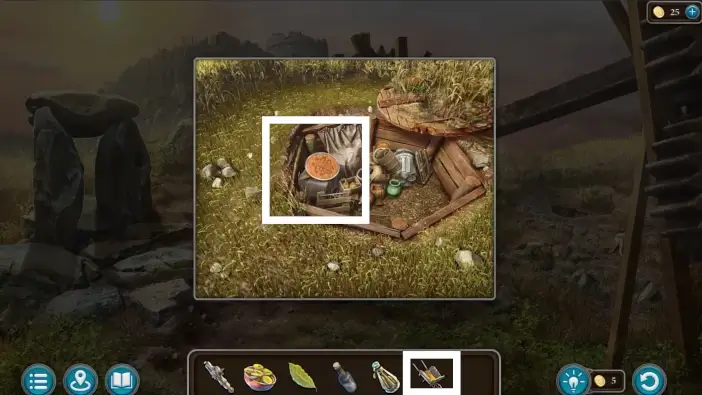
Place the miner’s wheelbarrow on the stash to start a new puzzle challenge.
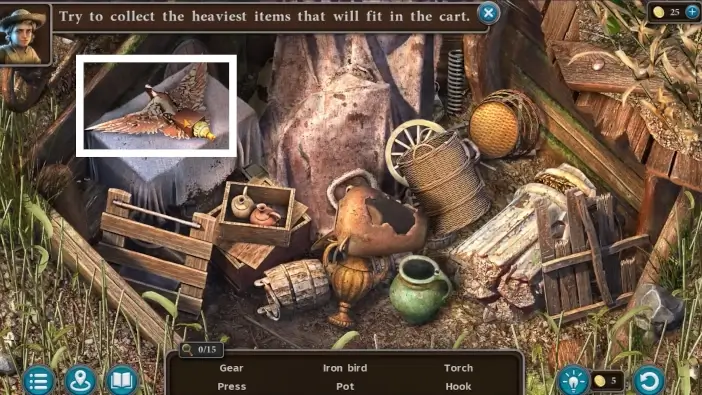
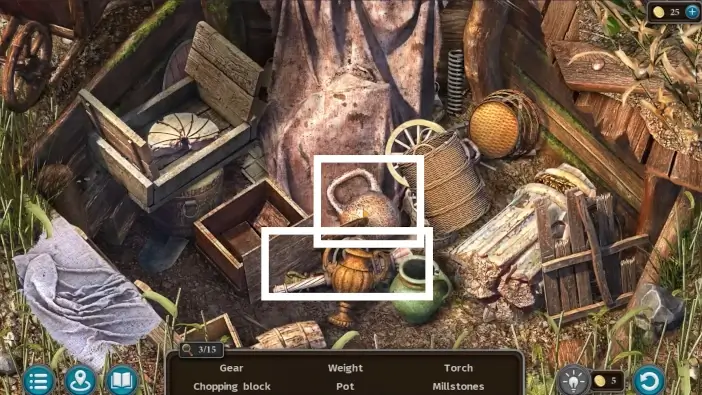
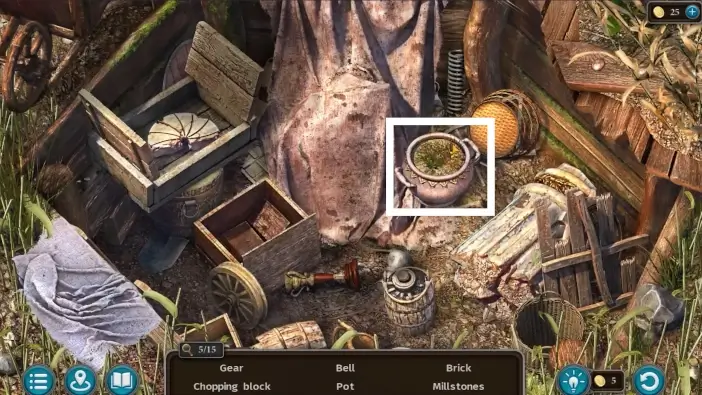
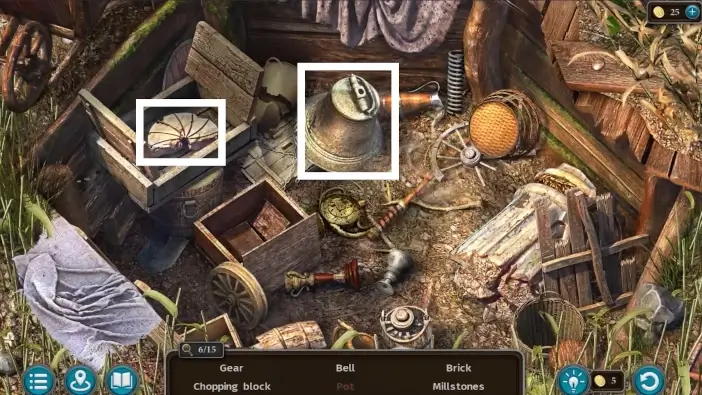
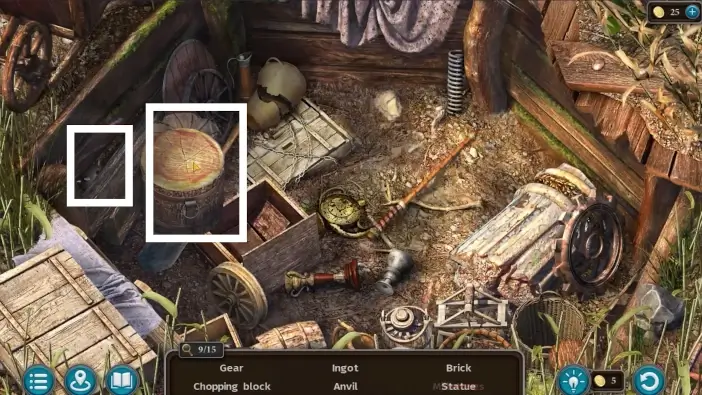
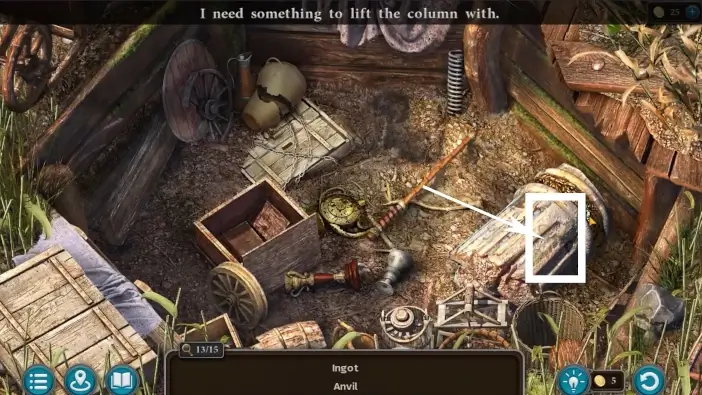
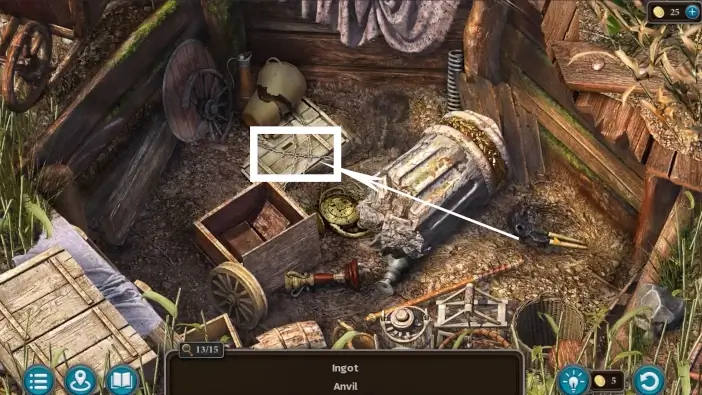
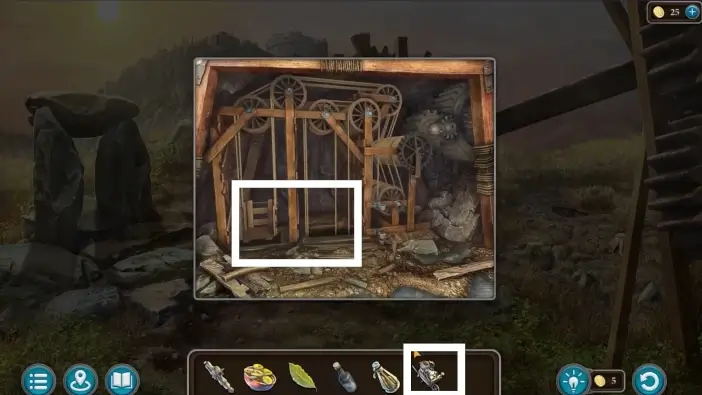
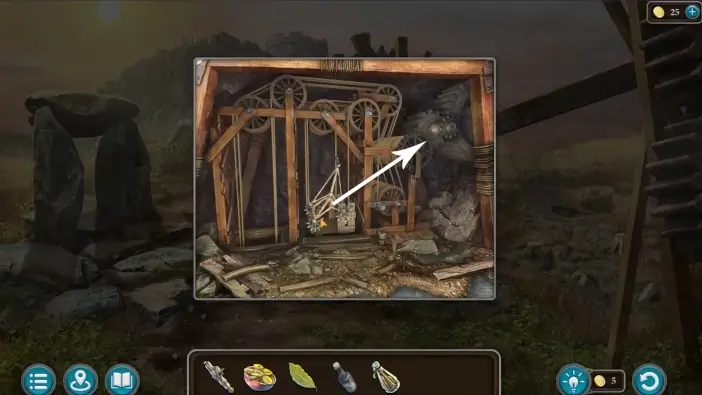
In this challenge, you need to find fifteen objects that you will place in the mine as the counterweight for the elevator to appear. The objects are marked in the picture above and the following pictures. You will not see some of the items immediately. In that case, you usually need to move some other objects, like boxes or curtains, or to open some container.
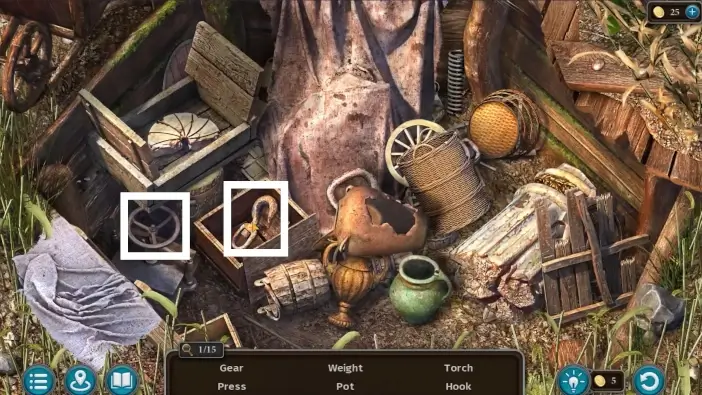
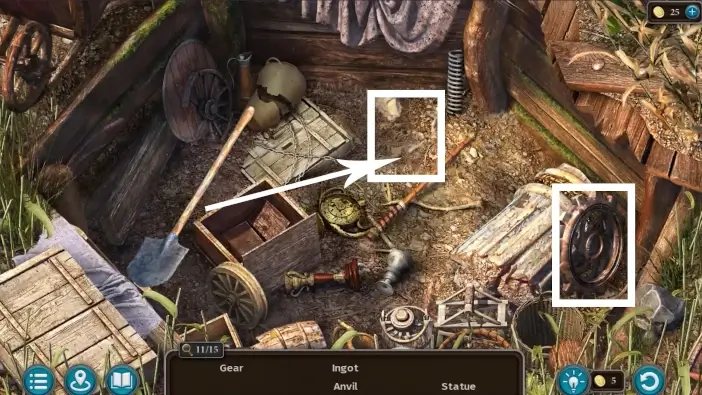
In some cases, you need to use a certain item to get to the other item. In the picture above you need to use a shovel to dig the statue. You will see arrows in similar examples.
At the end of this challenge, you will get the “Wheelbarrow with Load” item.
Go to the mine and place the “Wheelbarrow with Load” item on the platform.
Wait for the elevator to appear then place the mechanism from the elevator to the gears on the right. Click on the elevator once more to use it and a new cutscene will begin.
In the cutscene, the elevator will lead Susan and Kiana deeper into the mine and into the rail car but they will drop the Folnur’s hammer. The railcar will exit the mine and Kiana and Susan will be catapulted with their seats to fall from very high ground. Luckily, their seats will have parachutes. Unluckily tho, they will get separated and Susan will arrive right in front of the Maaron’s household.
This will mark the end of part 2 of our guide for the Main Chapter of the Lost Lands 10. In the next part, Maaron and Susan will investigate where Folnur went.
Thank you for reading!