Lost Lands 10 – Main Chapter | Part 6
Intro
Welcome to our walkthrough for Part 6 of the Main Chapter of “Lost Lands 10” from “FIVE-BN GAMES”. Susan has completed the ritual and she is in the astral world where Draks live. She needs to talk with the goddess of creation Drak Om to find a way how to return old Folnur’s body.
Walkthrough
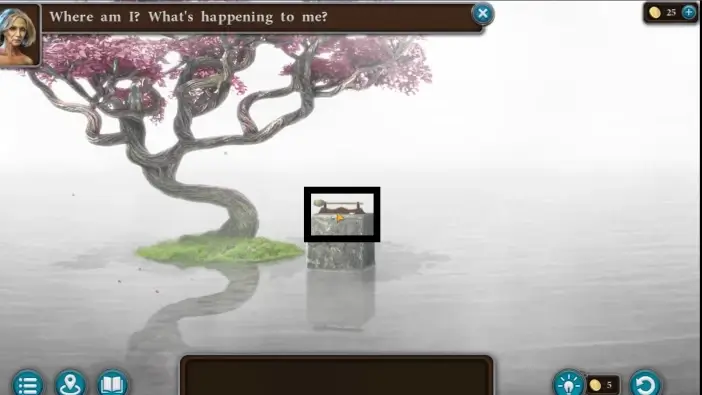
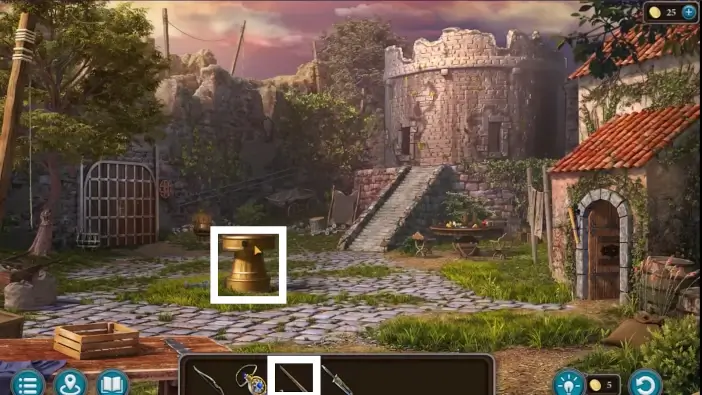
Take the ritual bat from the pedestal.
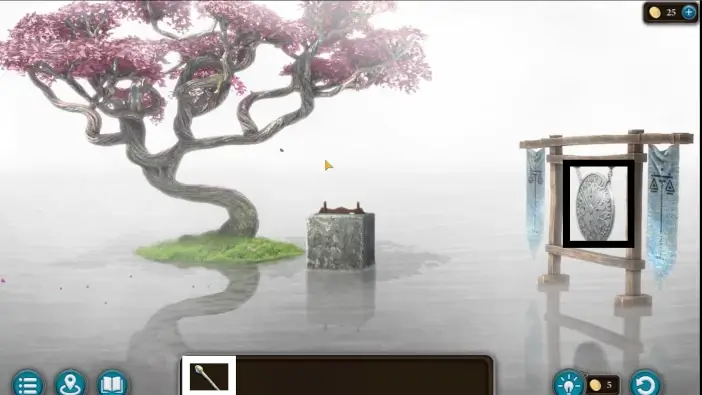
A gong will appear. Hit the gong with the ritual bat to summon the Drak Om.
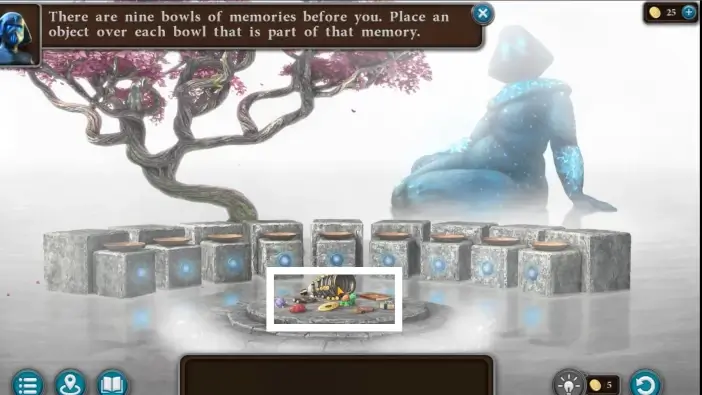
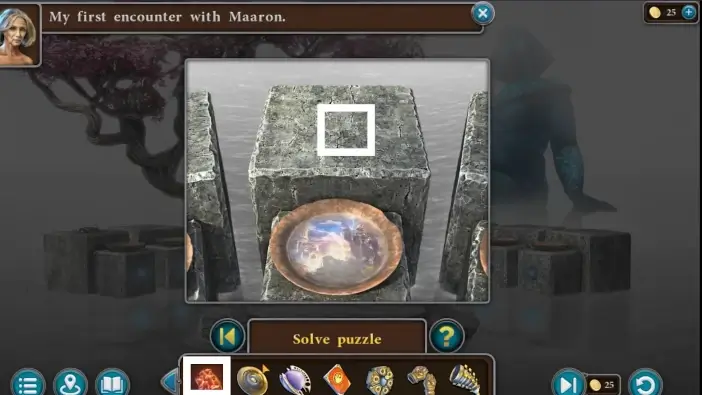
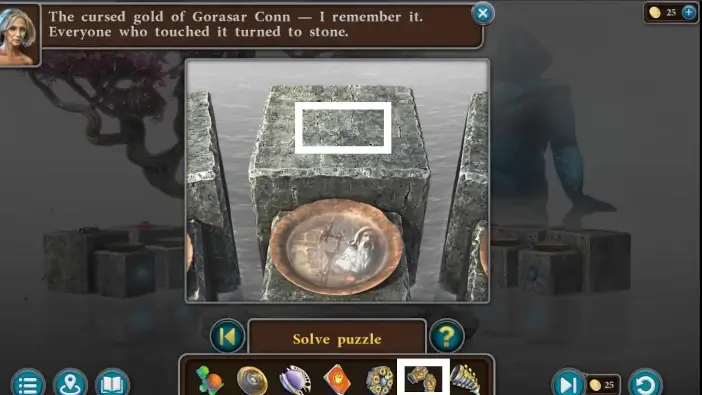
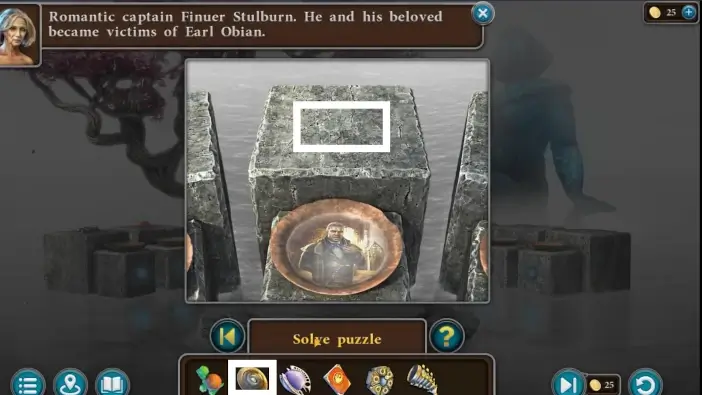
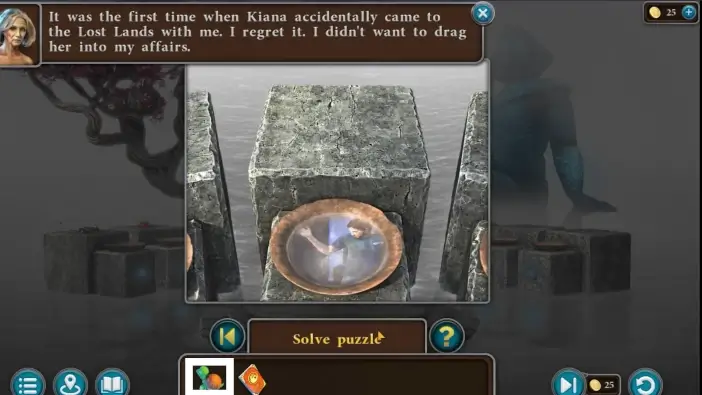
Susan needs to revisit her memories from past adventures with Drak Om. Pick all the items from previous adventures.
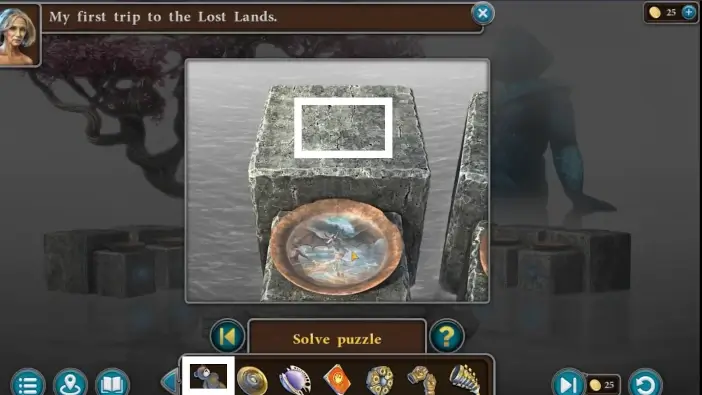
Place the Teddy Bear on the first left-most pedestal, then you can listen to the lore of the previous game if you want.
Place the Heart of the Black Rider on the second pedestal.
Place the Anti-Magic Gloves on the third pedestal.
Place the Compass of the Worlds on the fourth pedestal.
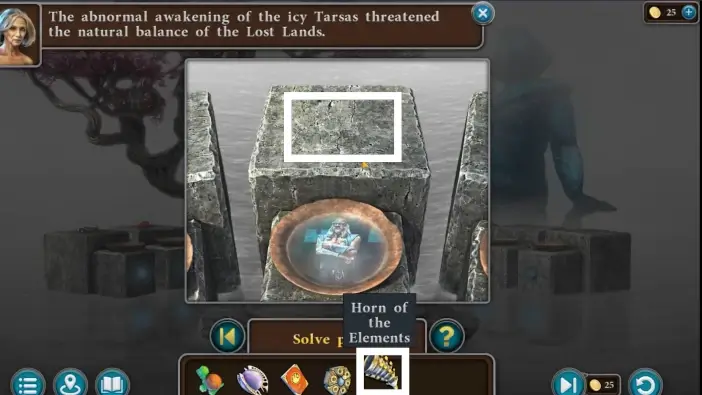
Place the Horn of the Elements on the fifth pedestal.
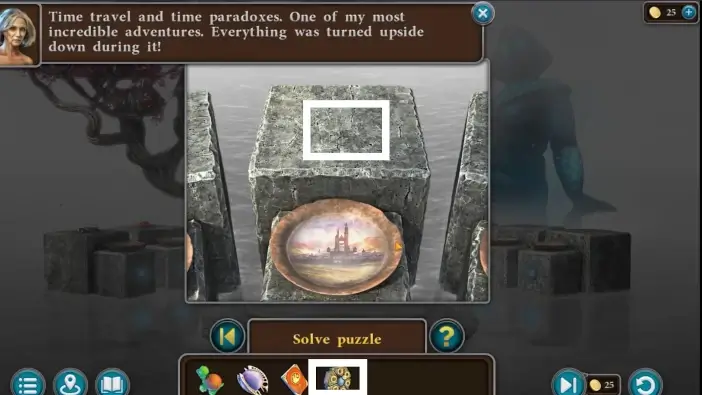
Place the Hexagon of Time on the sixth pedestal.

Place the Space Impaler on the seventh pedestal.
Place the plush turtle on the eight pedestal.
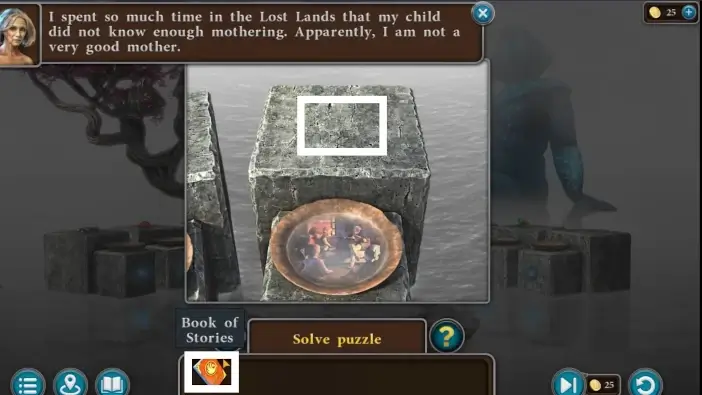
Lastly, place the Book of Stories on the ninth pedestal.
After revisiting all memories Drak Om will explain the Buldan’s real motives and she will offer Susan to become the next goddess in the astral world, which Susan will reject. Drak Om will provide a solution for Folnur: he will need to drink transformation potions for the rest of his life and wear a guardian amulet to look like his former self. The price for this solution would be that Susan will leave the Lost Lands forever and her friends from the Lost Lands will forget that she ever existed, which Susan will accept.
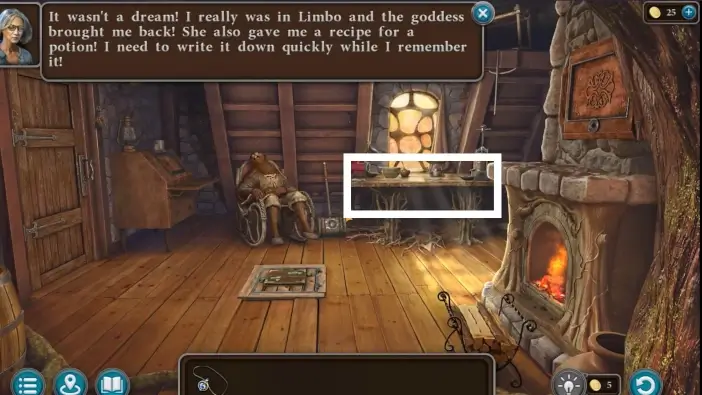
Susan will wake up in the Maaron’s house and she will realize that she has an amulet vial in her pocket. Approach the table.
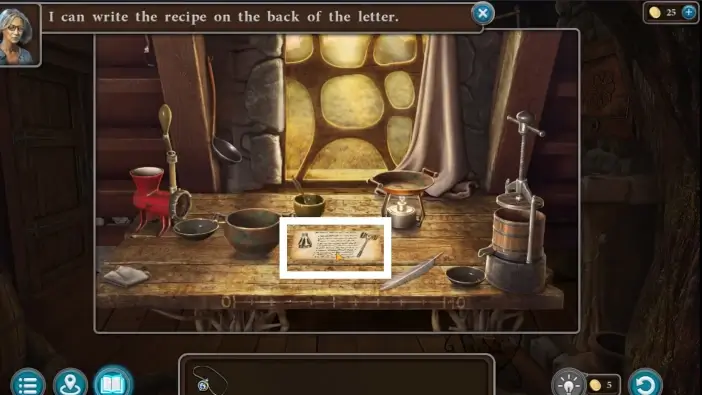
Read the letter from Maaron. After reading it, turn the letter so you can write the recipe for a new potion that Drak Om taught you.
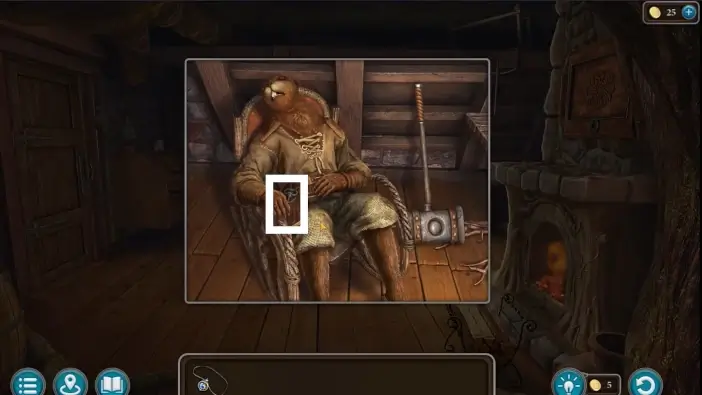
Approach the sleeping Korko and take the key to the exit door.
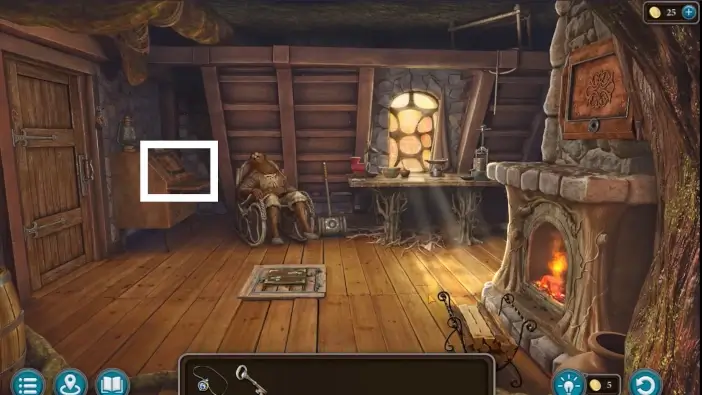
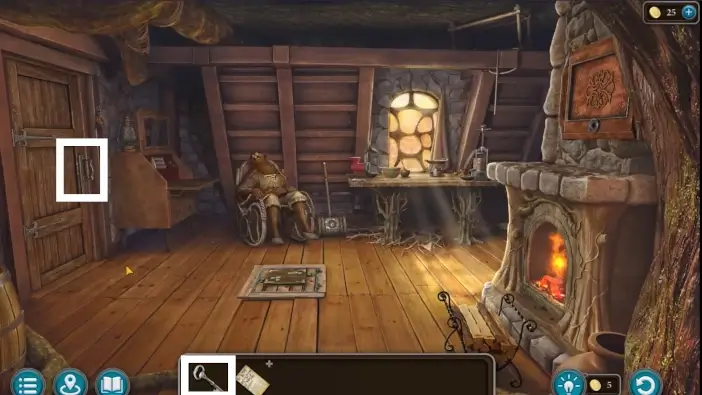
Approach the cabinet on the left. To open it you need to solve a puzzle.
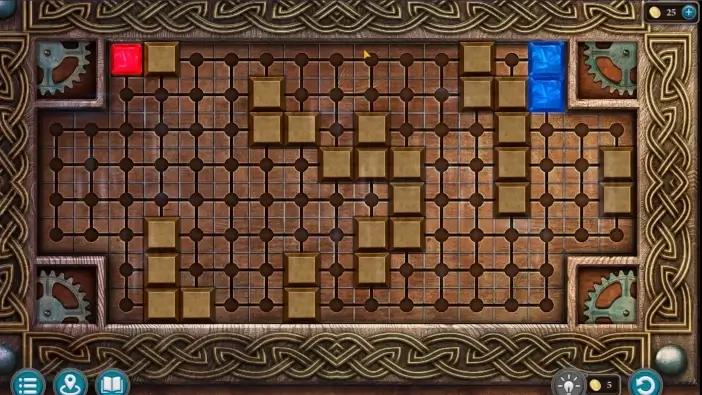
In this puzzle, you need to place a red rectangle on a designated slot in the top left corner.
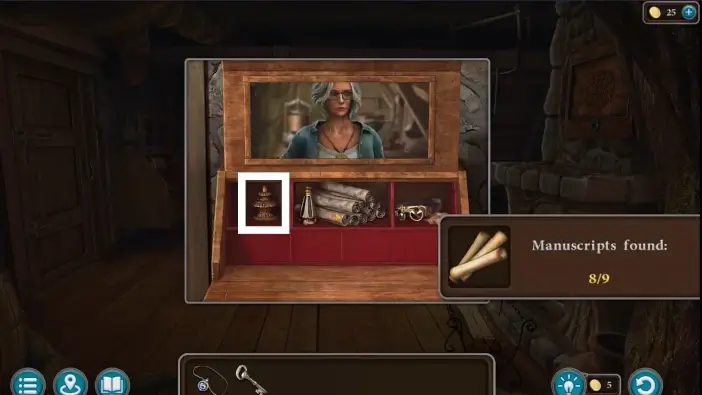
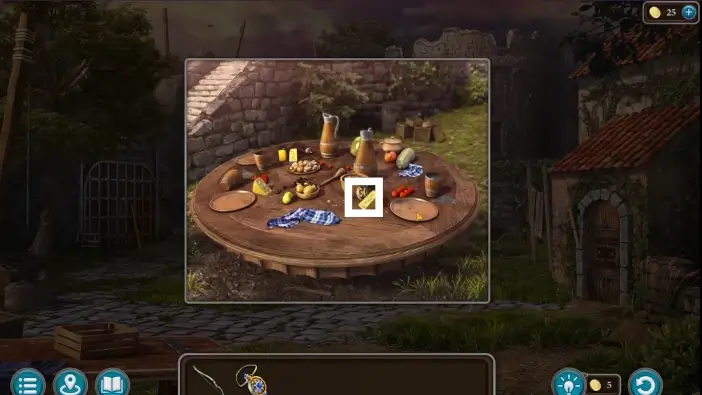
Pick the inkwell from the cabinet. It will be behind the Manuscript collectible.
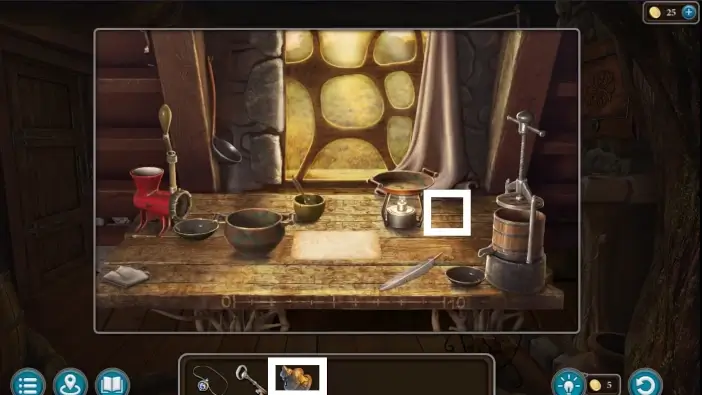
Go to the table and place the inkwell on it.
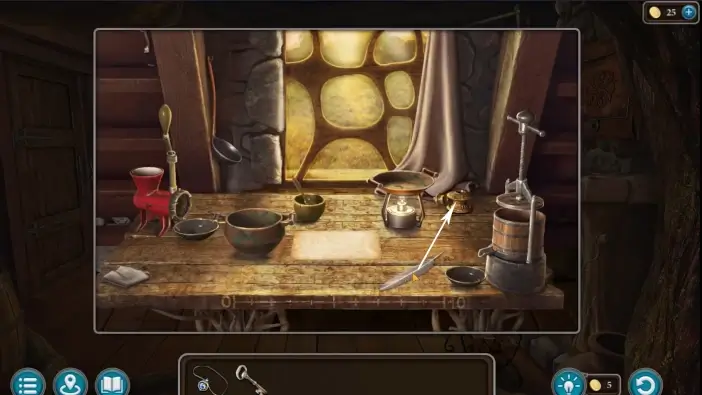
Place the quill into the inkwell and Susan will start writing the recipe.
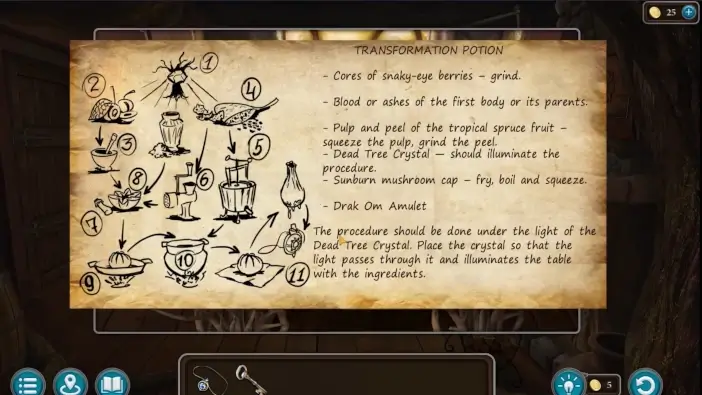
Read the recipe for the Transformation Potion. It will be added to your inventory.
Use a key to unlock the exit door, then leave the house. You will start searching for ingredients for the potion.
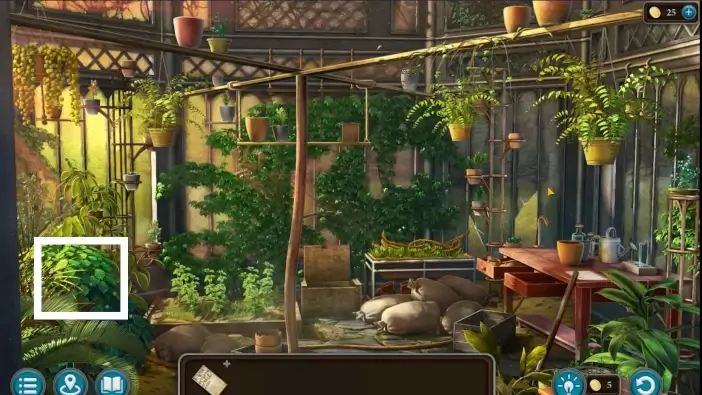
In the greenhouse, pick the snaky-eye berries from the bush on the left.
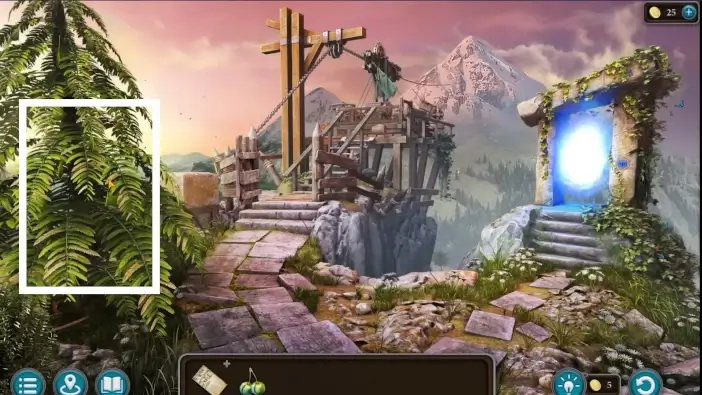
In the area in front of the temple, pick the fruit of a tropical spruce from the tree on the left.
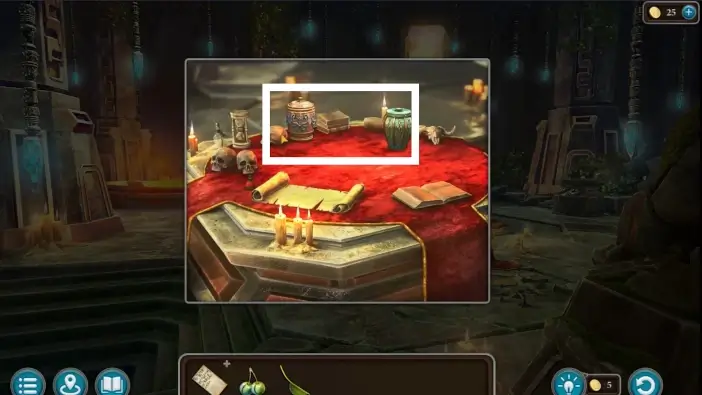
In the temple, pick the urns with the ashes of Folnur’s parents from the table.
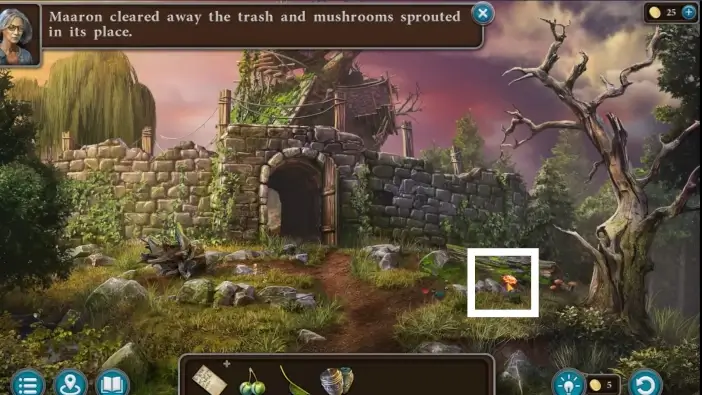
In the area in front of the Maaron’s walls, pick the Sunburn mushroom near the pile of trees on the right.
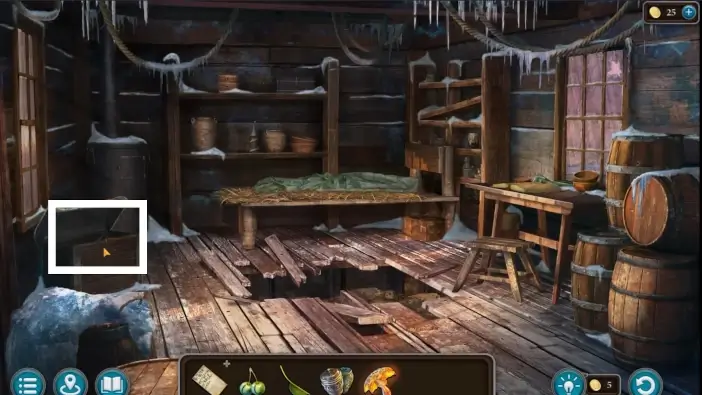
In the wooden house on the summit of the Sacred Mountain, approach the chest on the left. Pick a bow and one iron arrow. You will need it to get the dead tree crystal.
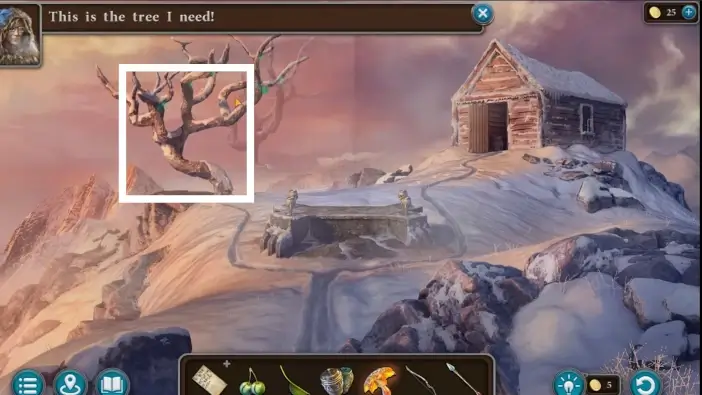
Exit the wooden house. Approach the dead tree.
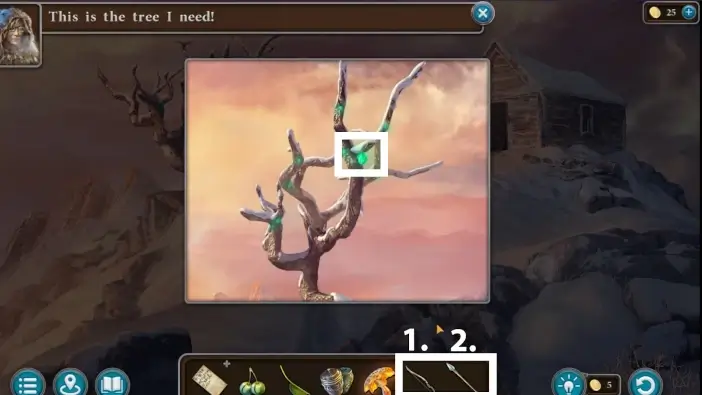
Use a bow and arrow to shoot the dead tree crystal. It will be added to your inventory. The bow will remain in your inventory. You will need it later to fight Buldan.
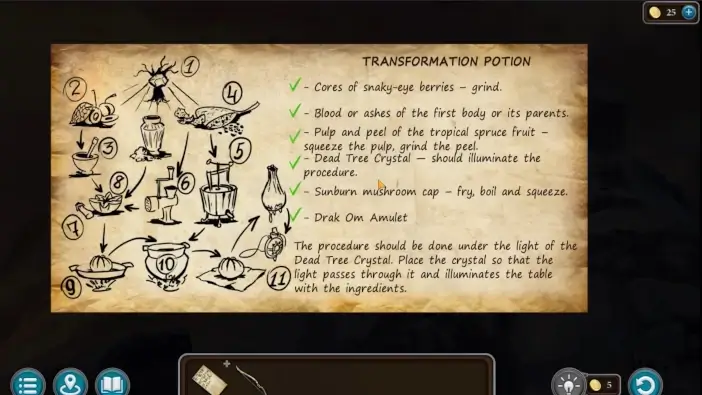
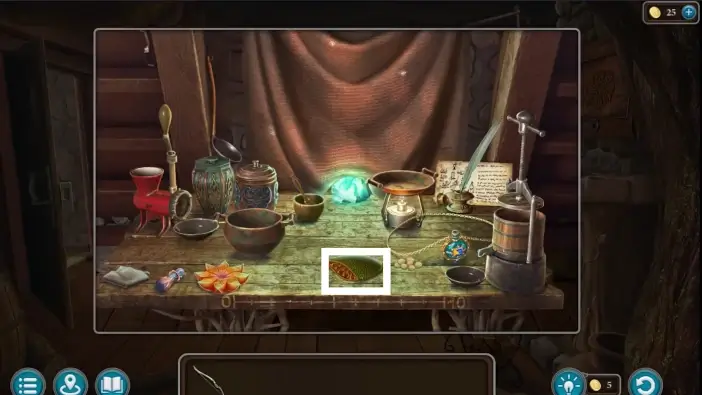
Click on the recipe for the transformation potion. Click on an item for the potion in your inventory then click on the recipe to tick the list item. Do that for each item until the entire list is completed. The set for the transformation potion will be added to your inventory.
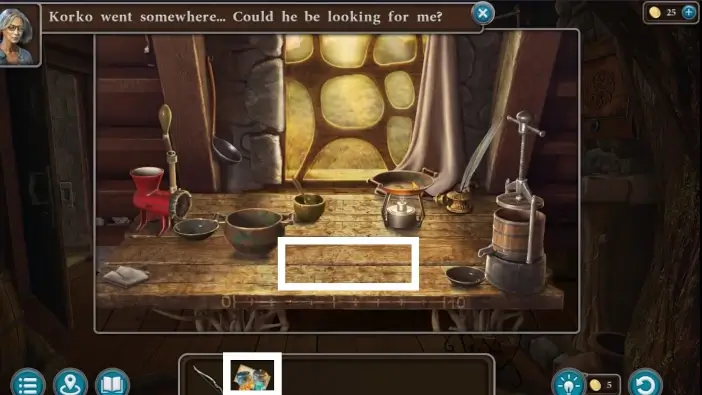
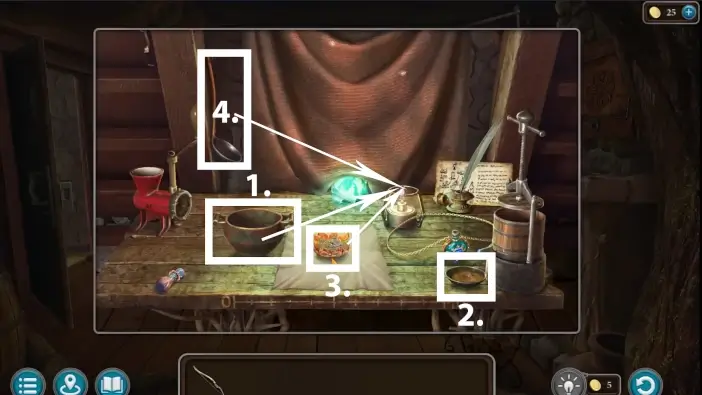
Return to the Maaron’s house and place the set for the transformation potion on the table.
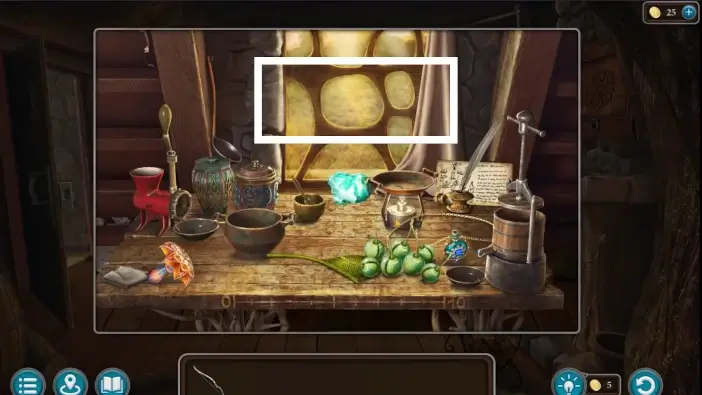
Make sure to cover the window with a curtain so the only source of light on the table is the dead tree crystal.
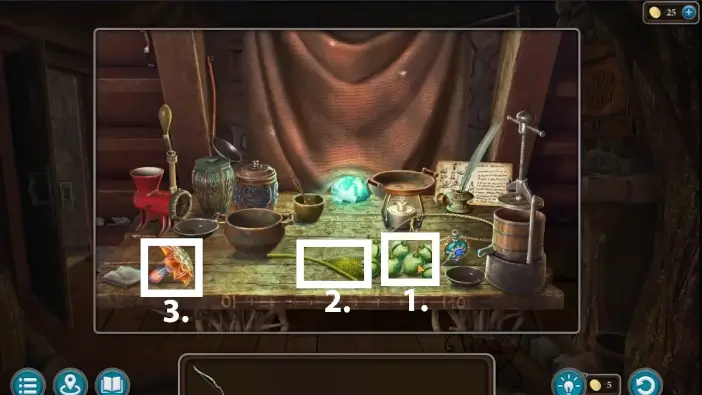
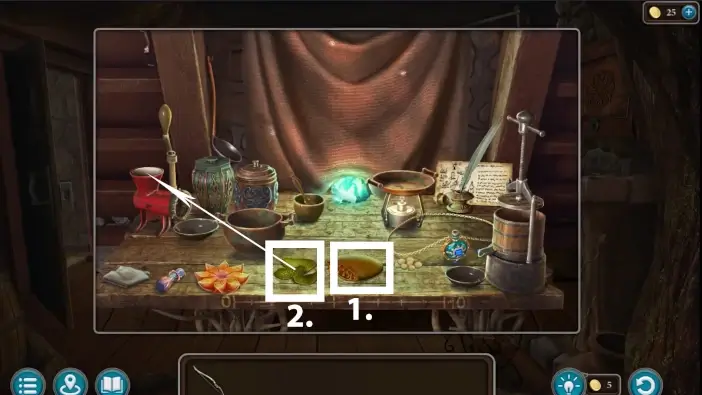
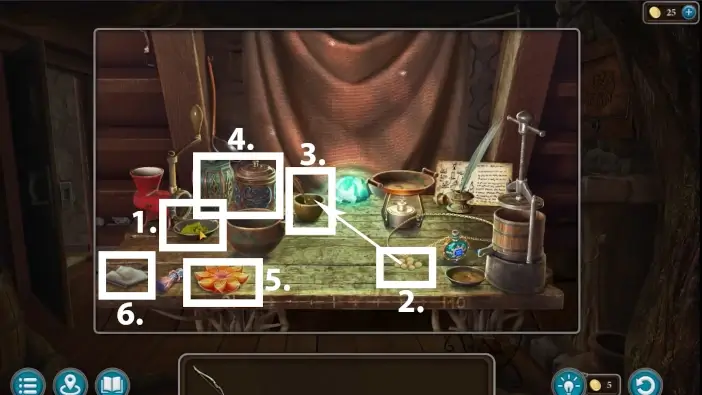
Follow the instructions from the recipe and/or follow the numbers, markers, and arrows in the pictures in this guide. Whenever you see an arrow, that means that you need to select the first item and then select another item, the first item will interact with the second one. Without arrows, you just need to click on the item and things will happen.
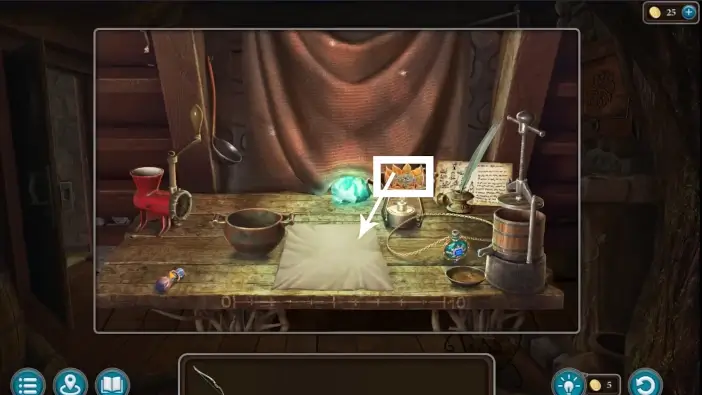
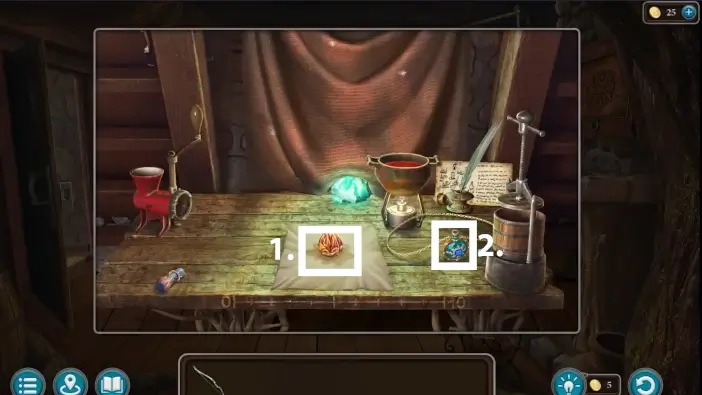
When you finish brewing the potion, you will get the amulet with the potion.
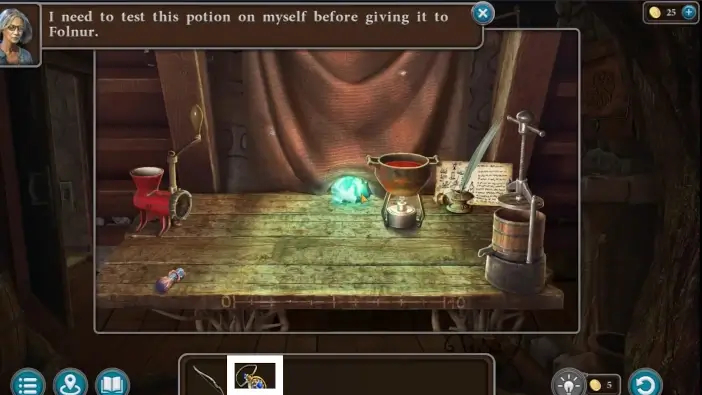
Drink from the amulet.
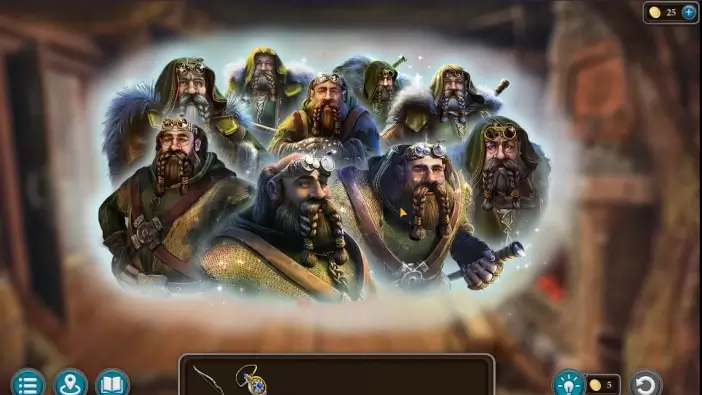
Susan will test if the potion works. She will try to remember what Folnur looked like in his original body. Merge the segments of the image to complete the puzzle.

Approach the mirror which is inside the cabinet. Susan will see that she looks exactly like Folnur used to.
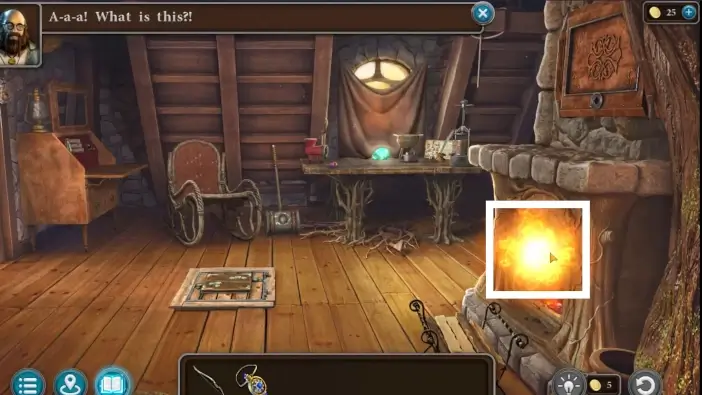
A mysterious fireball will appear. Whenever you click it, it will go to another location. Follow it to several locations and each time you see it, click on it, then watch where it goes.
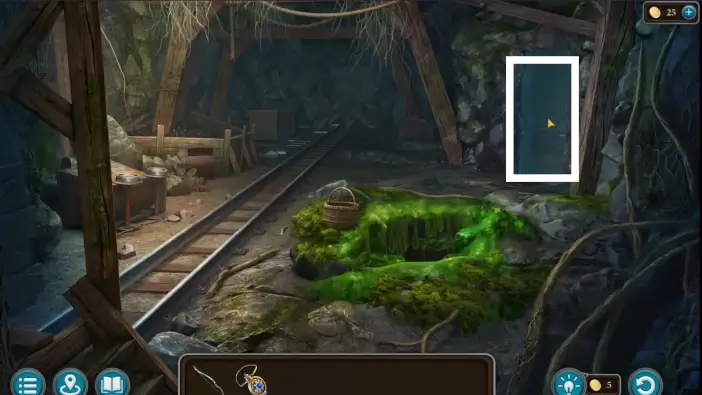
The fireball will pass through the mirror in the depths of the mine, that blocked you before. This time, the mirror will welcome you with a voice, because you look like Folnur. The mirror will disappear and you will walk through the corridor.

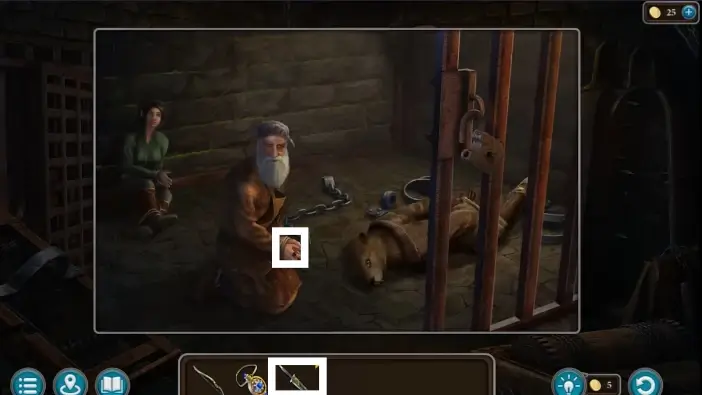
At the end of the corridor, you will end up in a fortress’s dungeon. Speak with Maaron, Kiana, and Korko who are in the cage.
The Folnur will trap Susan before she can release her friends. Luckily, with Maaron’s help, she will successfully persuade Folnur to release her and Folnur will realize the Buldan’s manipulations. He will go to take his hammer while Susan can move freely. You will get the key to the cage in your inventory.
Use the key to open the cage but Susan’s friends are still tied hand and foot.
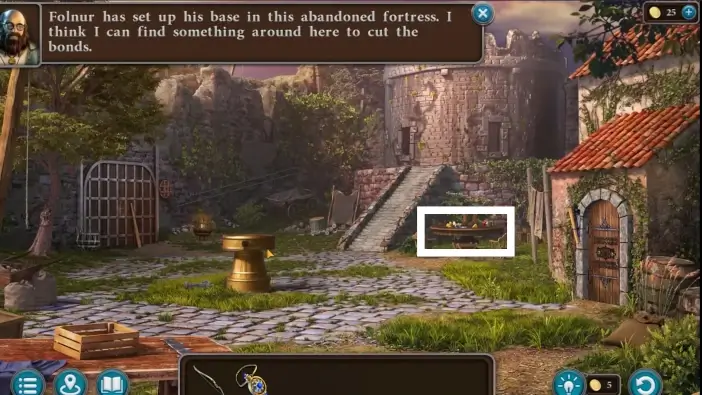
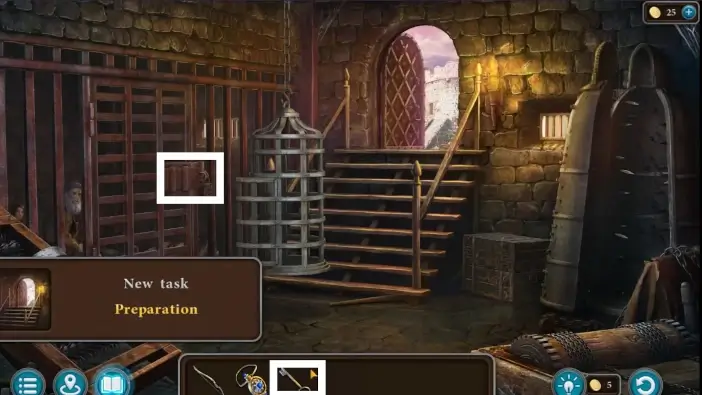
Leave the dungeon. In the fortress’s courtyard approach the table.
Pick the detail of the mechanism. You will need it to unlock the workshop.
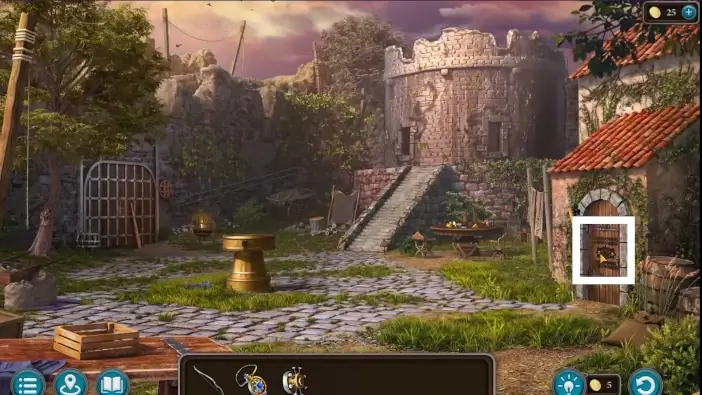
Approach the workshop’s door.
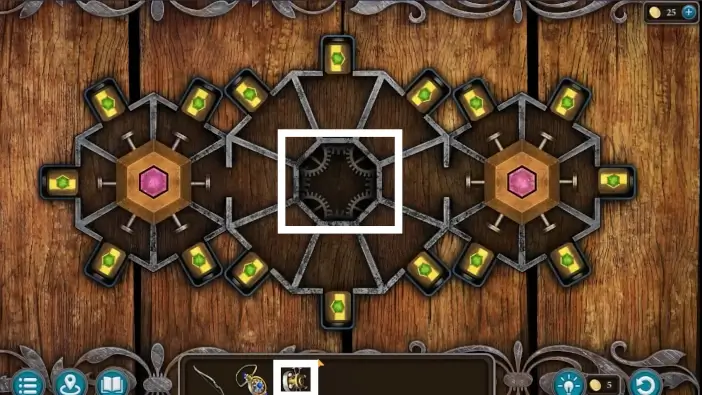
Place the detail of the mechanism into the central slot.
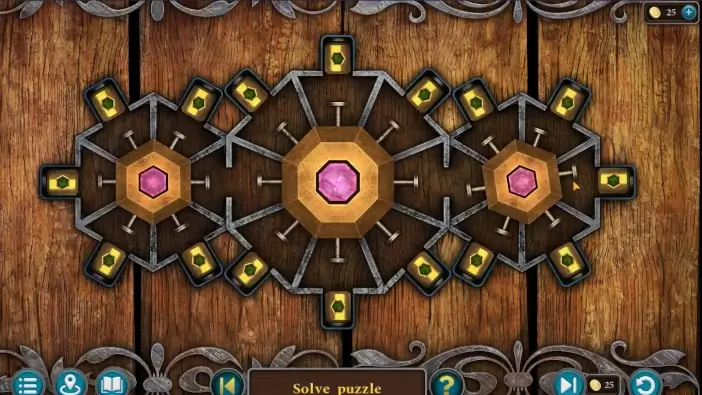
To solve this puzzle, rotate the parts of the mechanism and make the cylinders end up on the rods outside the polygons. If you finish the puzzle fast enough, you will get the “Erudite” achievement.
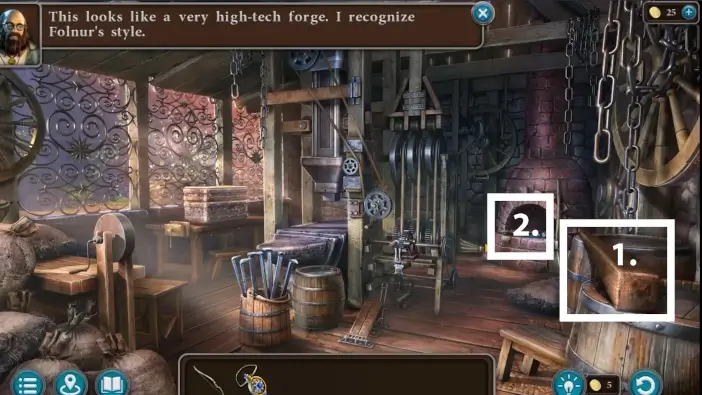
- Enter the workshop and pick the first winch lever. You will need three of them to attach them to the central mechanism in the courtyard. This mechanism can raise the tower so you can enter it.
- Pick up the blank for a sword blade from the furnace. You will forge from it a sword later.
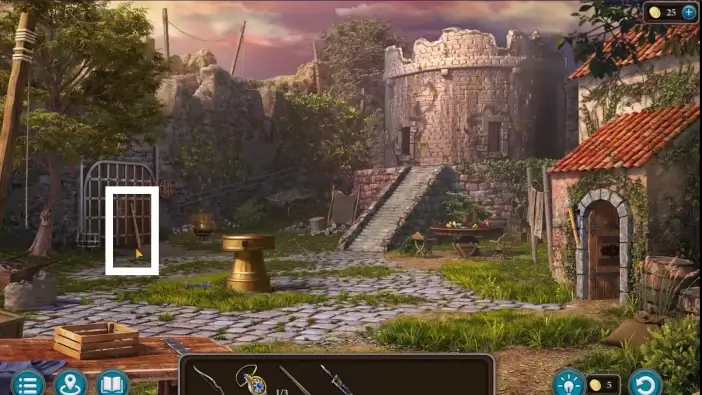
In the fortress courtyard, pick the second winch lever at the gate.
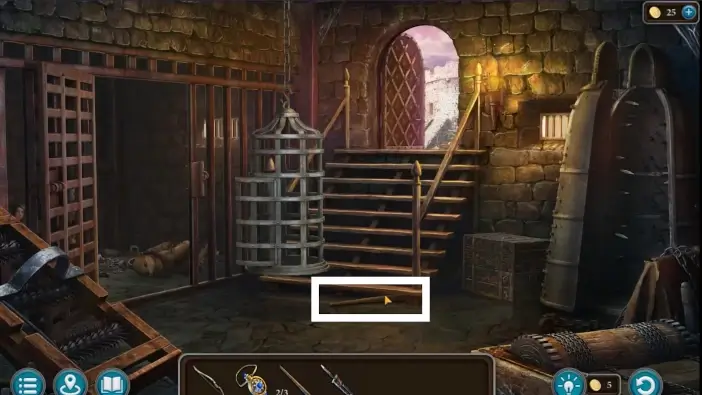
Return to the dungeon and take the third winch lever.
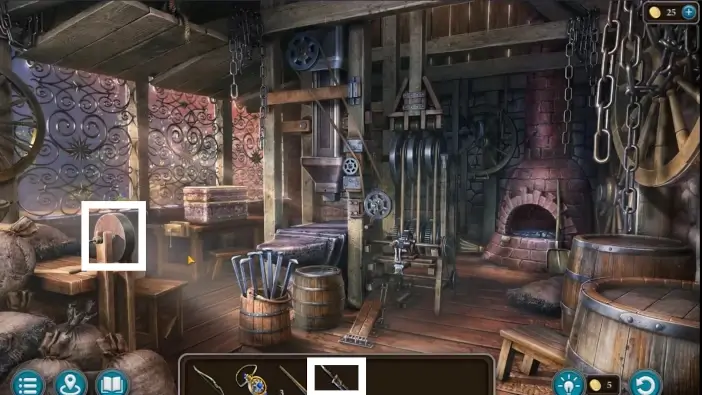
Go to the workshop and use the blank for a sword blade on the sharpening wheel to get the sharpened sword blade.
Go to the central mechanism in the courtyard and place all three winch levers. To move the mechanism you’ll need help from friends.
Go to the dungeon and release Susan’s friends with the sharpened sword blade.
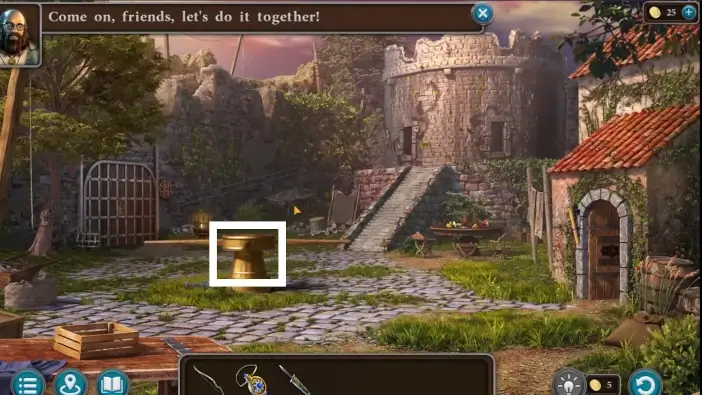
Return to the mechanism and click on it. Susan and the others will move the mechanism and the tower will rise.
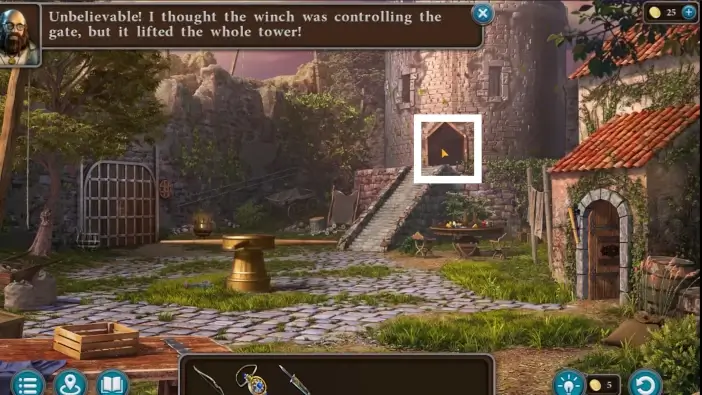
The entrance to the tower will be accessible from now on. Enter the tower.
Try to move the mechanism to the left. You will find out that this mechanism is indeed for the fortress’s main gate, but one of the gears at the gate is missing.
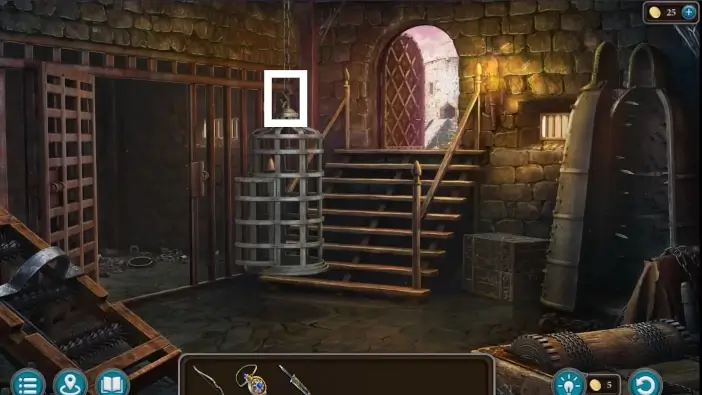
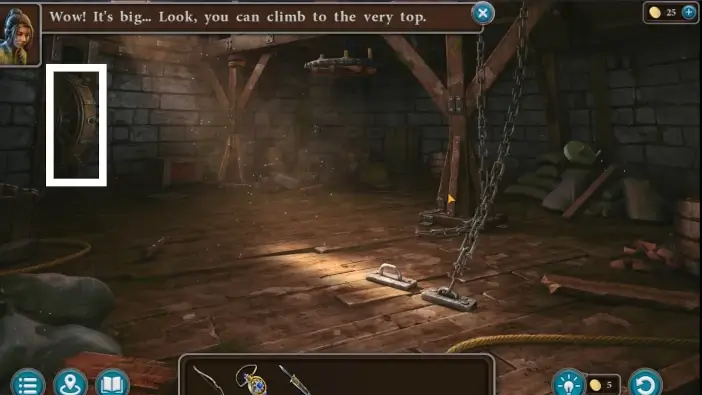
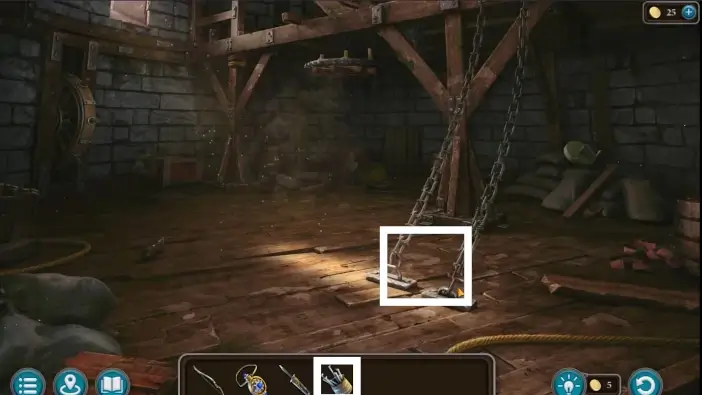
Go to the dungeon, detach the hanging cage, and pick the S-hook.
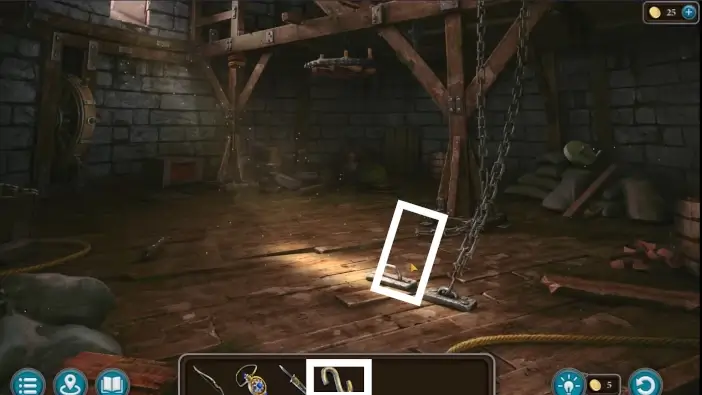
Return to the tower and attach the chain with the S-hook. Susan won’t be able to climb these chains because they are spiked.
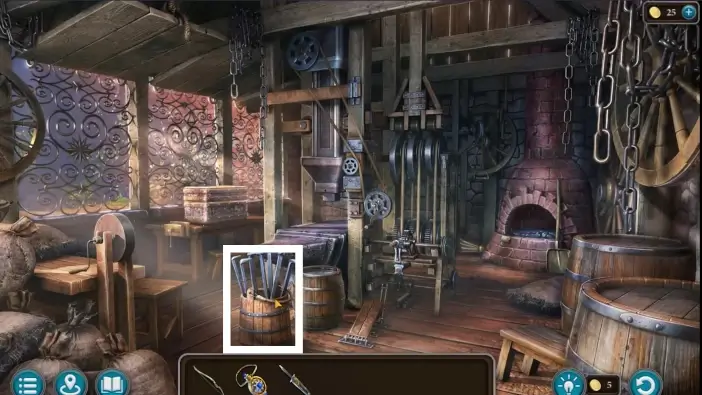
Go to the workshop and pick the bucket of staples.
Go to the tower and place the bucket of staples near the chains.
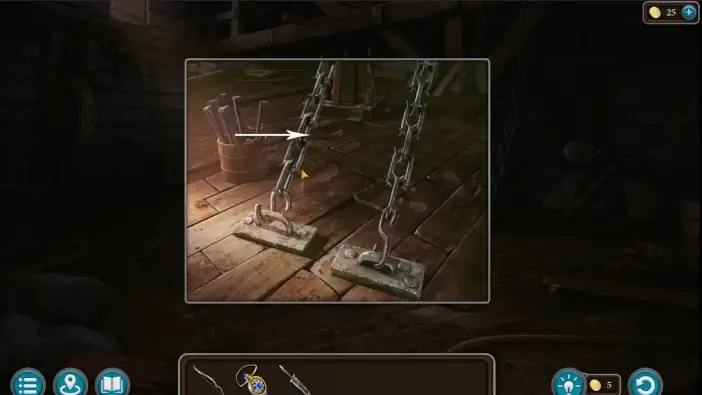
Select the staples and place them on chains. Go to the second floor of the tower.
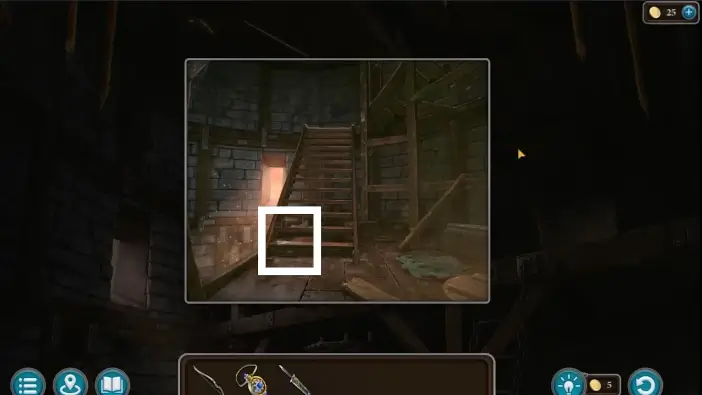
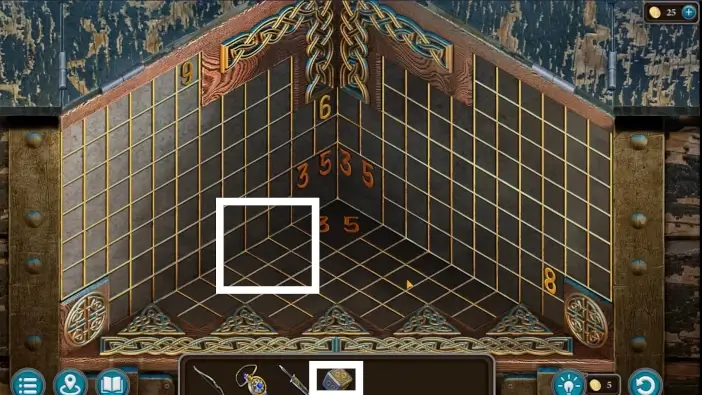
Approach the staircase. Pick the Manuscript collectible and pick up the cube with numbers which is a key for the chest in the dungeon.
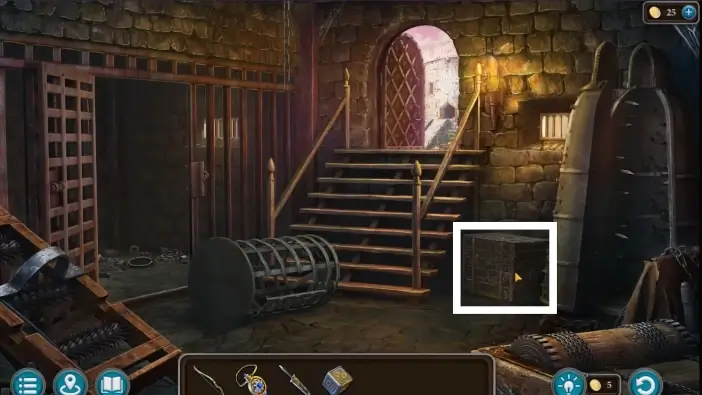
Return to the dungeon and approach the chest on the right.
Place the cube with numbers to start the new puzzle challenge.
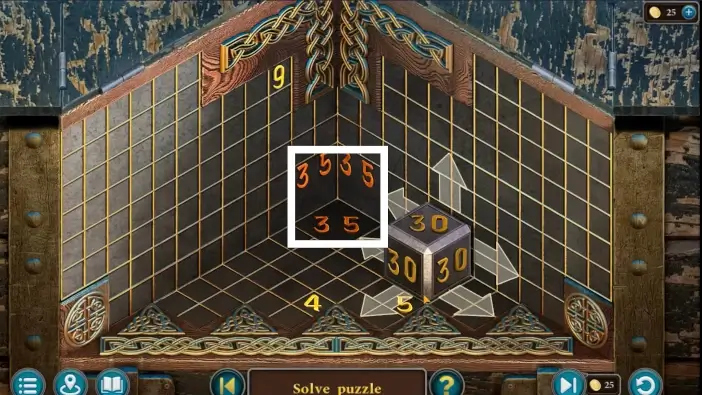
You need to move a cube toward numbers. The cube holds a sum of numbers. Whenever a cube is placed over a number, that number will increase the sum written on the cube. Once you collect enough numbers to raise a sum exactly at 35, move the cube to the central placeholder. Pick a magic attachment from the chest. You will need it to enchant weapons with magic.
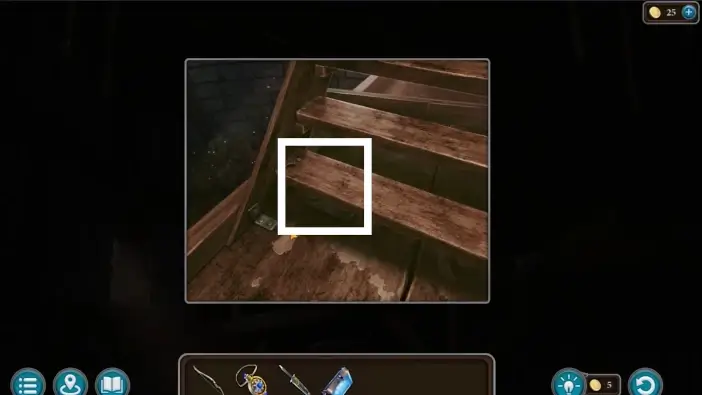
Go to the tower and the second floor, approach the staircase, and remove the first step of the staircase. Susan will notice where the chandelier from the first floor is attached.
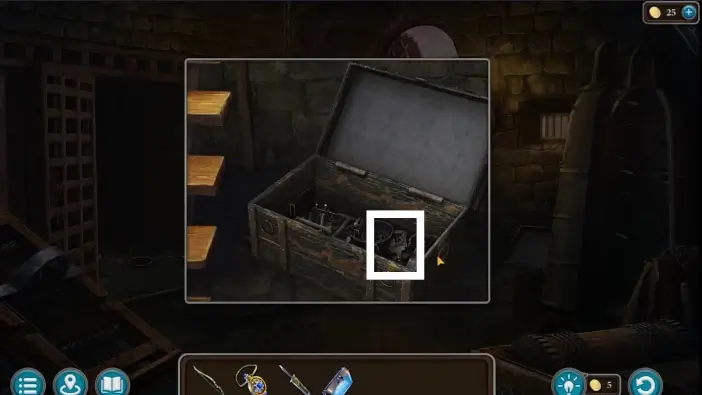
Return to the dungeon, find the chest you unlocked before, and take the adjustable spanner.
Use the adjustable spanner to unscrew the chandelier from the second floor of the tower.
Go to the first floor and approach the chandelier.
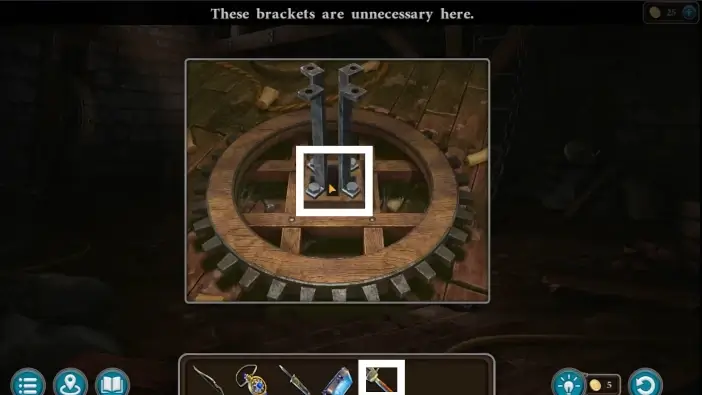
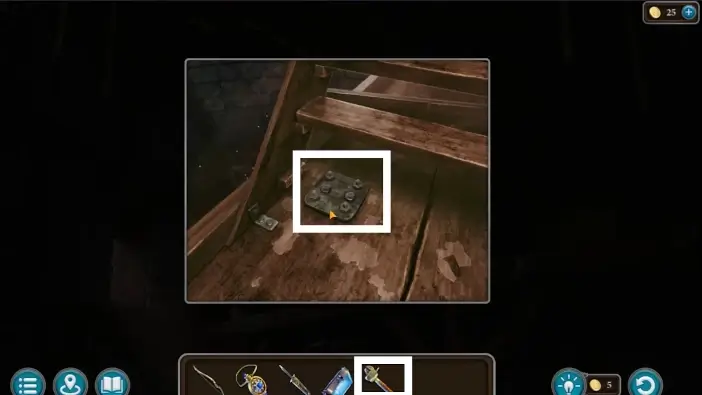
Use the adjustable spanner to remove the brackets and take the wooden gear.
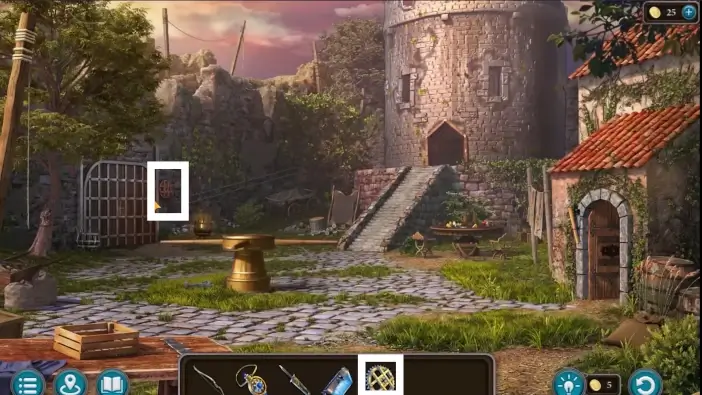
Go to the courtyard and place the wooden gear next to the main gate.
Go to the tower and try to open the main gate again using the mechanism on the left. The gate will not open. Go to the gate and you will find out that the guides are rusted.
Go to the workshop and take the scoop shovel.
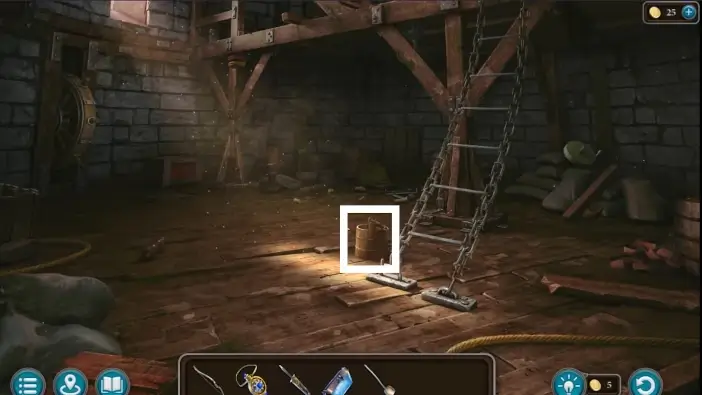
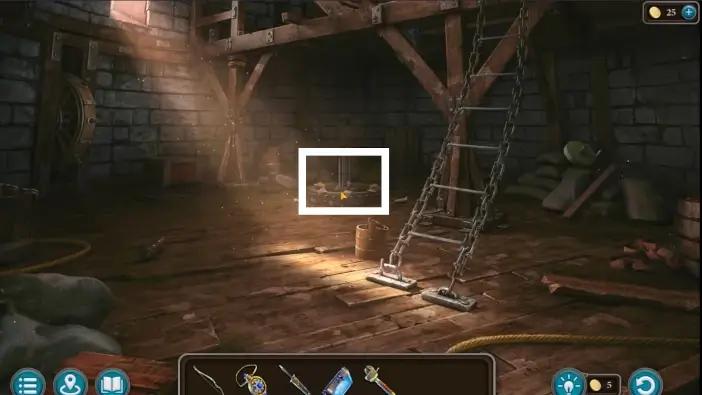
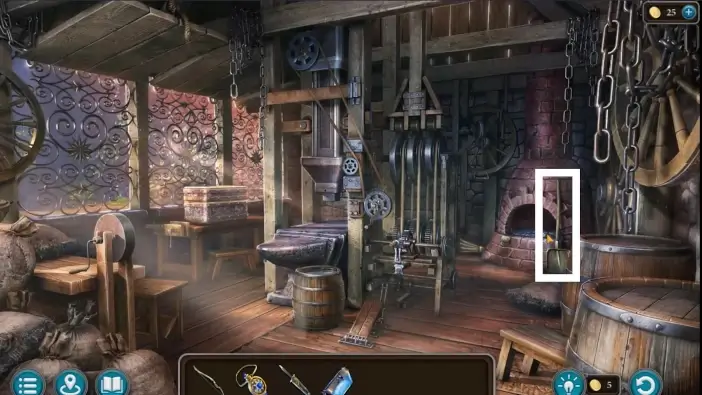
In the tower, take the empty bucket.
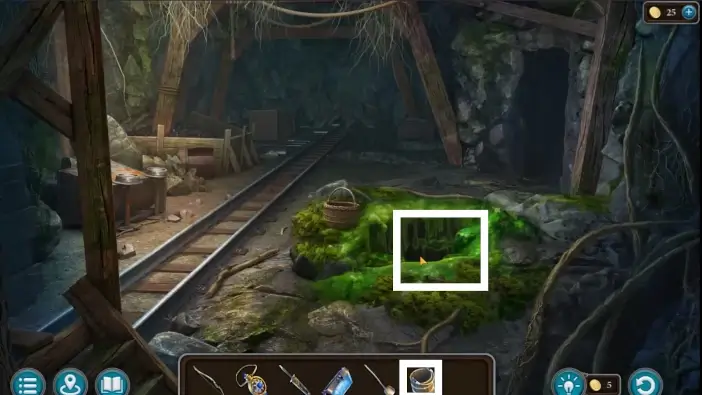
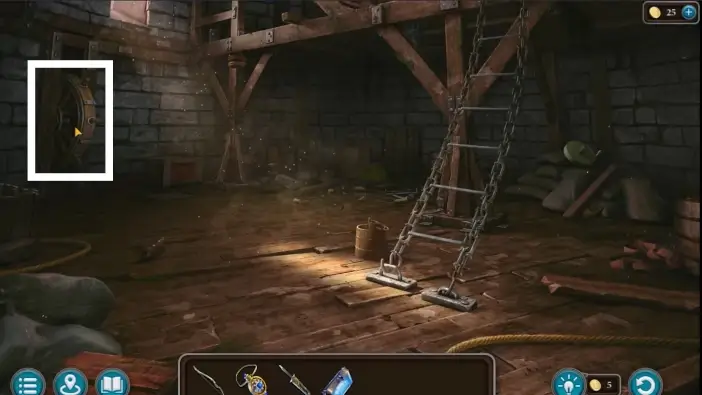
Go to the depths of the mine and place the empty bucket near the slimy hole.
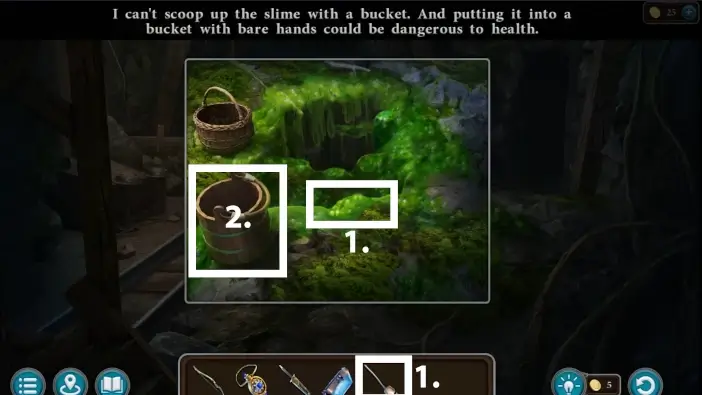
- Take the slime with the scoop shovel. Susan will fill the bucket with the slime.
- Pick the bucket of slime.
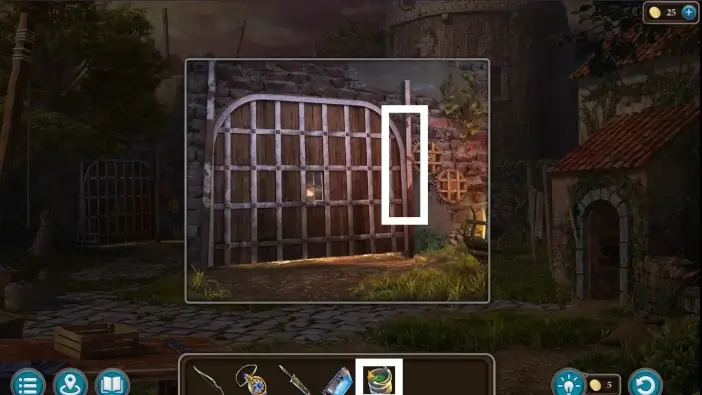
Go to the fortress main gate and use the bucket of slime on the guides. You will get back the empty bucket to your inventory.
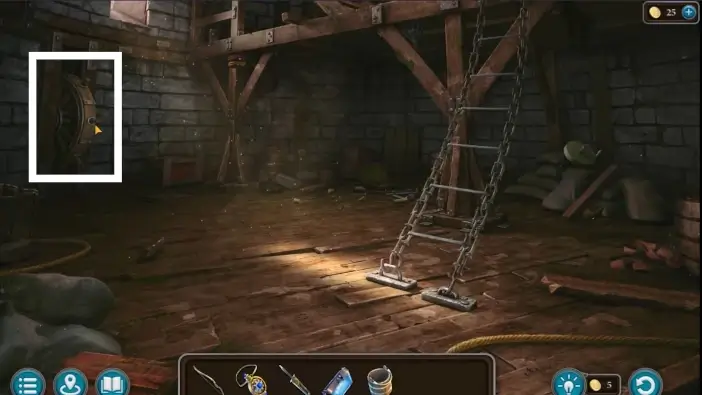
Go to the tower and try to raise the gate again via the mechanism. This time, the gate will rise but there will be nothing to hold it up.
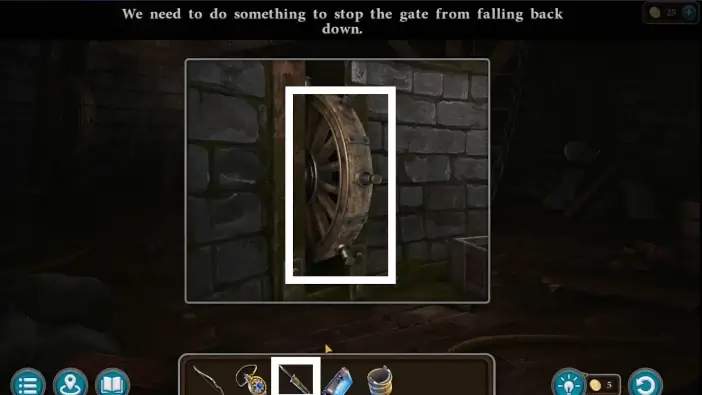
Place the sharpened sword blade on the wheel mechanism to hold the gate.
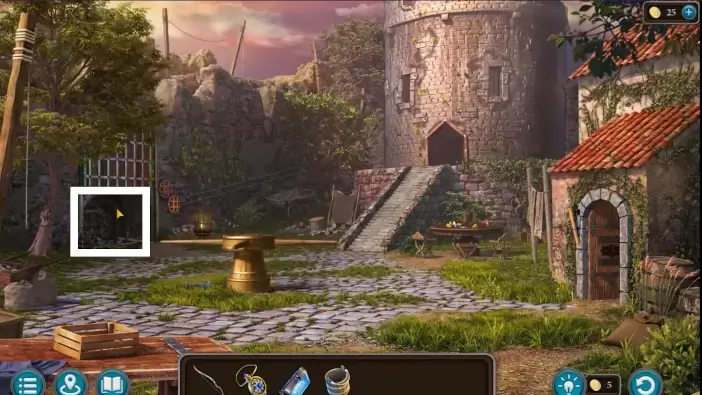
Go through the main gate.
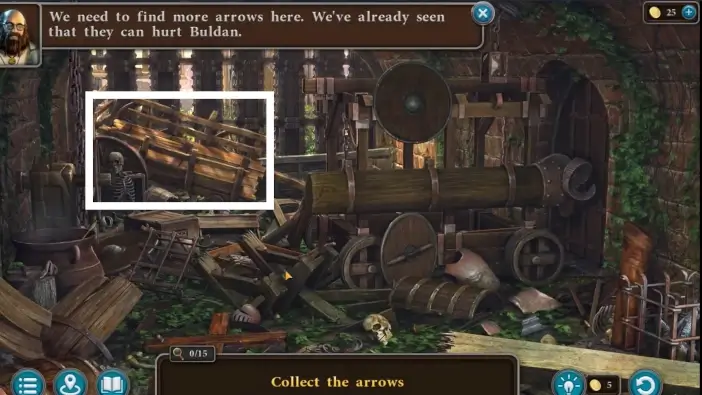
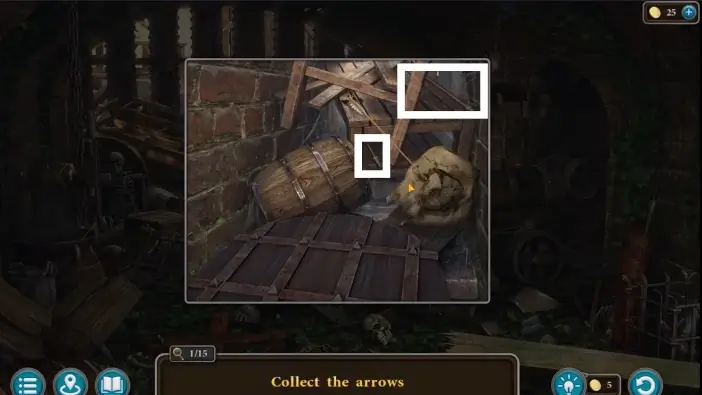
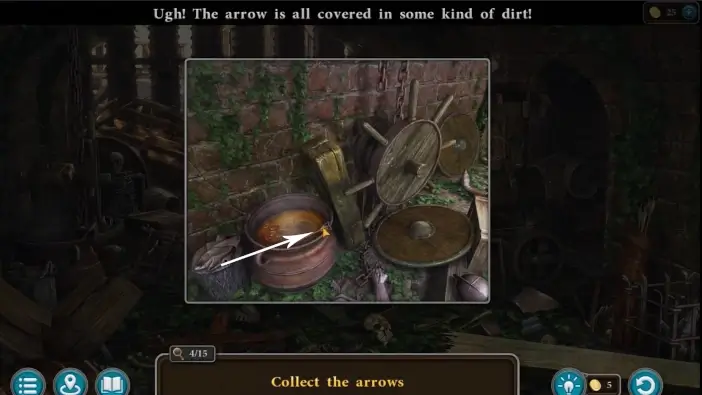
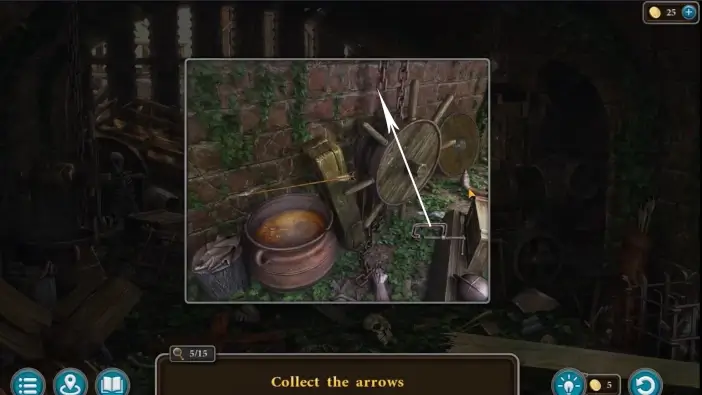
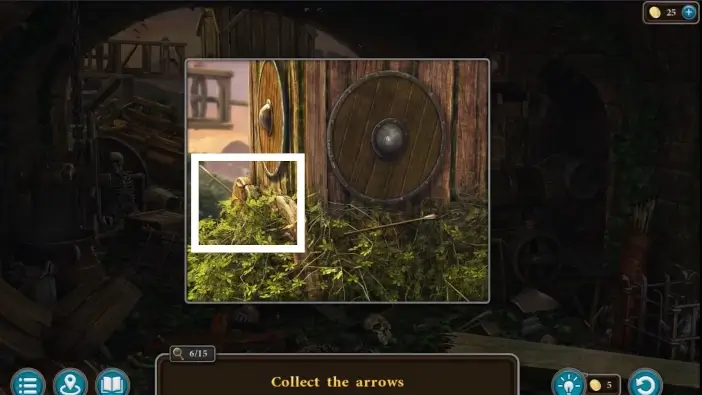
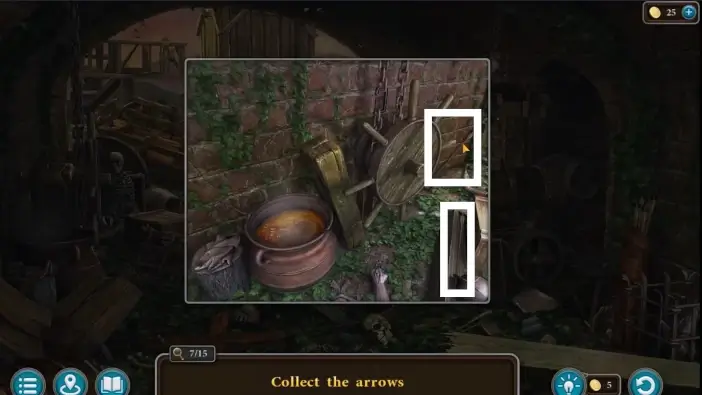
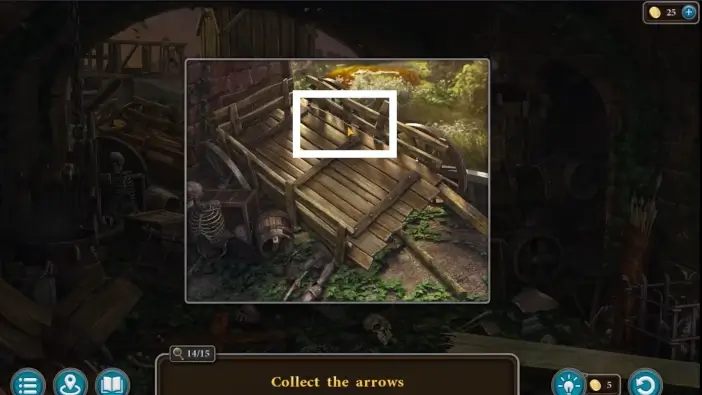
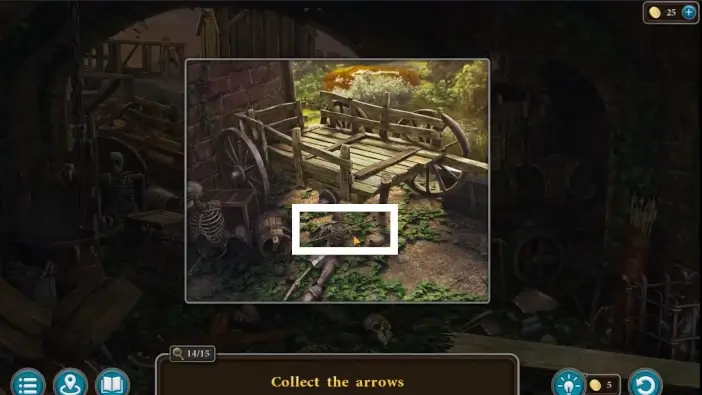
You need to find fifteen arrows to fight Buldan. Follow the numbers, markers, and arrows in the pictures in this guide. Whenever you see a white arrow, that means that you need to select the first item and then select another item, the first item will interact with the second one. Without arrows, you just need to click on the item. Sometimes you need to remove obstacles or to approach closely to a certain area.
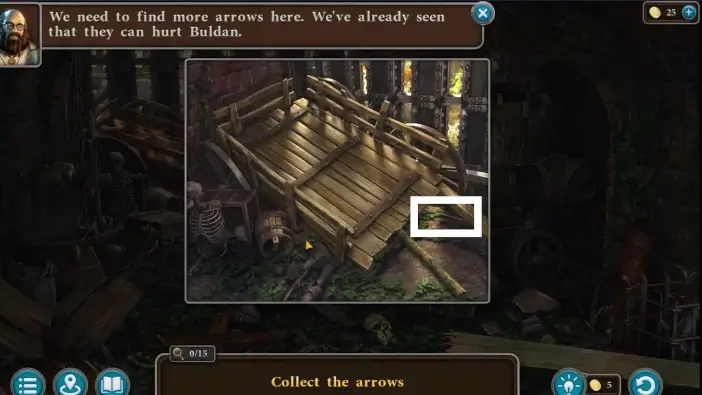
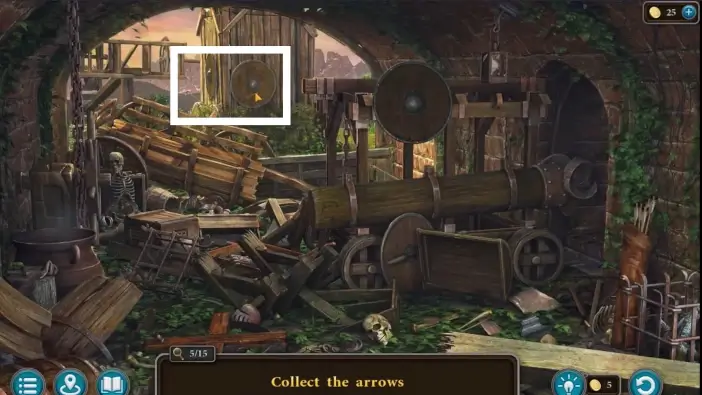
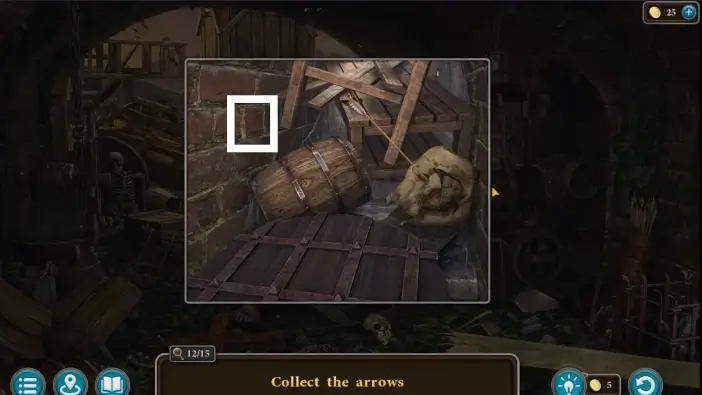
Use a ram to break the gate on the right. There are more arrows there.

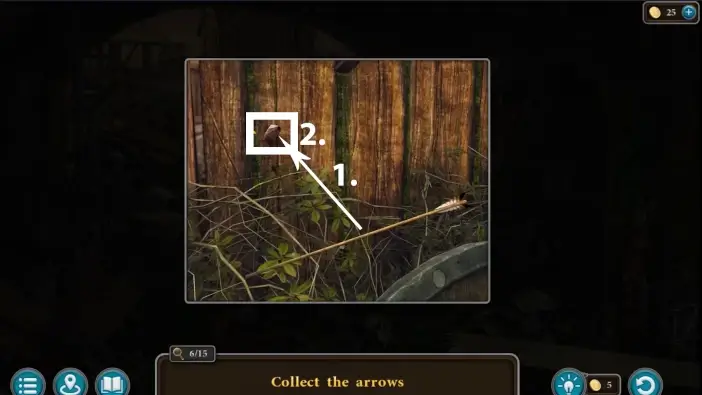
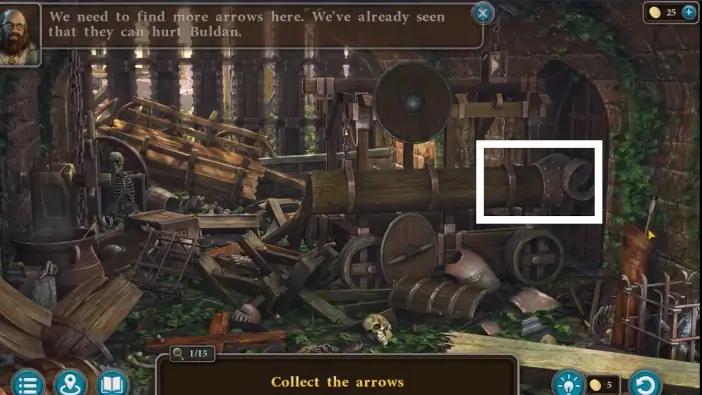
Remove the shield and attach the shaft to the tip.

This will mark the end of part 6 of our guide for the Main Chapter of the Lost Lands 10. The final fight with Buldan is getting closer.
Thank you for reading!